I
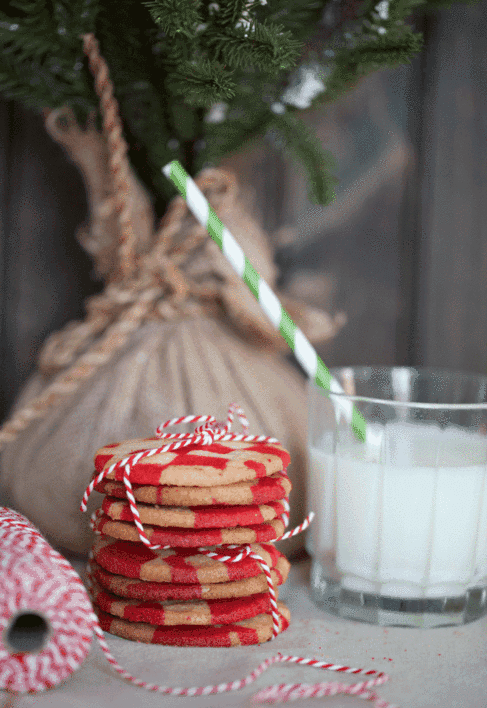
f you have a few more cookie exchanges on your holiday schedule this season, you’ll love this colorful cookie offering. Cookie lovers will not only delight in these delicious treats, they’ll also wonder how in the world you pulled off this checkerboard pattern.
As you’ll see in this, Day 17 of my 25 Days of Christmas holiday series, these checkerboard cookies are easier to make than they look.

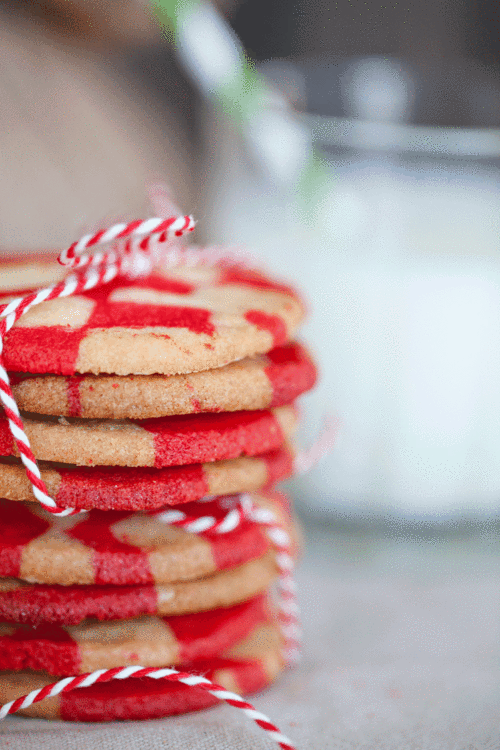
They make for such a fun display when tied together with a little baker’s twine.
These are great for serving or gifting.
Checkerboard Cookie Recipe
Ingredients: 1 cup softened butter, 1-1/2-cups of sugar, 1-1/2 teaspoons baking powder, 1 egg, 1 teaspoon vanilla, 2-1/2 cups all purpose flour, 1/2-teaspoon salt and red food coloring.
Beat butter in a mixer until fully, add sugar, baking powder and 1/2-teaspoon salt. Beat in egg and vanilla and slowly add the flour to form cookie dough.
Divide dough in half.
Shape first half into a rectangular log and wrap in plastic or wax paper.
Tint the second dough half with the red food coloring. Mix thoroughly so the color is distributed evenly throughout the dough.
Shape the red dough into a rectangular log and wrap in plastic or wax paper.
NOTE: This red dough sitting on your kitchen counter may get an unexpected reaction. My kids said it looked more like a big ugly tongue.
Once the dough is wrapped it might be a little easier to mold it into the required rectangular logs.
Refrigerate both dough halves for about 2 hours to harden.
Once the dough has hardened, slice each rectangle into four new sections.
Try you best to keep them all as close to the same size as possible.
Then, place the sliced dough sections side-by-side, alternating colors as you go.
Gently press the sections together.
Slice the newly formulated dough sideways into sections.
You’ll end up with dough slices like this that kind of resemble bacon strips.
Stack these “bacon slices” on top of each other in a way that you alternate the color of the the slices.
This creates a new rectangular loaf.
NOTE: It’s important to line the colors up as perfectly as you can because this is what makes the checkerboard pattern more precise. This was my first attempt at this cookie and I think the next time I make these, the checkerboard pattern will be even more lined up. Practice will make perfect.
This is what happens when you cut a slice across this new loaf.
The checkerboard pattern is revealed.
Use a cookie cutter or biscuit cutter to cut the litle squares into neat little circles.
When you cut the circle shapes, you’ll create quite a bit of “scrap” dough from outside the cookie cutter.
Don’t toss these scraps.
Bake at 350-degrees for 8-10 mintues or until cookie edges are light golden brown.
Allow to cool and then stack them to your heart’s content.
Remember the scrap dough created from around the cookie cutters?
Roll that dough and cut it out to create cookies with a marbeled effect.
Whether these cookies are in the checkerboard pattern or marbled design, it won’t matter.
They’ll be gobbled up before you know it either way.
Day 17 down, 8 more days to go.
We’re getting close to the end of this holiday series but I still have more to share. Stay tuned for more inspiration ahead.
If you missed any days in this series so far, here’s a look at:
Day 1|Day 2|Day 3|Day 4 |Day 5|Day 6|Day 7|Day 8 |Day 9|Day 10 |Day 11 |Day 12 |Day13 |Day 14 |Day 15 | Day 16
Hope you stop by again tomorrow (12/18) for Day 18 of my 25 Days of Christmas series.
See you then. ♥
I’m linking this Checkerboard cookie recipe to the following:


These cookies look very effective. As usual lovely photography. I also love the day 16 project. I left a comment but I must have pushed the wrong button.
Kelly
I’m trying this cookie recipe. I love adding some colorful cookies to my regular groups of Christmas cookies for a gift assortment or a platter.
It’s great that you thought of a use for the left-over dough as marbelized cookies, too.
Merry Christmas,
Dana