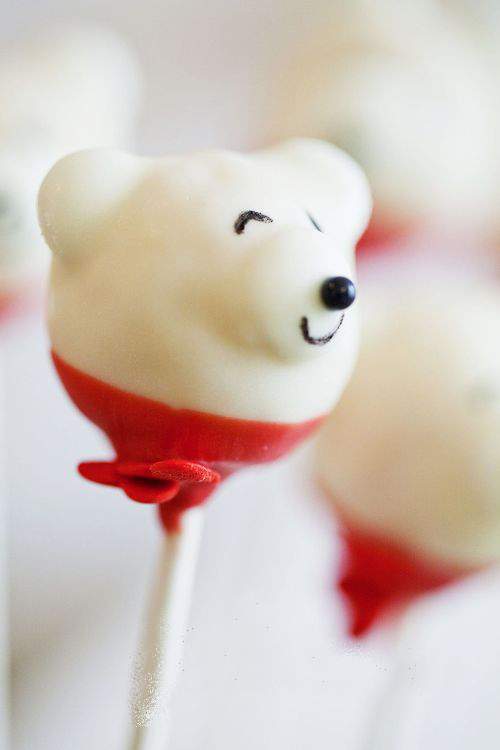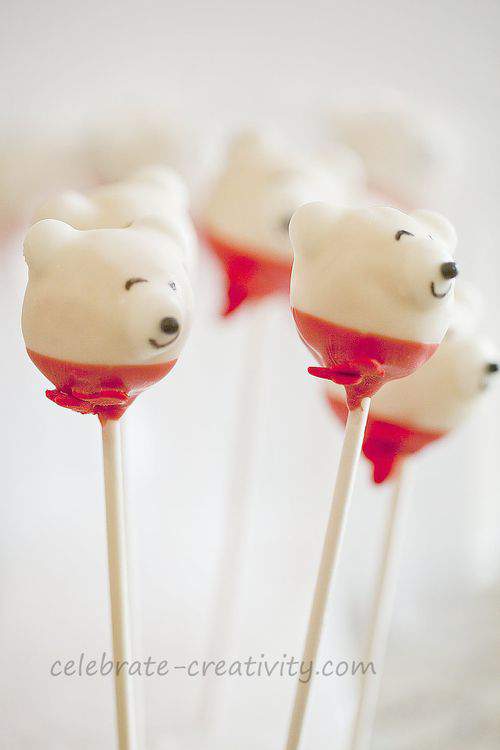
If you ever see a polar bear coming your way, ordinarily, i would advise you to run in the opposite direction.
However, in this case I think you should run straight toward these adorable, edible creatures.
In this, Day 9 of my 25 Days of Christmas holiday series, the polar bear cake pops are out of hibernation and they’re oh-so much fun to make and eat.

I first featured these scarf-clad holiday bears last year and I think they’re just so sweet, they’re worth re-visiting this season.
They’re almost too cute to bite into… but do so anyway.

First step is to bake a cake. I used a regular box of store-bought, cake mix.
Once baked, peel off the top crusty layer of the cake as best you can and then crumble the soft inner portion of the cake.
Break up the mix so that the cake is a very fine texture.
Add about two tablespoons of store-bought, frosting and mix thoroughly.
The icing acts like an adhesive to hold the cake crumbles togther but don’t use too much icing or the cake balls will be too mushy.

You’ll also need white M&M candies, red chocolate wafers, white chocolate wafers,a few heart-shaped sprinkles, lollipop sticks and small candy baggies and red ribbon if you plan to gift your cake pops.
I also used small black dot sprinkles for noses.

After mixing the icing with the cake, roll small amounts into balls and refrigerate for a few hours.
Melt a small amount of the white chocolate wafers and dip the tip of an M&M into the melted chocolate.
Press the icing-tipped M&M into the top of the cake ball.
Repeat on the other side to create what will look like two ears.
Dip the flat side of another M&M into the melted chocolate and press onto the front of the cake ball to create what will look like a nose.
Once the M&M’s have hardened firmly, dip one end of a lollipop stick into the melted choclate and then carefully push the chocolate-covered end into the bottom of the cake ball.
Give it a few minutes to allow chocolate around the stick to harden. Don’t skip using chocolate during this step or the bear heads will roll right off the stick.
Then, carefully dip the entire ball into the melted chocolate.
Before the white chocolate hardens around the bear head, carefully place a small black dot sprinkle in place atop the M&M.
Punch the bottom of the stick into a styrofoam block to hold in place.
Allow chocolate to dry and harden.
Once the cake pop chocolate has hardened, gently remove the lollipop stick from the bottom of the cake ball.
Work carefully but swiftly so the heat from your fingers won’t melt or disfigure the chocolate.
Carefully, hold the cake ball (do not squeeze), just under the ears and gently dip into the melted red chocolate.
Tap off any excess chocolate.
Re-dip the lollipop stick into the melted chocolate and then return to the same hole in the bottom of the cake pop.
Place the cake pop back on the Styrofoam block to dry and harden.
Before the red chocolate dries, position two heart-shaped sprinkles on the bottom corner of the pop to create the scarf bow.
You can use one heart but I like how two of them look together.
Use and edible ink marking pen to give the polar bear pop facial features and a little personality.
Eyes, a wink and a smile help this little bear come alive.
If gifting, cover with lollipop bags, add a twist tie to maintain freshness and top it off with a pretty red ribbon.
Day 9 down, 16 more days to go. Stay tuned, there is a lot more fun and inspiration ahead.
In cased you missed it, here’s a look at:
Day 1|Day 2|Day 3|Day 4 |Day 5|Day 6|Day 7|Day 8
Hope you stop by again tomorrow (12/10) for Day 10 of my 25 Days of Christmas series.
See you then. ♥

Leave a Reply