I know I’m not the only one who looked up and realized that we’re already well-into September.
What happened? The summer just flew by, didn’t it?
Wow, another season just flew by all too fast.

Throughout the brief summer months, my blogging slowed way down as two kids home from college, various home repairs and other long 0ver-due projects took center stage.
Anyway, with the arrival of September, my household is slowly returning to some sense of “empty nest” normalcy.
It may sound a little weird but as soon as my husband and I started getting used to not having our kids around… both kids were suddenly back in and out of the house for summer. And just like that, they’re were off again.
Time is definitely marked by the comings and goings of my kids… (and the not-so occasional gray hair).

Madeleines
Ingredients
- 3 Eggs
- 2/3 cup granulated sugar
- 2 oranges, zest from both oranges
- 1 cup flour
- 1 teaspoon baking powder
- 1/4 teaspoon kosher salt
- 6 tablespoon butter, melted and slightly cooled
- 1/4 cup confectioner's sugar, for dusting
Instructions
- Preheat oven to 350 degrees.
- Whip eggs in stand mixer. Add sugar and mix well.
- Add orange zest
- Combine flour, salt and baking powder and whisk thoroughly to combine.
- Add dry mixture to butter mixture and combine well.
- Fold in melted butter and gently mix to Incorporate.
- Lightly spray madeleine pan with floured cooking spray. Use a pastry brush to ensure pan is well covered.
- Spoon about 1 tablespoon into the center of each pan cavity. No need to bang the pan or force the batter into the entire cavity because each well will fill out as the batter bakes.
- Bake for about 10-12 minutes or until golden brown around the edges.
- The exposed dough will end up a little lighter in color during the baking process. Keep an eye out for the development of browned edges to determine if the batter is fully baked.
- Let the Madeleines cool in the hot tray for a few minutes before using a fork to gently lift the cake from the pan.
- Allow the Madeleines to cool on a wire rack.
- Sprinkle generously with confectioner's sugar before serving.
OK, enough of my brief summer reflection… let’s get to these pretty pictures and the recipe featured in this post.
I actually made these Madeleines purely on a whim for no particular reason other than, I just felt like making something (and taking pictures of it).
If you scrolled through the ingredients and directions above, you can see that this is a really easy recipe.
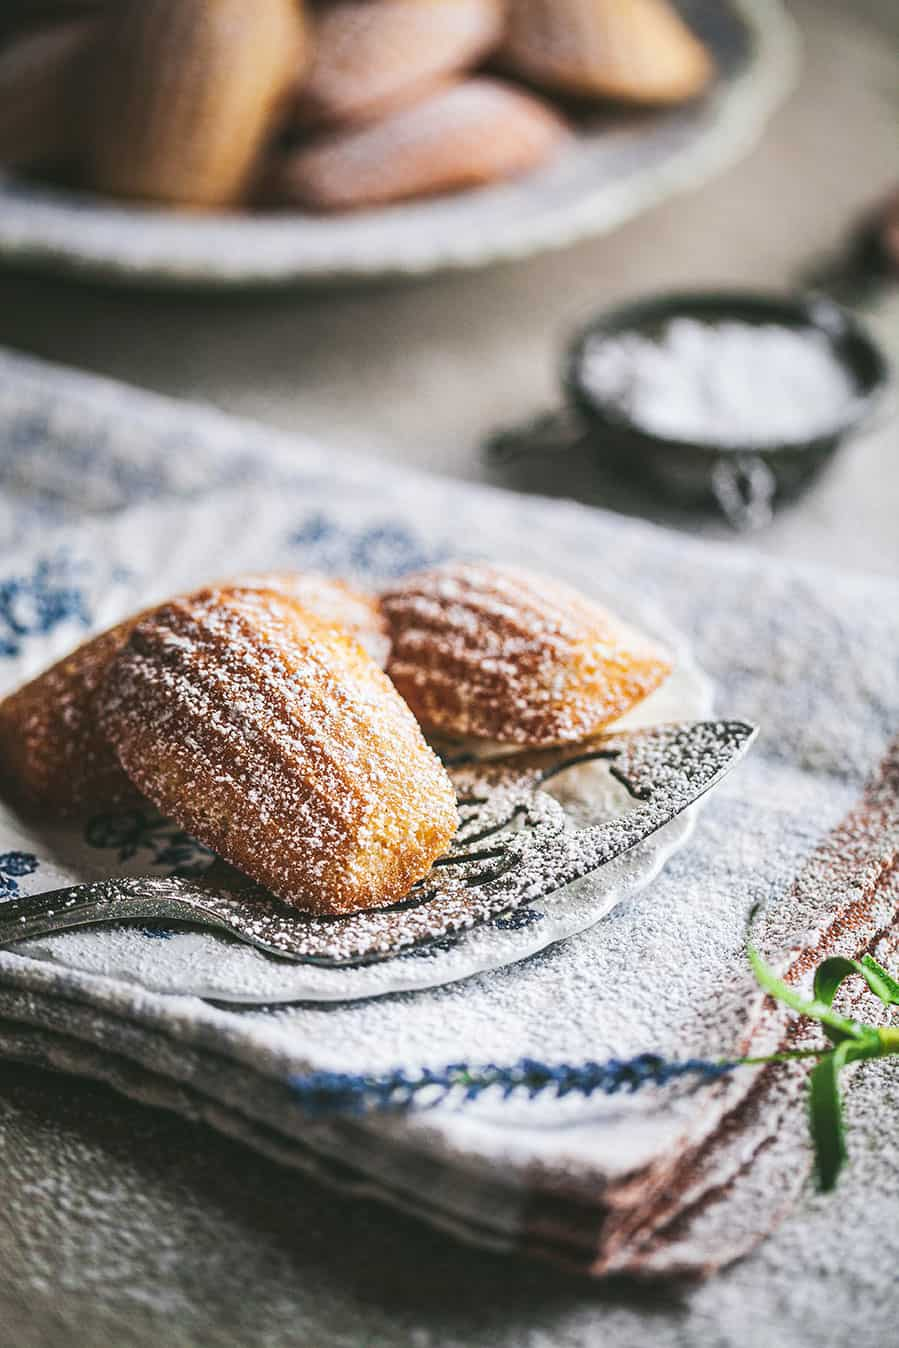
Don’t you love those distinct, seashell-type impressions in Madeleines?
On another fun note, how many of you just realized that there is an extra letter “e” in the spelling of these wonderful little cakes? Hmmm, I spent years spelling it incorrectly.

Madeleines provide such a dainty bite of cake with their light and fluffy texture and not-too-sweet nature.
It may sound cliche, but these almost melt in your mouth.
I also like to add extra orange zest to the batter which adds a perfect blend of citrus flavor and aroma that doesn’t overpower in any way.

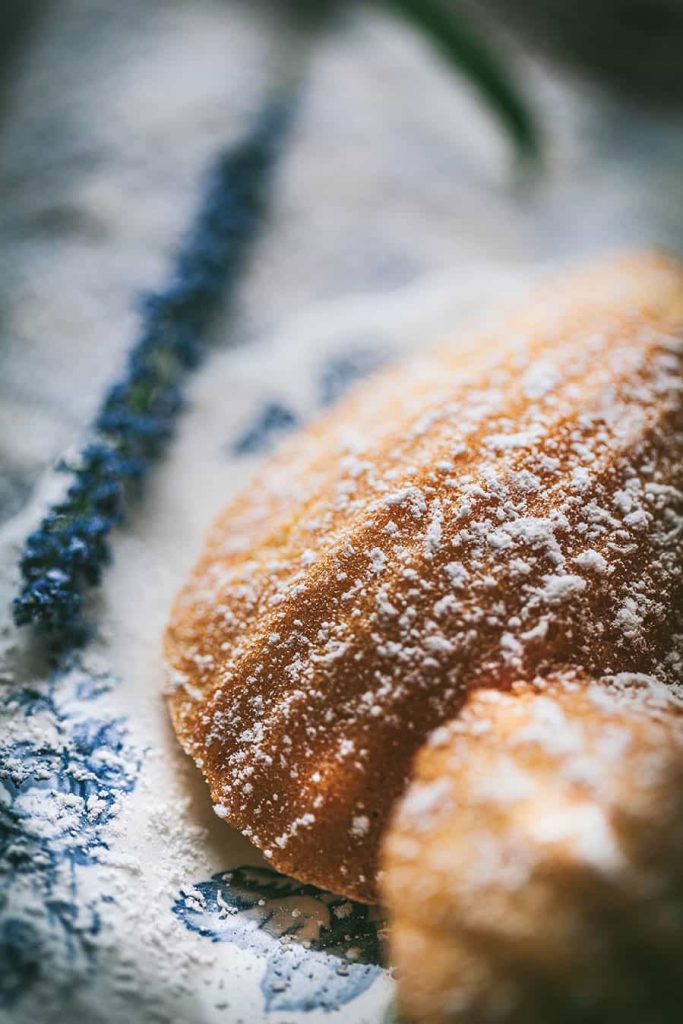
If it looks like there’s a lot of powdered sugar on these marvelous Madeleines, that’s because there is.
But you won’t need this much sugar on yours.
I totally over-dusted these for the benefit of the photo styling.

Speaking of styling, allow me to share what my set up looked like for this shoot.
Almost all of the food that I photograph for this blog is snapped in this corner of my dining room.
I love to see the curtain pulled back on food styling like this and I hope you do too.
The large diffuser hanging in the window helps to soften the harsh, window light and the black backdrop helps to achieve a dark and moody aesthetic that really appeals to me.
I use a diffuser that came with multiple covers which also allows it to be used as a light reflector and a dark backdrop. I’ve source-linked it below.

I hope you take the time to try these Marvelous Madelines yourself.
Thanks so much for popping by for a visit.
See you back here next time.♥

my favorite cookie … especially warm from the oven
You are so right about that, Stef.
Have you ever made mini Madeleines?
They’re even more bite-size and just as fun to make.
Happy Sunday to you.
I can almost smell them now — yum!! They turned out so pretty. I’ve never had one before – I’d love to taste yours. And do I ever know how fast time goes. I can’t believe it’s September. I have a love/hate with Fall — I just don’t like cold weather and the dark days.
You’ve certainly found the perfect spot for your shots — they are simply gorgeous!! Wish we lived close by – I’d love to be your little helper and watch you work. Thank you for showing the set-up. It helps thinking how I can work it into my home.
I hope you didn’t get any of the nasty weather.
Sending huge hugs!!! xoxo
Hi Melissa.
I’m so glad the setup shot is useful for you. I’m going to try to remember to shoot that wide, setup shot for future posts too.
Of course, you know if we lived near each other, how we would be spending our time-lol. We have so much in common.
We didn’t get any nasty weather in my neck of the woods. We were hoping for a bit of rain for our thirsty lawn.
Hope you had a wonderful summer,
I love seeing behind the scenes shots. Very much helps me. – My littles ones are 4 and 1, I’m still in panicky mom stage. Does it ever end? Always getting my 1 year old down from high furniture and trying to get the 4 year old to stop jumping down from whatever he’s climbed on. They amaze me and make me worry at the same time.
Dana, so glad you appreciate the behind the scenes peek.
Your youngsters sound adorable and I remember those days. They keep you hopping at that age, for sure.
I think the panicky mom phase will fade a bit (but you’ll always worry, even when they leave for college-smile).
Hang in there and practice food photography and styling when you can.
Thanks for popping by and enjoying my Madeleines.
Happy day to you.
Wow! Your pictures are beautiful and inspiring. Your Madeleines look so delicious I’m tempted to make them myself now!
Thanks so much, Sue.
I hope you do try these.
It’s such a super-simple recipe.
There’s also a mini-Madeleine pan available and the tiny cakes are equally pretty. You’ll eat more of them when they’re that small though-lol
If you decide to make them, let me know how they turn out.
Hi Lisa, your photography is amazing. I bought a madeleines pan a while ago but never used it, I must try this recipe soon. The BTS shots are so helpful.
Cristina, thanks so much for your kind words about my photography.
Now, you must put your Madeleine pan to good use.
I was actually cleaning out my baking tray cabinet when I came across my pan (which I’ve had for years).
Rediscovering my pan was all the inspiration I needed to make these Madeleines and write this post.
Have fun using yours.
Love the “behind-the-scenes” look! I recently purchased a pan that makes small, leaf-shaped cakes – I suspect the Madeleines recipe will work in that as well. Thanks so much for sharing
Thanks, Suz.
I imagine your pan may work with this recipe. However, I will say that the Madeleine pans are very shallow, almost flat.
If the wells in your leaf pan are very deep, that may impact how the batter bakes up.
Or you may just need to bake yours a little longer so, the center is done.
Let me know if works out.
Good luck. Keep me posted.