H
ow many of you plan to take a bottle of wine to the host/hostess of an upcoming holiday party? Here’s one way you can dress up that beverage bottle with a little handcrafted flair.
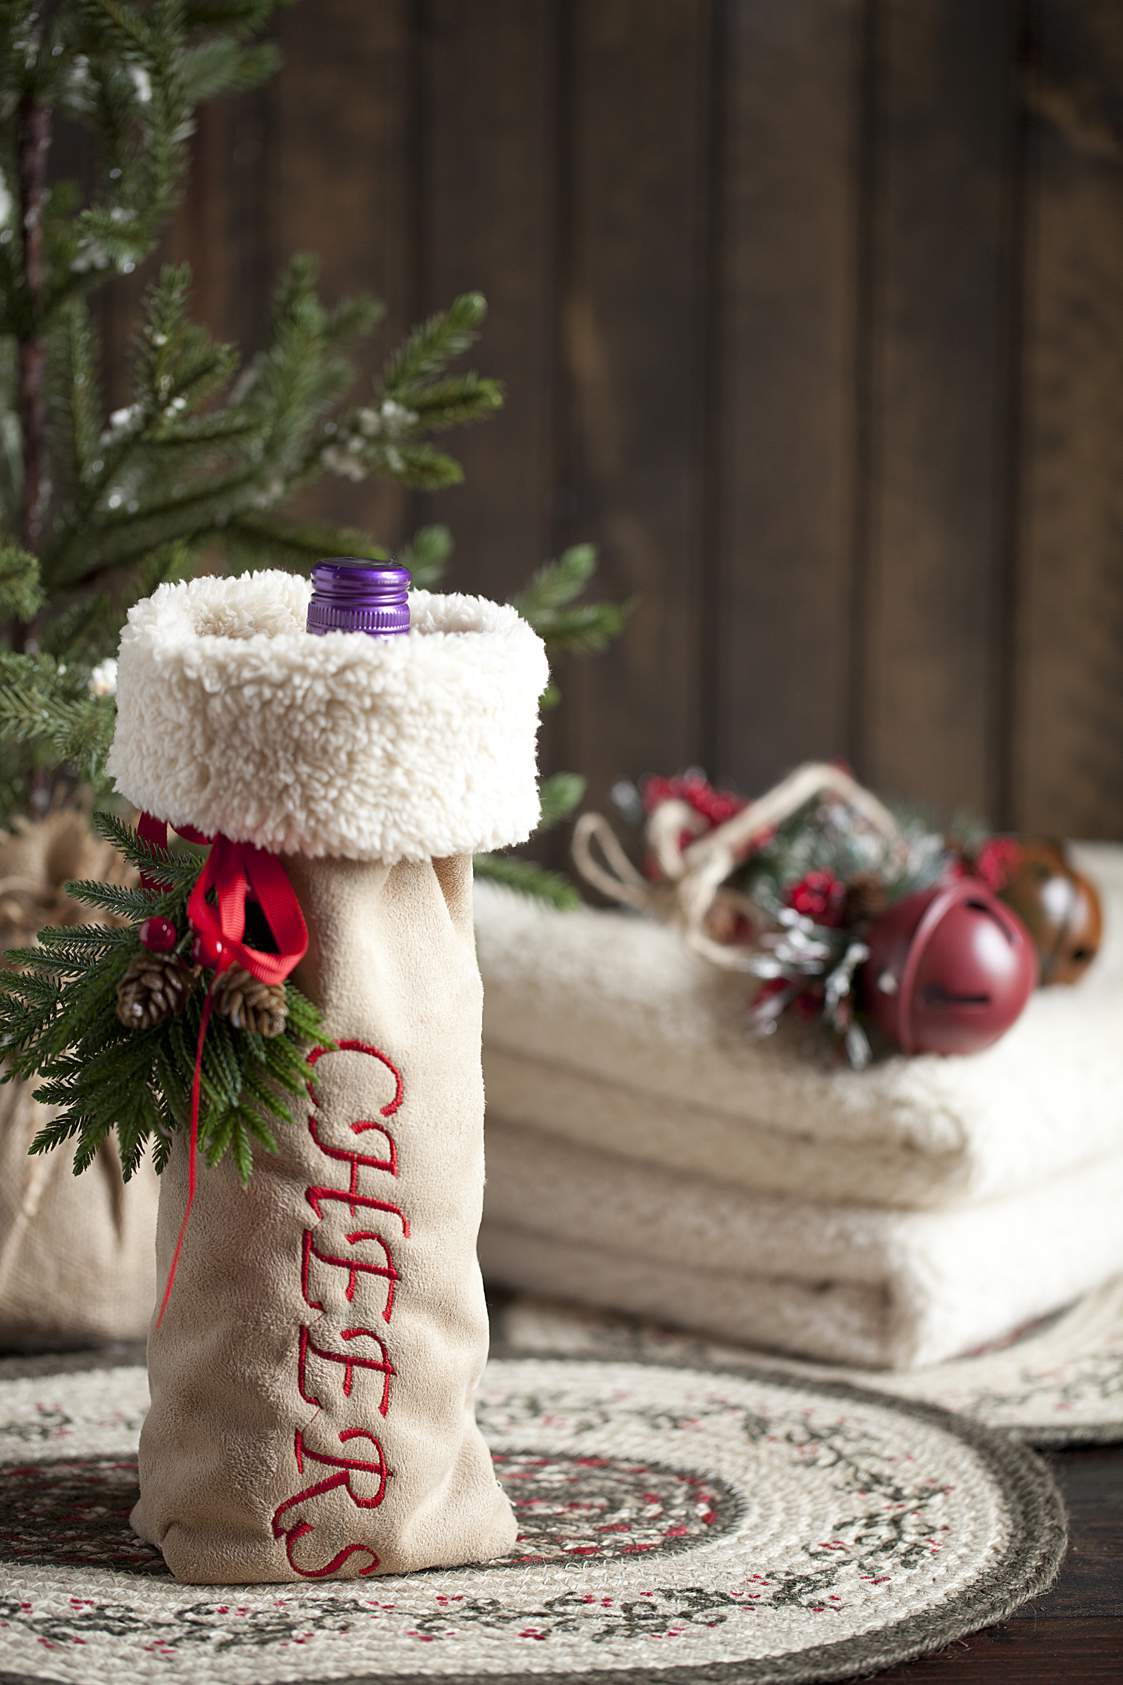
Welcome to Day 14 of my 22-Day COUNTDOWN TO CHRISTMAS HOLIDAY SPECIAL which features an easy look at how to make a wine bottle cover featuring a lovely Sherpa cuff.
What kind of reaction do you think you’ll get if you show up with this pretty, customized gift in hand?
I think everyone who sees it will be pretty impressed with your handcrafted offering which is super simple to make.
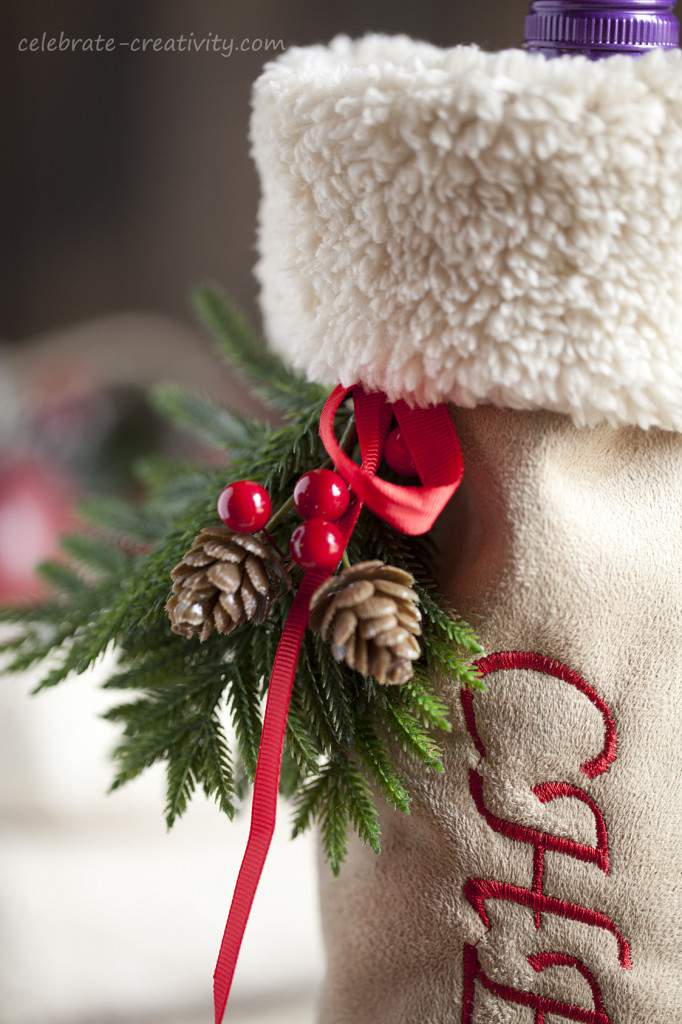
I love working with Sherpa fabric with its soft, fluffy underside which compliments a soft, suede-like texture on the outside. It’s also very easy to work with.
You can find Sherpa at most fabric stores.
Sherpa comes in several different exterior shades including pink and lime green.
However, I’ve always preferred the more natural looking colors which includes the taupe seen in this photo as well as a dark, rich-brown color that is equally gorgeous.
Since I have an embroidery machine, I added a “cheerful” message to the fabric first.
If you don’t have an embroidery machine yet (it’s on your Santa list this year, right?), you could hand-embroider, applique or carefully stencil a message on to the fabric.
Or you could just leave the fabric plain. The finished project will still look great without any lettering.
Step #1-Measure the width of the bottle you plan to cover. Double that width and add 1/2″ to that figure.
Step #2-Measure the length of the bottle from the bottom to the top of the bottle. Add and additional 7-8″ to that measurement for an adequate cuff which will be turned over twice.
Put right sides together (suede to suede) and stitch a 14″ seam.
Turn inside out to crate a tube like the one in the photo below.
NOTE: The faint blue lines you see in the fabric is water soluble marker that I used to help with my leter placement. The lines can be removed with a damp cloth.
Check the position of your letter and determine where you want the bottom of the holder to close.
Turn the container inside out again (suede to suede) and stitch across the bottom.
You could leave the bottom as is or create a more boxed-bottom so the bottle will be more stable when placed.
To create a boxed-bottom, turn the pointed end of the seam you just stitched back toward the seam and stitch a vertical line where the point touches the seam.
After stitching, clip off the excess fabric beyond the new seam.
Repeat the same steps on the other side of the holder.
This is what the bottom of the wine bottle holder should look like.
Remember, this is the inside of the holder and will not be seen.
Here’s what the bottom of the holder looks like after you turn it inside out.
This technique can be used on any kind of project where you need a boxed-bottom.
NOTE: This is the first bottle holder I’ve ever made and if were to do it again, I would make sure the embroidered lettering sits a little higher on the bag and not so close to the bottom, boxed seam.
When you make that extra seam to create the box-shape, the it does eat up a bit of the bag height so keep that in mind if you have lettering on the bag.
Place the bottle in the bag and fold the Sherpa over about 1/2-inch.
Then fold it over again to create the larger cuff.
In my eagerness to photograph this project, I actually forgot to clip the jump-stitches in my embroidery from that you can see from one letter to the next.
Don’t forget to clip yours before you gift the holder.
I turned the wine bottle cover around to conceal the embroidery and as you can see the bag looks just as lovely without lettering (so, you don’t have to add that if you don’t want to).
Sherpa is pretty either way.
Thanks for popping by.
See you right back here tomorrow for Day 15 of my
COUNTDOWN TO CHRISTMAS HOLIDAY SERIES. ♥
In cased you missed any ideas in this blog series, here’s a look at:


Adorable!! I’m going to have to dig out one of my sewing machines. Now I have a question — when you sew fuzzy stuff and it is face down on the plate, do you add one of those tear-away fabrics so that the fuzzy stuff doesn’t get under the plate? Years ago they used to do that when embroidering on towels. I love your sewing ideas. I wish I had a place where I could leave it out all the time.
Love your blog and creative mind! Santa might be dropping off a sewing/embroider machine at our house this Christmas.
I have been looking at several makes and models, but wanted to know if would share what kind of machine you use.
Thanks in advance and looking forward to the rest of this series.
Janet
Another awesome project that doesnt take hours, just looks like it! You rock, girl!