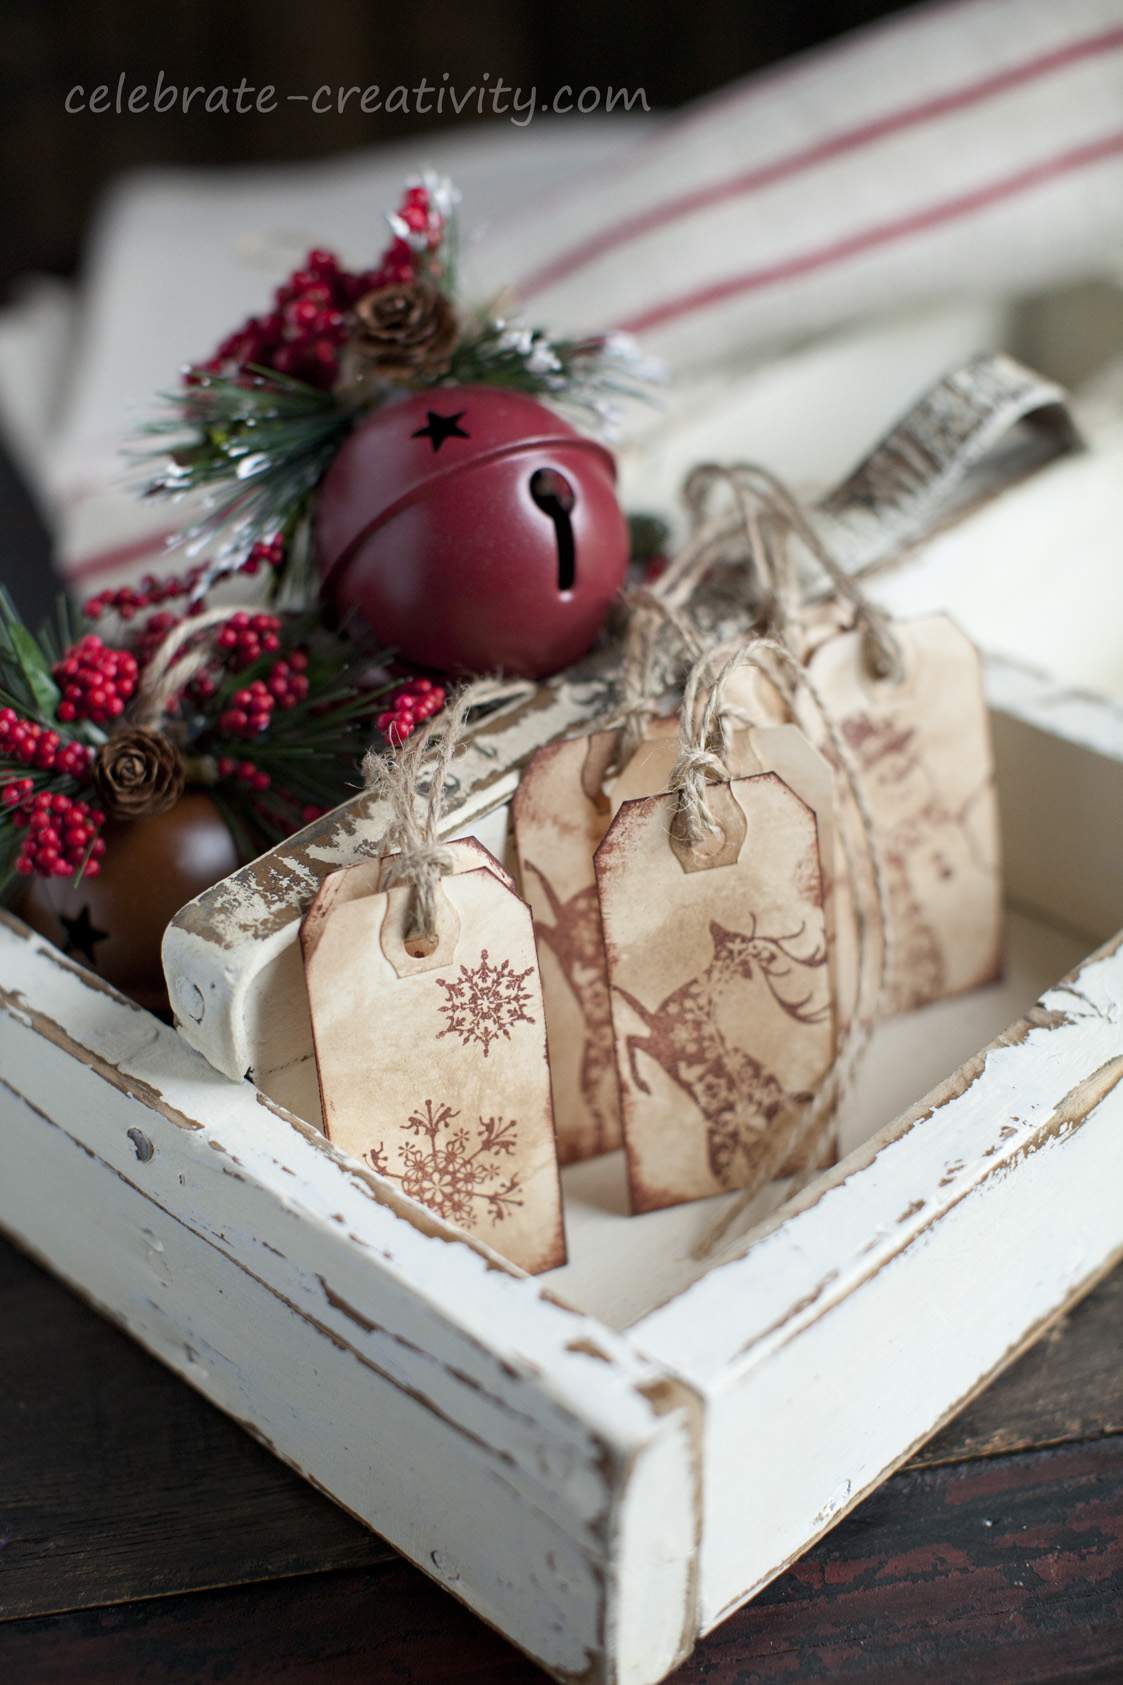
There is a universal appeal in vintage-looking handicraft these days and that affinity is at the heart of this holiday project.
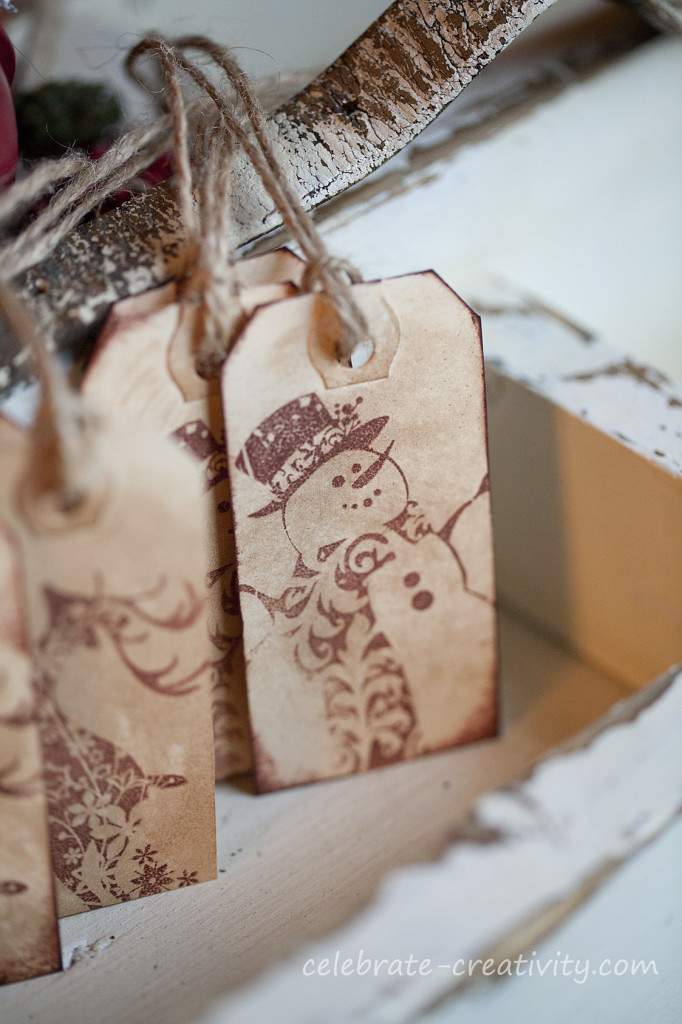
In Day 10 of my 22-day COUNTDOWN TO CHRISTMAS HOLIDAY SERIES, I’ll show you how to transform plain gift tags into old-fashioned, holiday gift tags that look like they’ve been around for ages.
These handcrafted gift tags may look as though they’re decades old but that’s precisely the point.
Throughout this post, I’ll show you how to create these vintage-looking tags that will add a touch of rustic beauty to any gift box this holiday season.
This is another easy project that requires very few materials.
You’ll need a favorite rubber stamp, some blank tags, jute or butcher’s twine, walnut ink and rubber stamp ink.
Stamp the card.
I like to place the image slightly off-center as opposed to dead center of the tag.
Spray a small amount of walnut ink onto a napkin or paper towel.
Gently rub the ink across the top of the tag making sure you don’t over-cover the image you just stamped.
Brush the sides of the tag with the rubber stamp ink pad to create distressed looking edge.
An assembly line process will help speed up the process if you’re making multiple tags.
Allow the tags to sit out for a few minutes until they are completely dry.
Then, apply the same walnut ink technique to the back of the card.
Loop a piece of jute or other string through the tag hole.
You can also use the peppermint-striped butcher’s twine which is a little more jolly than the jute.
The type of string you use just depends on what kind of presentation you’re after.
Here’s how the butcher’s twine looks along with some dotted ribbon..
Remember this Dried Cranberry and Pistachio Holiday Biscotti from yesterday’s post?
You know, as nice as these handcrafted tags will look on your gift offerings this year, I think these would also make a lovely gift in themselves.
Yes, gift tags can actually be the gift.
Consider whipping up a dozen of these vintage-looking tags as a gift.
Wrap them in some kraft paper, tie some peppermint-colored twine around the stack.
Add a sprig of pine and holly berries to the package for some color.
Top everything off with one of the handcrafted gift tags and you’ll have a very original and most unexpected gift.
Rubber stamping and card making used to a big hobby of mine years ago and during that time, I collected so many rubber stamps that I have quite a collection.
Over the years, I just stopped using them as regularly and it’s really nice to dig them out and put them to good, new uses.
These handcrafted, vintage-inspired tags are a lovely addition to any gift this holiday season but keep this tag-making technique in mind at other times too.
This is the kind of quick and easy project that can enhance your offerings any time of year.
Thanks for popping by.
See you right back here tomorrow for Day 11 of my
COUNTDOWN TO CHRISTMAS HOLIDAY SERIES. ♥
In cased you missed any ideas in my series, here’s a look at:
Day 1|Day 2|Day 3|Day 4|Day 5|Day 6|Day 7|Day 8|Day 9


I love the little ticking sacks — what a wonderful idea. I’m going to have to keep my eyes open throughout the year!! Do you have a favorite spot you shop for fabric. I am a confirmed Fabricholic. I love fabric and buy it just because I think some day I’ll use it for something.
Love this idea! I will definitely be making these! Thank you for posting!! May I feature it on my blog MakeItDelightful.com with a link to your post? You can email permission to MakeUtDelightful@gmail.com.
Sorry, had a typo on email address. S/B MakeItDelightful@ gmail.com
Once again, you’ve outdone yourself ! It’s gorgeous.
Never heard about Walnut Ink. Phoned my local scrapbooking store, they don’t know what it is ! !!! I’ll try Michaels here in Ottawa. They have the Distress ink pad, never tried it, don’t know if it would do the same.
Thank you.
Geneviève