W
hen it comes to making sweet treats for the holidays, it doesn’t get any easier than this.
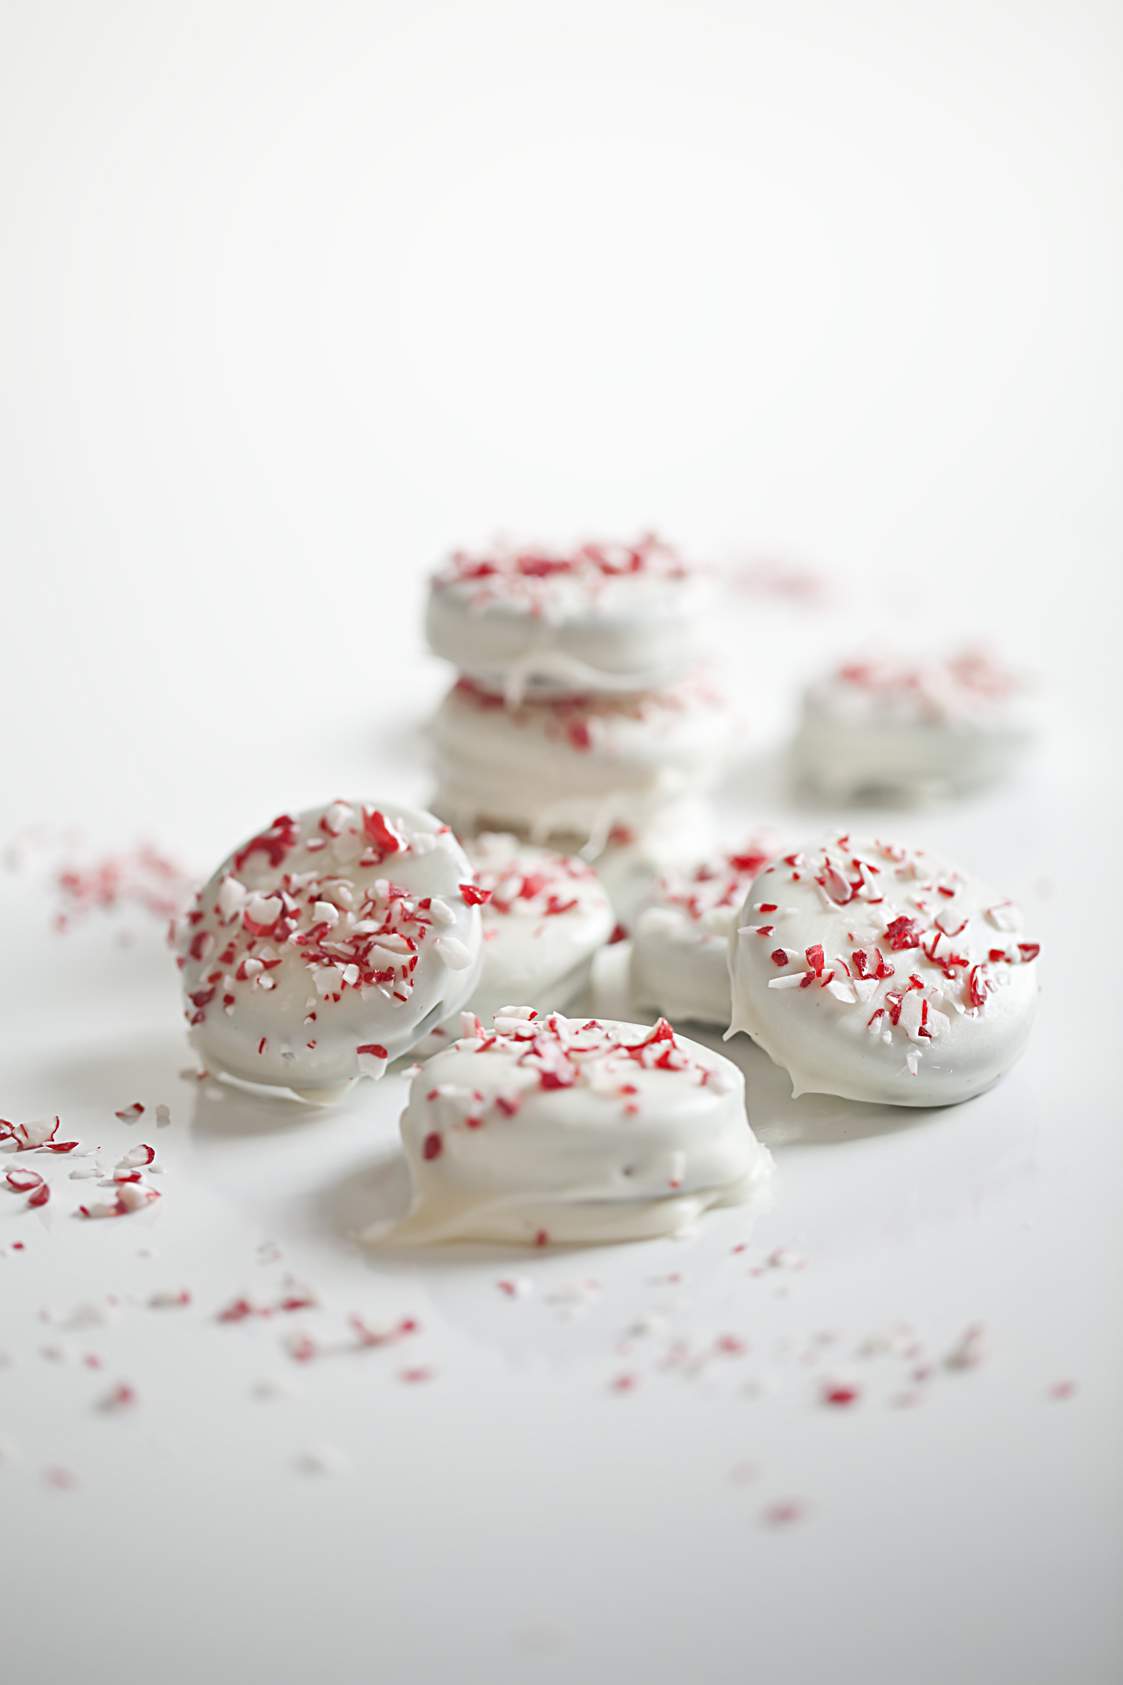
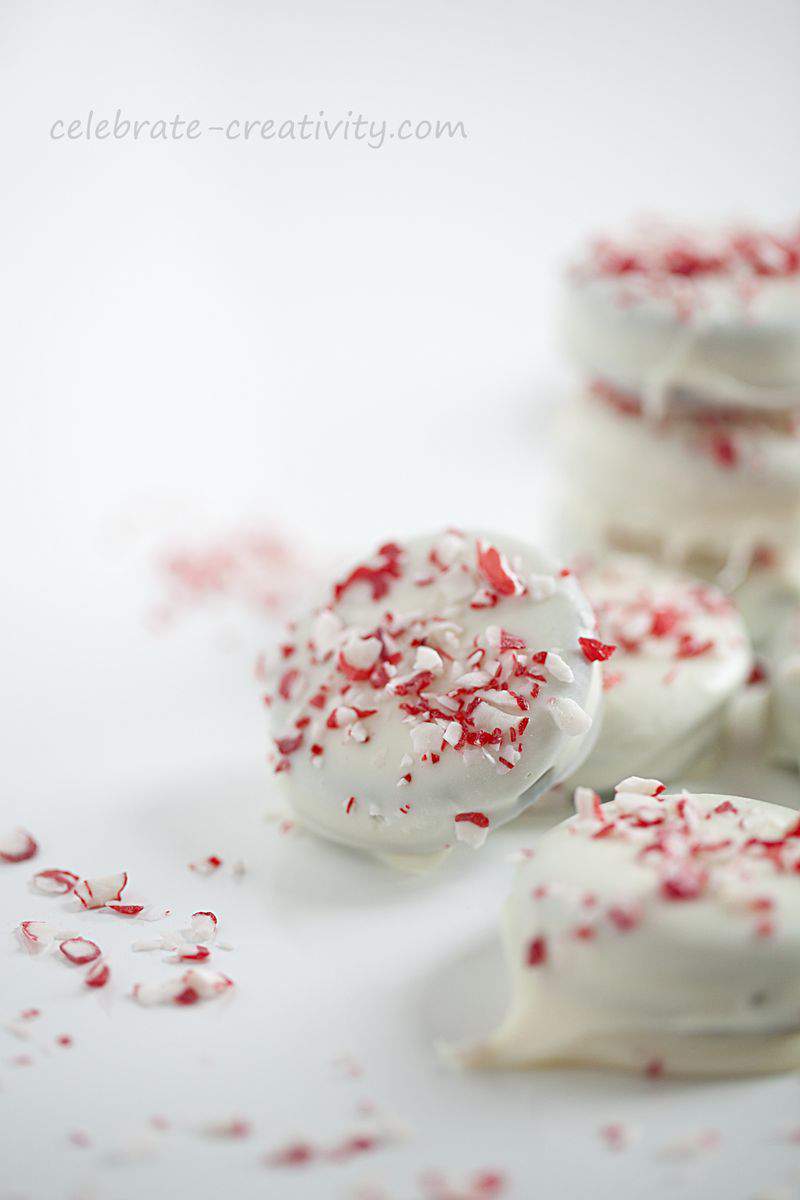
Welcome to Day 2 in my 22-day COUNTDOWN TO CHRISTMAS HOLIDAY SERIES, that these delightful-looking holiday Oreo cookie treats are a cinch to whip up and they’re even more delicious than they look.
You’ll get a triple dose of yummy when you bite into this cookie with its sweet taste of white chocolate, combined with the dark Oreo cookie and its creamy center… all topped with the perfect amount of minty crunch.
Stay tuned for a fun packaging idea further down in this post too.
Three easy ingredients… that’s all you need.
Pick up some Oreo cookies, white chocolate wafers and crushed peppermint (store-bought or crush the candy canes yourself).
Melt the white chocolate. When melting white chocolate in the microwave, it’s a good idea to set the time in small increments.
Start with about 20-30 seconds, take it out, stir it thoroughly and then add a short amount of additional time if necessary. This incremental method helps prevent the chocolate from clumping.
NOTE: I added a few Paramount Crystals which look like coconut flakes. They melt completely into the chocolate and help make it more creamy, fluid and just a little easier to work with.
Use a scoop or wire dipper to drop the Oreo cookie down into the melted chocolate.
Cover the Oreo completely.
NOTE: Wire candy dippers can be found in the baking section of most crafts stores.
Set chocolate-covered cookies on a sheet of wax paper or parchment paper to harden.
They actually harden very quickly so you’ll want to add your sprinkles almost right away.
While the chocolate is still slightly wet, sprinkle with the crushed peppermint.
A little goes a long way so don’t overdue it.
I can’t bring myself to make (or eat) these dipped, peppermint-topped cookies any other time of year besides the Christmas season.
Must be all that festive red and white.
I have a really easy idea for packaging if you plan to gift a few of these holiday oreo cookie treats.
You’ll need a few goodie bags and paper doilies, both of which you can find in the baking section of most crafts stores.
Fold the the goodie bag over.
Then, fold a paper doily and staple to the top of the goodie bag.
Use a hole punch to create holes on either side of the staple.
Then, loop butcher’s twine through the hole and tie a ribbon.
Insert an artificial sprig under the bow and you have a lovely treat to gift to friends and loved ones.
Look how pretty these look.
If you’re planning a small holiday dinner party, consider how beautiful these would look placed right next to each guests’ plate at the table.
See you right back here tomorrow for Day 3 of my
COUNTDOWN TO CHRISTMAS HOLIDAY SERIES. ♥


These look delish and easy to do.
I love the idea — it is adorable. Taking the ordinary into the extraordinary! This would be perfect as little favors. Thank you for the idea.
I enjoy your site but why can’t I download to Pinterest..
Beautiful cookies (my kind of cookies) and of course, gorgeous packaging!…love the way you used the doilies!