Do you have any projects you’ve posted over the years that you think deserves another look?
That’s how I feel about this handcrafted fabric envelopes.
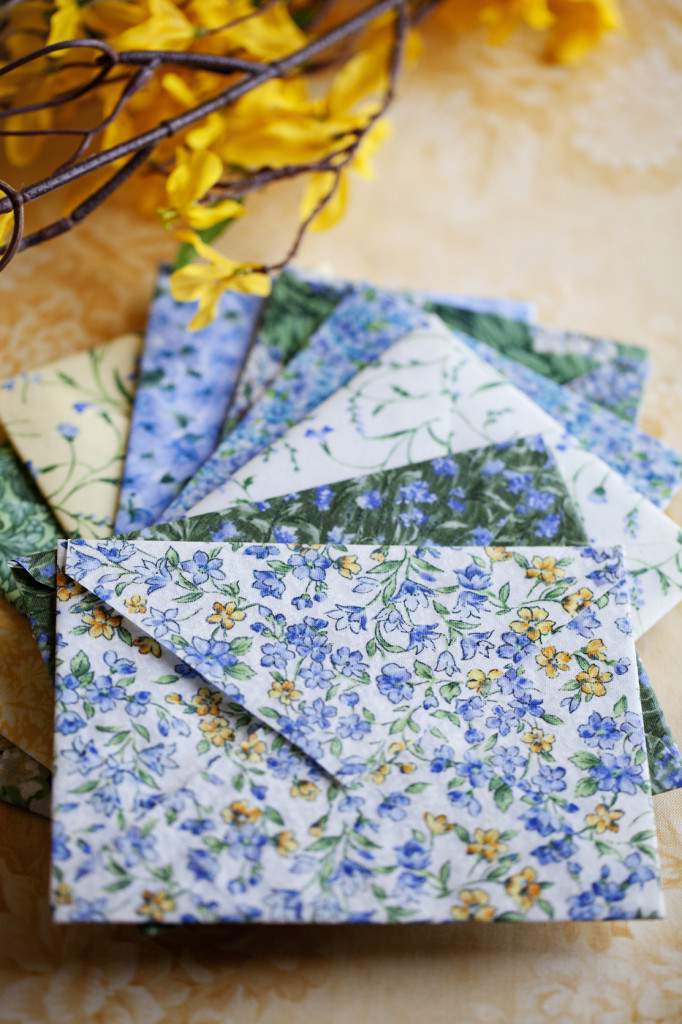
I made a similar version of these sweet envelopes a while back but decided to make them again with fresh fabrics that may put you in the mood for the Spring season ahead.

Yes, I did say FABRIC.
These envelopes are hand-constructed out of assorted fabrics and if you have any fat quarters or scrap fabric around your house, this is a lovely way to put some it to good use.

Here’s a look at the quilt I made using these pretty garden fabrics.
If you’d like to see more of my quilting projects, you can check them out in the QUILTING drop-down category of this blog.

To make the fabric envelope, unfold a regular square envelope and cut pieces of fabric a little larger than the open envelope. Hang on to the unfolded envelope because you’ll need it later.
Brush a generous amount of Mod Podge or Decoupage solution over the front of the fabric square.
Then cover the back side of the fabric with the solution.
TIP: Use a sheet of wax paper under the fabric while applying the decoupage to prevent the fabric from sticking to any unwanted surface. This also keeps the solution from getting all over the place.

The fabrics will dry better if you can find a way to hang them.
I just strung a piece of jute across a doorway and use clothes-pinned the sheets to dry.

Once the decoupage solution completely dries, you’ll notice the fabric will become stiff.
It feels more like textured paper scrolls at this point and you’ll be able to roll them up just like paper and store them for later use.

Pull out that unfolded envelope and spread it out onto the wrong side of the stiffened fabric.
This will serve as a template to shape your fabric.
Use the unfolded envelope as a guide to trace the outline of the envelope onto the fabric.
Be sure to use a pencil because pen ink or a marker may bleed through the fabric..

Follow the pencil guidelines to cut the fabric into the shape of the original envelope-template.
Then, fold the fabric envelope to create the same seams as the template.
You can see your fabric envelope taking shape.

Remove the envelope-template and apply a small amount of glue to the inside of the fabric bottom and side edges.
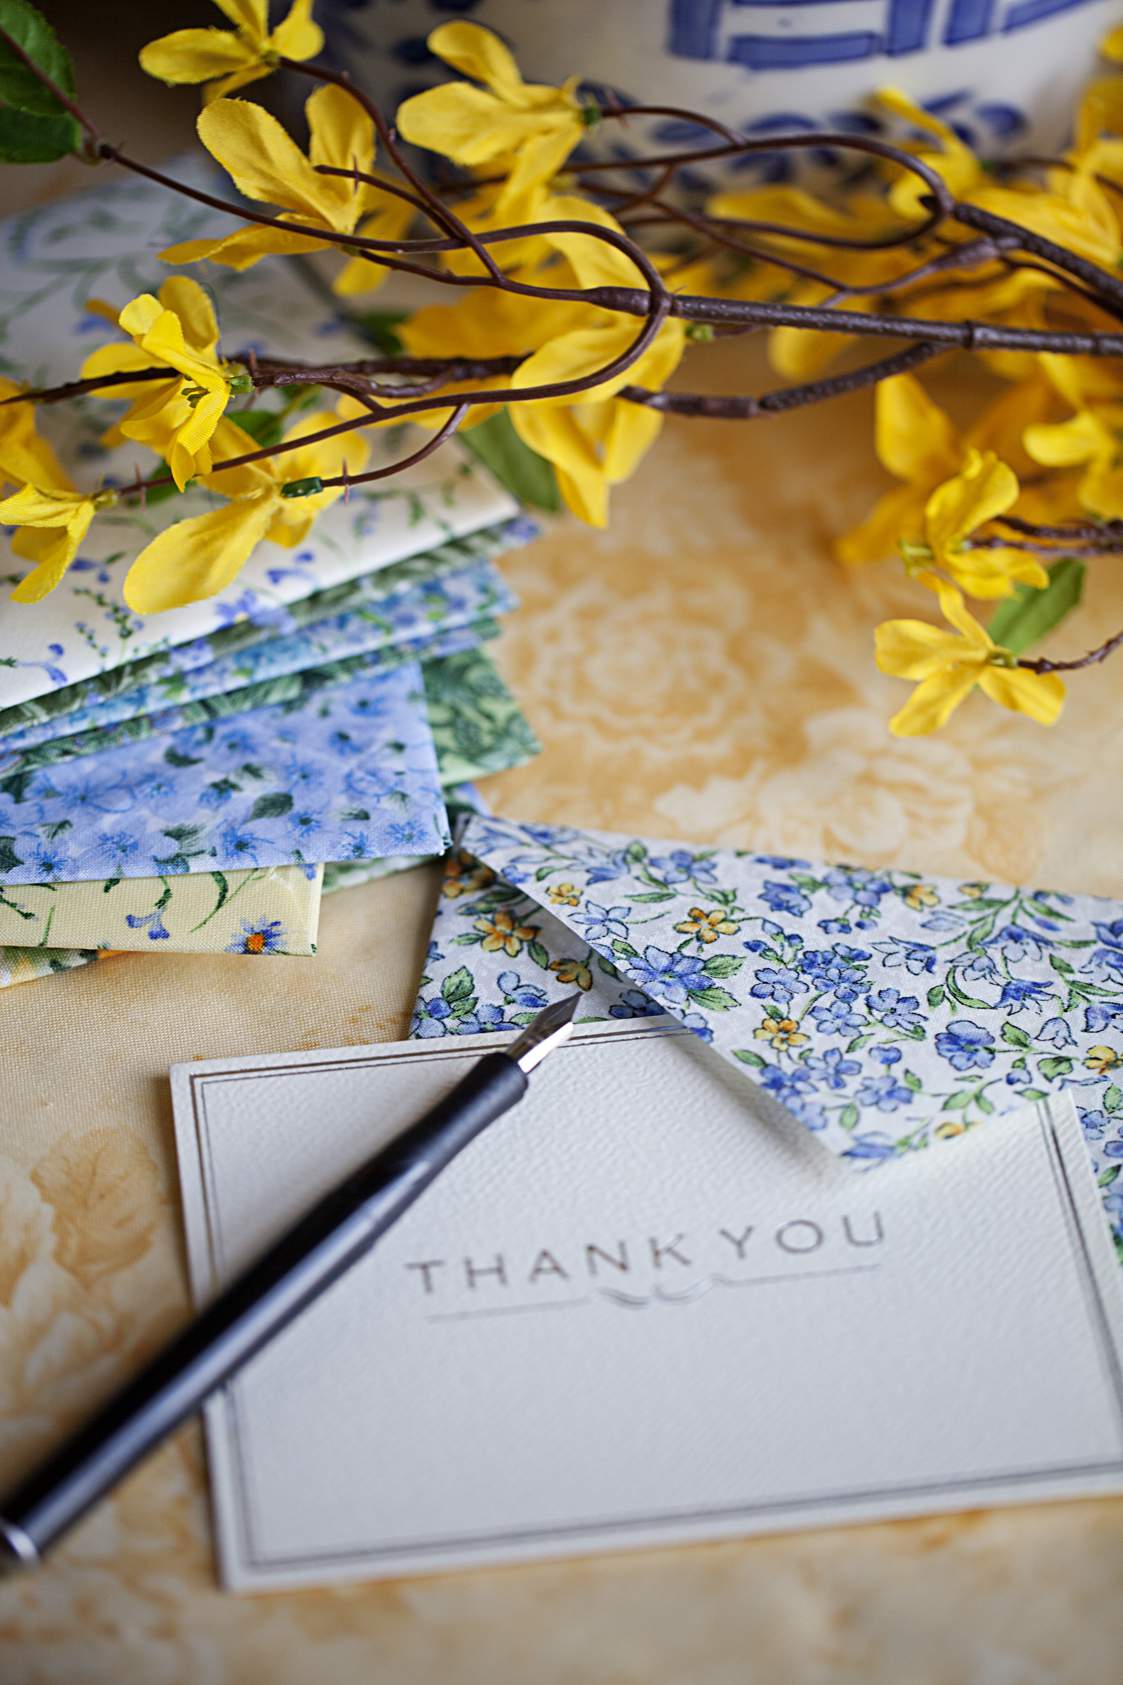
I purchased a set of blank thank you cards and inserted one into each envelope to complete the stationery set.

The envelopes look just lovely when they’re all stacked up like this.
When I first made these, several readers asked if they could be used in the mail. Honestly, I wouldn’t.
I don’t think these decoupage-covered envelopes would hold-up to the rigors (and potential dampness) of the U.S. Postal service.
I suggest you only use these if you’re delivering them by hand or enclosing them inside a gift.

Speaking of gift-giving. These make a beautiful gift.
Tie a pretty ribbon around a stack of these and give them to the writer in your life.
I gave a stack of these to my neighbor as a thank you present and she loved them.

Be sure to take a look at my earlier version of this project.
It’s amazing how gorgeous these look in alternate fabric choices.
You can find my original vintage-inspired fabric envelopes HERE and my vintage-inspired coordinated note cards HERE.

Thanks for stopping by.
See you back here next time. ♥


Lisa: These Envelopes are lovely and the corresponding Note Cards are Perfect. I never worked with Mod Podge, but will have to give it a go. Thanks for the wonderful inspiration.
Thanks, Jeanne. Mod Podge is oh-so versatile. There are so many uses for it. You should definitely have some in your stash (smile).
You can mail these if you place them in one of the clear plastic sleeves they now sell. I do it all the time!
Thanks, Wendy.
That is such a great idea.
I’ll have to look for those sleeves.
Happy holiday weekend to you.
xoxo
Sorry but what is a sleeve? Where can I find them?
These are beautiful and they would so enhance any note or gift. People so appreciate when you do something special just for them. Love how you have stacked them together to present as a beautiful gift…
Thanks Shirley, I’ve made these so many times for gifts and they really go over nicely because they’re kind of unusual. Thanks for popping by.
I must have missed this the first time around. I love the idea. What a special touch for notes. I’m pinning this! A super idea.
Thanks, Marisa. These envelopes definitely put me in the mood for Spring.
I absolutelly loved this post. I’m going to make it for sure. You’re in my favourite list.
Thanks so much Iane. I really appreciate it.
These are so nice; and I was thinking of using them (hand-delivered) for a tea I am planning. Very nice idea!
Joy, that is a lovely idea.
You’re guests will love them and they’ll also be so impressed that you made them yourself.
Have a wonderful weekend.
Oh my goodness……what a beautiful idea!!!!!! Your fabric choices are gorgeous and sweet at the same time!!! I cannot wait to try this……I need to go to the fabric store so I can pick out some sweet fabrics too!!!! Thank you so much for posting! Now I need to go check out MORE of your ideas!!!!!
Thanks so much, Monica.
You’ll definitely enjoy making these.
Don’t forget they’re really for hand delivery only. I wouldn’t trust sending them through the mail because exposure to moisture may ruin them.
Good luck and let me know how yours turn out.
Happy weekend.
These are absolutely lovely!!!! What a wonderful tutorial.
Thanks, Claudia.
I’m so glad you like these. It’s such a sweet project and handwritten notes are such a lost art.
Happy crafting to you.
The edges: does the m.p. seal them so they don’t unravel or was there something I missed. Love this! So very nice & lovely!
Thanks, Laura
I have not had any problem with unraveling.
I will say, the pieces are not heavily handled and that may also help preserve their integrity.
Good luck with yours. It’s such a fun project and a lovely, handcrafted gift too.
Happy new year.
xoxo
I love the envelops BUT your quilt is out of this world!!! You are very talented!
Thanks so much for that, Karen.
I’m glad to know you’ve found some things around here that inspire you.
Good luck with your projects.
Happy day to you.
xoxo
I’m so glad I found you. I make small watercolor mini cards and was hoping to find a solution to the plain envelopes from local hobby stores-can’t wait to jump on!
That sounds lovely, Sandia.
I think this project would be perfect for your mini cards.
I think you’ll enjoy making them too.
I’d love to see how yours turn out if you remember to send me a picture.
Stay safe and well.
xoxo
I was wondering, after they are hung up to dry can you iron them before you make an envelope?
Good morning, Kathy.
I think you’re fine to iron the coated fabric with a few important caveats.
Please only use a low heat iron with NO steam.
Any steam or moisture will most likely revert or impact the Mod Podge.
Imagine when glue dries on your hand and then, you wet it. The glue will revert to clumpy liquid before completely washing off. I imagine this would also happen to coated fabric (even though I’ve never tested the theory).
For this same reason, do not put your fabric envelopes directly in the mail where they could be exposed to damp or moist conditions. If you want to mail the envelope, please put it in a larger protective envelope first.
Also, if you iron the fabric be sure to cover the envelope with a piece of lightweight cloth (top and bottom, sandwich the coated fabric between two pieces of cotton before ironing). This protects the iron and your ironing board cover from potential glue reaction.
Good luck and thanks for trying out the project. They’re fun to make and gift.
I also like the look of rolled up sheets in a container in my craft room-lol.
Happy Spring to you.
They are gorgeous!
I’m wondering if you could use liquid starch instead of Modpodge? That was you could iron them.
Thanks so much, Randi.
I’ve only ever used Modpodge so I can’t attest to the use of liquid starch.
You could always try it and see if that works. If you do, let me know if you’re successful.
That would be good to know.
Happy day to you.
xoxo
These envelopes conjure the thought of spring bluet flowers along the side of the road or in a field. Quite lovely. You captured a feeling in this project. I just adore them. Can you say upcoming project? I can. Thank you.
Thank you so much, Gisele.
I hope you give this project a try.
It’s such a fun activity and the finished envelopes also make lovely gifts too.
Happy weekend to you.
xoxo
I couldn’t open several of your other pics on Facebook, but I’m glad I found one that opened. Lovely idea. I will definitely try your technique.
Thanks
Thanks Nancy, I’m glad you found what you were looking for.
I’m not sure what’s going on with FB photos. I’ll have to look into that. Thanks for the heads-up.
I hope you enjoy the project.
Let me know how it works out for you.
Enjoy your weekend.
Lisa, xoxo