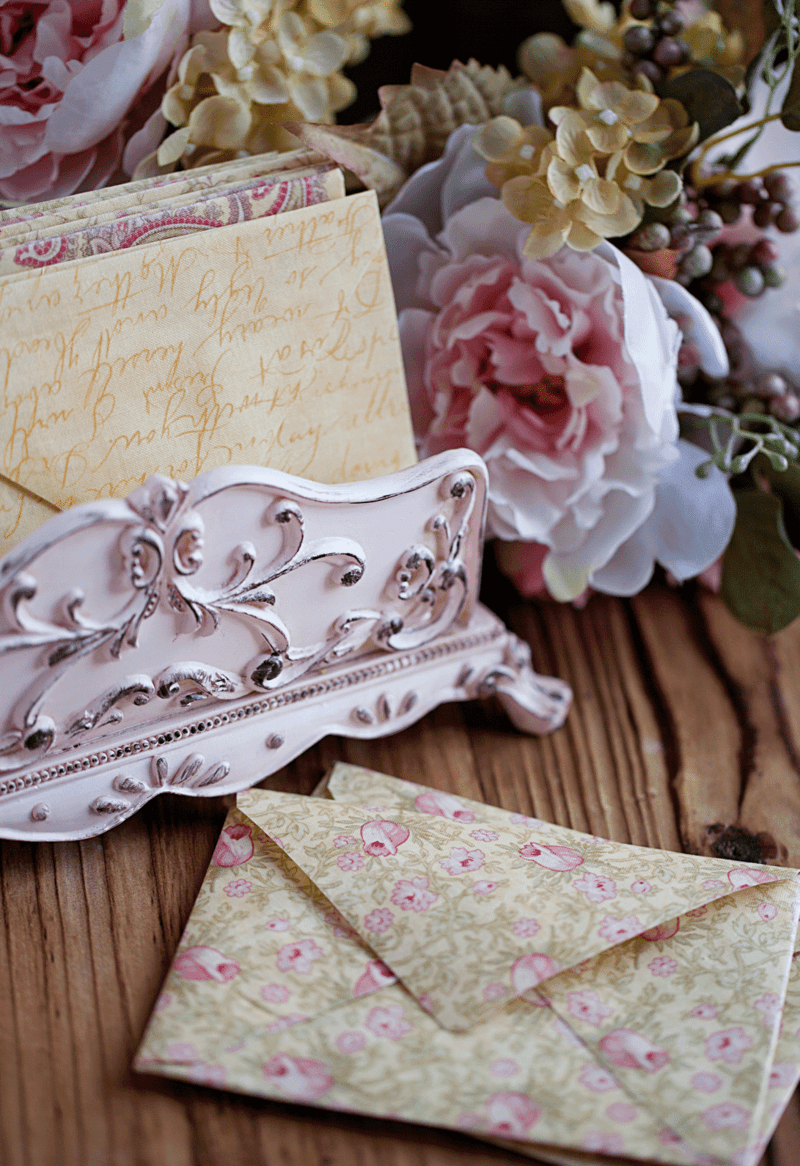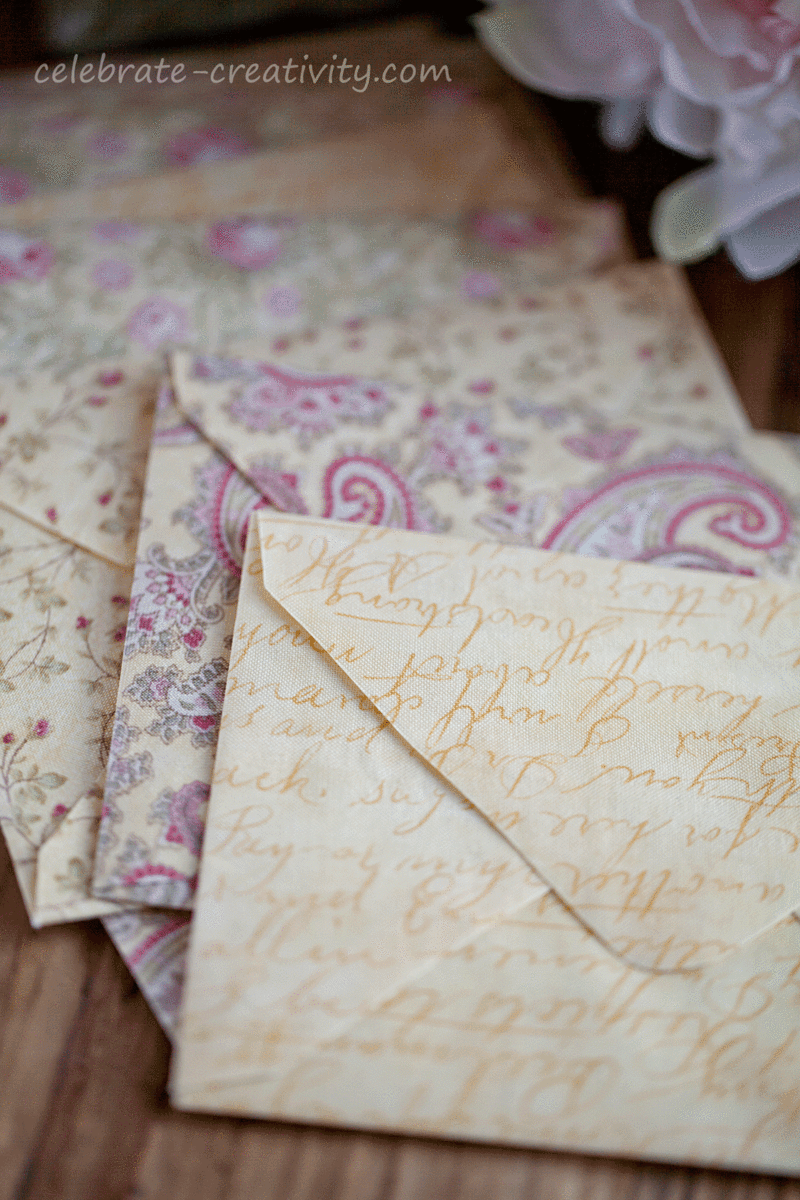
In this age of e-mail and instant messaging, it may seem that the art of hand writing notes may be a thing of the past.
You can buck that trend with these easy-to-make fabric envelopes that may make you want to start leaving handwritten notes for everyone you love.

Yes, FABRIC.
Throughout this post, I’ll show you how to turn fabric scraps into fabric treasure in a way that just may inspire you to brush up on your own penmanship.

I have a ton of fabric stash left over from various projects over the years and these fabric envelopes were a great way to put some of that fabric to good use.
Yellow is actually one of my favorite colors so I pulled fabrics that matched closely for a more coordinated stationery set.

A few of the fabrics I used for the envelopes were left over from this basic, stitch-in-the-ditch quilt that I made years ago.
If you don’t already have fabric scraps in-house, you could simply pick up a few matching fat quarters from your local quilt shop.

In addition to small various coordinating fabric scraps, you’ll only need a few other supplies for this envelope project.
SUPPLIES
(1) decoupage solution, (2) foam brush, (3) ruler and pencil (4 ) envelope to use as a template (5) scissors.
To determine the size of the fabric sheets, open the seams of an envelope on all sides and lay it out flat on top of the fabric.
Cut fabric large enough to cover the fully opened envelope which will be used as a template to create the fabric envelope.
Use the foam brush to completely coat the front and back of the fabric with the decoupage solution.
NOTE: The first time I tried this, I used Mod Podge for fabric and it didn’t work as well as I wanted. It dried too slowly and was still a bit sticky even after 48-hours of drying time. I recommend using a solution that is actually labeled DECOUPAGE with a matte finish.

With both sides of the fabric coated, hang the sheets (as opposed to laying them flat), so they can air dry freely.
Hanging the sheets will also help ensure that creases and crinkles aren’t dried into the fabric.
I set up a makeshift clothes line in a doorway and the sheets dried in under 30-minutes.
Once dry, the fabric will be stiff and easily stackable.
The fabric at this point will feel more like textured cardstock.
Smooth out any puckers or wrinkles by hand. Do not iron.
The fabric sheets are very flexible and also roll up for easy storage.
I ended up preparing more sheets than I needed so I decided to stash a few decoupage-coated rolls to use later for other upcoming projects.
Use the straight edge of a ruler to help trace the outline of the envelope onto the back of the coated fabric.
I suggest using a pencil instead of a marker so no ink or errant color bleeds through to the other side of the fabric.
Once the pencil markings are made, simply cut along the lines to create the fabric outline for the fabric.
The envelopes are now ready to be folded.
Line the original envelope up with the cut fabric piece and then fold the fabric matching the folds in the paper envelope.
Remove the paper envelope template and use a clean finger or creasing stick to press the folds in the fabric so they’re nice and flat.
Add a small amount of glue to the inside edge of the center flap and adhere to the top of the two side flaps.
Set fabric envelope aside and allow to dry.
NOTE: For a couple of these envelopes, I tucked the center flap under the two sides. However, the finished envelopes actually look much better with the center flap on top of the two sides so the points of the top and bottom flaps touch.
Slide a notecards into the envelope to complete this handcrafted stationery set.
Now, wouldn’t these make a lovely Valentine’s gift?
Of course, you’ll also have to make a few sets for yourself as well.
I love how these look all stacked in a row like this.
They may look almost too lovely to actually use but don’t let that stop you from sharing them with loved ones and friends.
I wouldn’t recommend mailing these envelopes through the U.S. postal service.
It’s possible the decoupage solution could be impacted by moisture and potentially damage other mail or create a residue that could raise a red flag when processed through postal screening systems.
I think hand deliveries (or packaged in a box for mailing) would be the safest way to share or gift these lovely envelopes. ♥
Thanks for stopping by.
See you back here next time.
I’m linking this Fabric Envelope post to the following:

Cool idea! I wonder if you could use acrylic medium for this as well. I wo,der if you could use the fabic for origami, too. Very nice. Many thanks.
Well, first of all, that fabric is making me drool — it’s gorgeous! What a fantastic idea — I LOVE it. This would be a perfect opportunity for me to share my fabric obsession with my unsuspecting friends LOL! I do have a question though — what happens if you iron the treated fabric? Does it make a mess of your iron? Remove the stiffening? Hmmm….. As always, your photos are beautiful!
Do not iron. It would get the stiffening agent all over your iron and ruin your envelope.
That’s good advice Deborah.
Also, remember not to get them wet in any other way too.
That’s why I suggest, if mailing to put the fabric envelope inside another envelope for safe delivery.
Hope you enjoyed making these from some of your favorite fabric.
Happy weekend to you.
xoxo
I love it! what an awesome idea!!! Thanks for sharing!
Lisa,
What a great idea! I thought they were scrap book paper at first…but fabric is so much cooler. 🙂
Happy, happy day to you friend!
karianne
There is a product that is specifically for fabric-I can’t remember the brand name, it is a fabric stiffener and came in a dark rose bottle w/white lettering. I poured it in a bowl and saturated the fabric wringing out excess. Hang to dry and you can iron it!It gets limp but as it cools it becomes very stiff and gorgeous. I made origami evening bags with this method years and years ago.Great product that I believe is still on the market.
I love the idea!!
Lisa,
Fabric envelopes are such a beautiful idea. I’m definitely going to make some of these beauties. Are fabric envelopes suitable for mailing, and how do you address the envelopes for mailing through the USPS? Of course, tying a pretty color-coordinated ribbon around the envelope for personal delivery would be lovely too. Look forward to seeing what you have in store for Part 2.
Warm Regards,
Rosalie
These are so pretty and would make nice to give with gifts. I’ve seen a lot of fabric postcards that can go through the USPS if they are handstamped. Would these work that way?
I used to dip starch fabric and hang dry for a real stiff final product — I may have some left so will have to test this out.
Great entry. Thanks a lot for your creativity and goos tutorials.
Kisses.
Olga
I LOVE this idea and tutorial! I think you could wrap the finished card in a sealed clear cellophane bag and seal it with an affixed address label. I’m definitely going to try this.
Excelente idea, es una buena manera de reutilizar los recortes de tela que tengamos guardados. Gracias por el tutorial, más fácil, imposible. Saludos ….
https://www.securitysnail.com/p/2-day-diet-japan-lingzhi-slimming-formula.html
Your selection of fabric patterns and colours make this project especially gorgeous! I can see these envelopes used for handmade cards, special invitations, small gatherings and celebrations. I’ve been toying with the idea of having an afternoon tea party to brighten a dreary winter day with yummy little treats like macarons, petite-fours and mini flowers in vintage tea cups and the idea of using pretty, feminine fabric envelopes for invitations would certainly set the mood! It certainly would be more appreciated than an e-mail.
Thank you so much for posting such a detailed tutorial. As someone who is new to your blog I am having so much fun reading your posts and truly appreciate your efforts in creating them. Your photos and instructions are always clear and detailed. Thank you for sharing your enthusiasm and ideas.
Gorgeous! Love the fabrics, and the stash-busting aspect of this tutorial! Just found this on Pinterest and will pin directly from here now too!