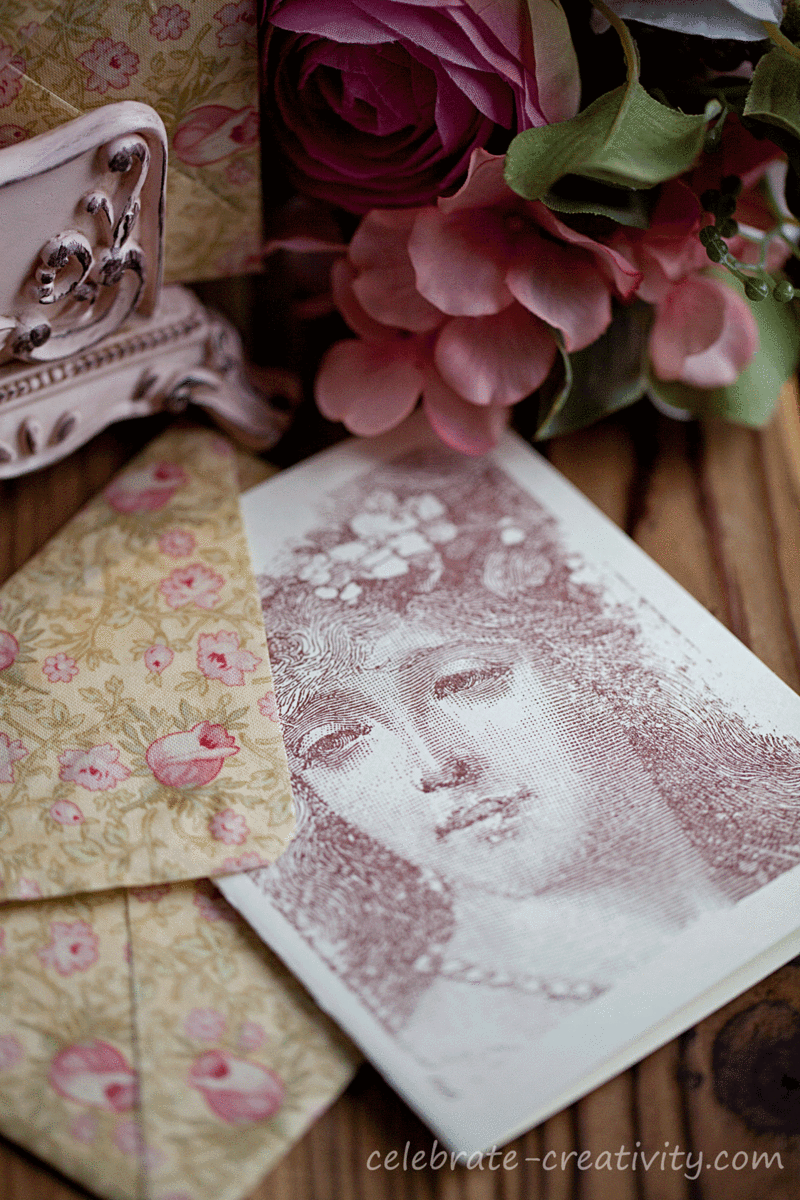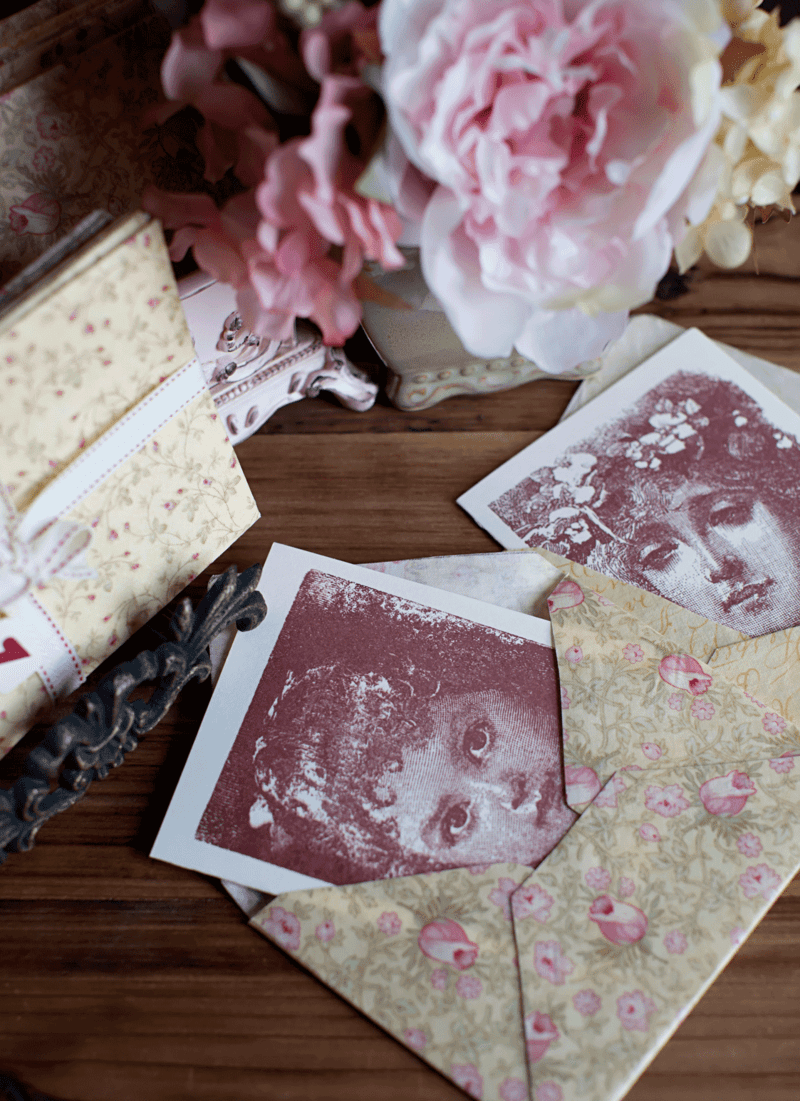
You’re going to love these note cards. I do and I know you will too. The vintage-inspired images are a perfect compliment to the (easy to make) fabric envelopes they’re tucked into.
Part 2 of my handcrafted stationery series is all about making rubber stamped note cards for fabric envelopes.
They may look almost too pretty to use but use them anyway and gift them too… to your heart’s content.

I decided to make the cards to go with my handcrafted envelopes that I shared here last week.
Be sure to check out that previous post on how to turn fabric scraps into envelopes.
Yes, these are made of fabric.
I think handcrafted envelopes just beg to be accompanied by hand-stamped cards.
These would also make a lovely Valentine’s Day gift.
I love the fine detail in this stamp which makes the image look like a photograph when viewed from a distance.
This stamp is manufactured by a company called Stampland and as of this writing the Stampland website is “under construction”.
I’ve included the link above anyway in case you’re interested in finding the same rubber stamps.
I’ve had several of these vintage-inspired rubber stamps for nearly a decade. I used to do rubber stamp crafting all the time but I haven’t really used my stamps in a few years now.
I’m glad I dug these up because beautiful stamps like this are just too pretty not to use and I’m going to try to find new ways to put them back to good use and share the projects here.
When rubber stamping, pat the ink pad over the entire rubber stamp image.
Never rub the ink pad because it will smear the final image.
Just keep patting the ink pad over the entire surface of the image until it is thoroughly covered with ink.
Then, firmly press the ink-covered stamp into the card.
For these note cards, I used a rubber stamp ink called Art Print Brown. It’s looks like dark chocolate and it’s a good color for vintage-inspired projects like this.
Make sure firm pressure is applied to all areas of the stamp before lifting it off the card.
It’s especially important to make sure you press down on the all corners as well as the edge of the stamp too.
The amount of pressure applied to the stamp when pressing it on the card will determine how light/dark the image will be as well as how thoroughly the ink will be deposited.
TIP: Consider standing up while stamping the image. This will not only give you better leverage for applying appropriate pressure but will also give you a better vantage point to position and align the stamp with the card.
I’m sharing a few mistakes in the photos below to give you a better sense of what happens when you don’t press the stamp hard enough into the card.
The card on the left did not get enough ink coverage because of insufficient pressure on my part. You can still see the un-deposited ink on the rubber stamp.
The image on the right is a much better example of thorough ink coverage.
Here are three more examples of how the amount of pressure applied impacts the final image.
I used very little pressure on the card on the far left, and you can see the image is not only faint but also has very weak ink coverage.
The same problem occured with the middle card, with inadequate pressure applied along the edges.
The stamped image on the far right turned out well.
NOTE: The effect created by missing ink may actually be desirable for some projects. If the objective is to create an image with a more weathered, distressed appearance you might want areas of mssing ink on the finished cards.
It may take a few efforts to get the image exactly the way you want it.
If you’ve never stamped before, I suggest stamping a few practice images on scrap paper first so you don’t end up wasting perfectly good cards.
Isn’t this the most adorable face peeking out from the handcrafted envelope?
I think a set of these hand stamped note cards (along with the handcrafted fabric envelopes) would make a lovely Valentine’s gift.
If you plan to gift a set of handcrafted stationery, do dress it up a bit.
Tie a nice ribbon around the stationery stack, add a mini tag and top it off with a tiny red heart for a very pretty presentation.
I saved some ivory, dotted-twill ribbon from several Anthropologie shopping bags that were stacked in a closet along with other paper bags.
This ribbon was just too pretty to leave as shopping bag handles.
Waste not, want not, right?
I was able to collect nearly two yards of this dotted ribbon and I plan to use every inch of it.
Place this pretty stack into an equally lovely gift bag with some pretty tissue paper and you’ll have a wonderful handcrafted offering for someone special.
Thanks for stopping by.
See you back here next time.
I’m linking this Notecards for Fabric Envelopes post to the following:


Thanks for the stamping tips. I have a terrible time getting a good impression…and how do you get your image so perfectly aligned?
Very pretty! And you definitely win for best use of an Anthro bag!
Beautiful cards! Thanks for the hints. Why haven’t I been saving all those great ribbons and cords from bags??
https://www.securitysnail.com/p/2-day-diet-japan-lingzhi-slimming-formula.html
You’re so right, these vintage portrait stamps are too beautiful not to use! Making a handcrafted stationery set like this to gift is an exquisite little labor of love. Nice way to re-use that ribbon by the way.