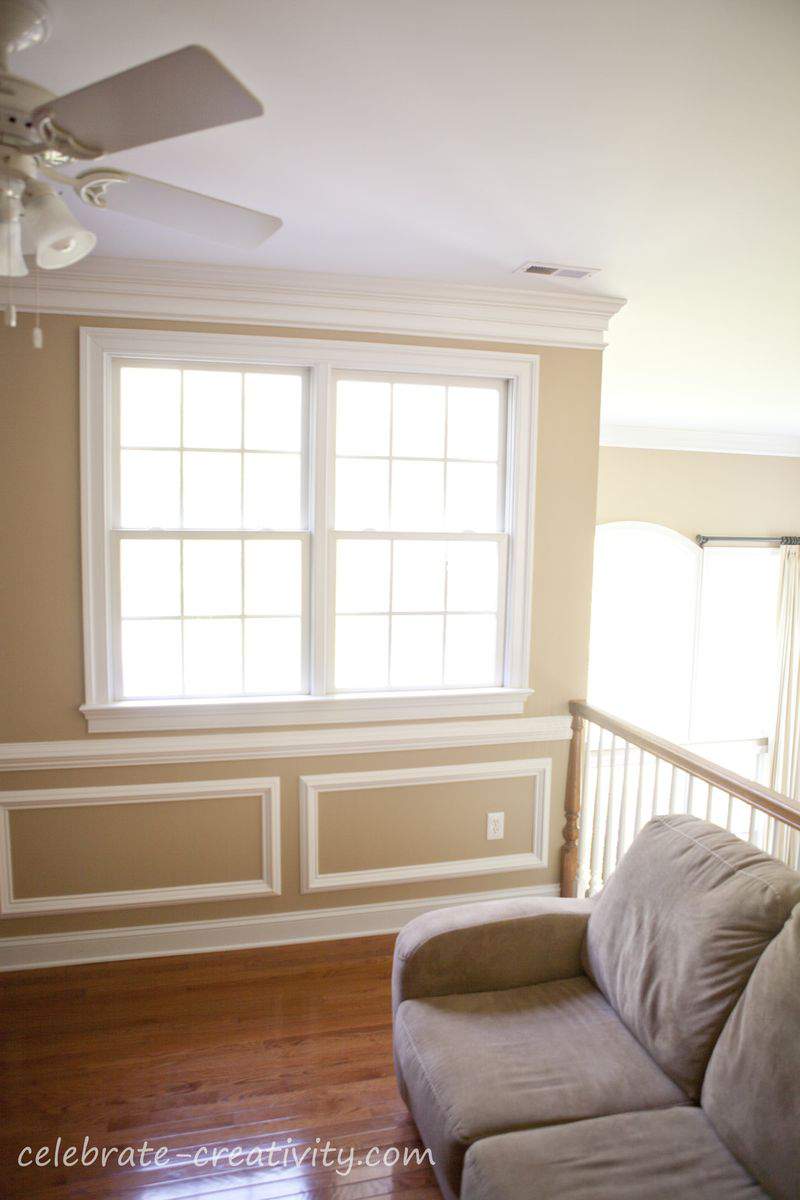
Have you ever seen a more lonely window in need of a window treatment? Pitiful, I know.
While I’ve always appreciated the natural light that pours in from this loft-area window, I admit I’ve neglected its adornment for far too long.
I decided to add some panels and throughout this post, I’ll show you how I made them myself.

In fact, this entire loft needed some attention… but more on that a little later.
Let’s focus right now on making over this window with a simple panel.

Late last year, I picked up this pretty gold and white, garden-trellis style decorator fabric.
It was on super sale at one of those prices you just can’t pass up.
At first, I thought I just might make throw pillows but then it occurred to me the fabric would be a great way to brighten up that boring loft space and window.

Plain window panels are among the easiest window treatments to make because there are no fancy bells or whistles attached.
If you can sew a straight line, you can make these panels.
Measure the length of the window you want to cover and add about 12-inches to that measurement.
NOTE: If making two panels, you’ll need 2 sections of fabric.

Cut the same length of measurement from the lining fabric and set aside.
Turn each side of the fabric over 2-inches the length of the fabric and iron.
TIP: Cut a 2-inch X 8-inch strip of cardboard to use as a guide for turning the fabric over evenly.

Open the fold over and pin the edge of the lining to the edge of the fabric with wrong sides together.
Repeat these steps on the other side of the panel.

Turn the fabric inside out.
Use the 2-inch cardboard guide to turn the top edge of the fabric over.
Iron to hold in place.

Fold the fabric over again about 4-6 inches and stitch along the folded edge to close.
Use a water soluble pen to mark the center of the area you just folded over.
This line will be the placement guide for your ring hooks (which can be found at most linen shops).

I knew I wanted white wood rings for this project but the specialty drapery shop that had them wanted nearly $40.00 for just 7 white wood rings.
Well, I needed 28 rings for this project so that was definitely a no-go.
Instead, I spent $24.00 dollars for metal rings and just spray painted them with a flat white paint so they looked more like wood.

I also had an old set of finials wasting away in a garage toolbox so I decided to put them to good use and apply a couple of coats of white paint to spruce them up too.
If the screws in the bottom of a finial are not removable, simply pop them into a piece of Styrofoam to hold them upright so they can be painted.

I also spray painted this 7-foot wood, fluted drapery rod which was another re-purposed item.
When adhering any window treatment rod, it’s a good idea to use a leveler to make sure you get it lined up perfectly.

Don’t these white rings on a white rod look refreshing?
I think it’s a very clean and airy presentation and really pops with the white ceiling molding.

When it comes to hanging the panels, I considered a few approaches.
For example, here’s a rough puddling effect.
After looking at this for two days, I decided as much as I like a puddled effect, I like a more tailored dust-the-floor length much better.

When decreasing the length of a panel, always over-compensate for the amount of fabric you think you may may need in the hem.
It’s always better to have too much fabric to fold over along the bottom edge than not enough.
It would be disastrous to go through all this work and then end up cutting the panel too short in length.
NOTE: If you have extra fabric, save it. You may be able to use it for another project later.

Turn the fabric over about 1/4-inch and iron.
Then, turn the fabric over again to achieve the desired length and iron the bottom edge of the panel.
Slip-stitch the hem by hand to finish bottom edge.

You know that extra fabric I referenced earlier?
Consider using leftover fabric to make a coordinating lampshade.
I featured this lampshade project here a few weeks ago and you can see my full tutorial on how to customize a lampshade using your own fabric HERE.

After hanging the panels, gently create folds in the fabric and wrap the window treatment with plastic at about the midway point.
Leave this wrap in place for a week (or two weeks if you can stand looking at it that long), to help shape the drapery folds.

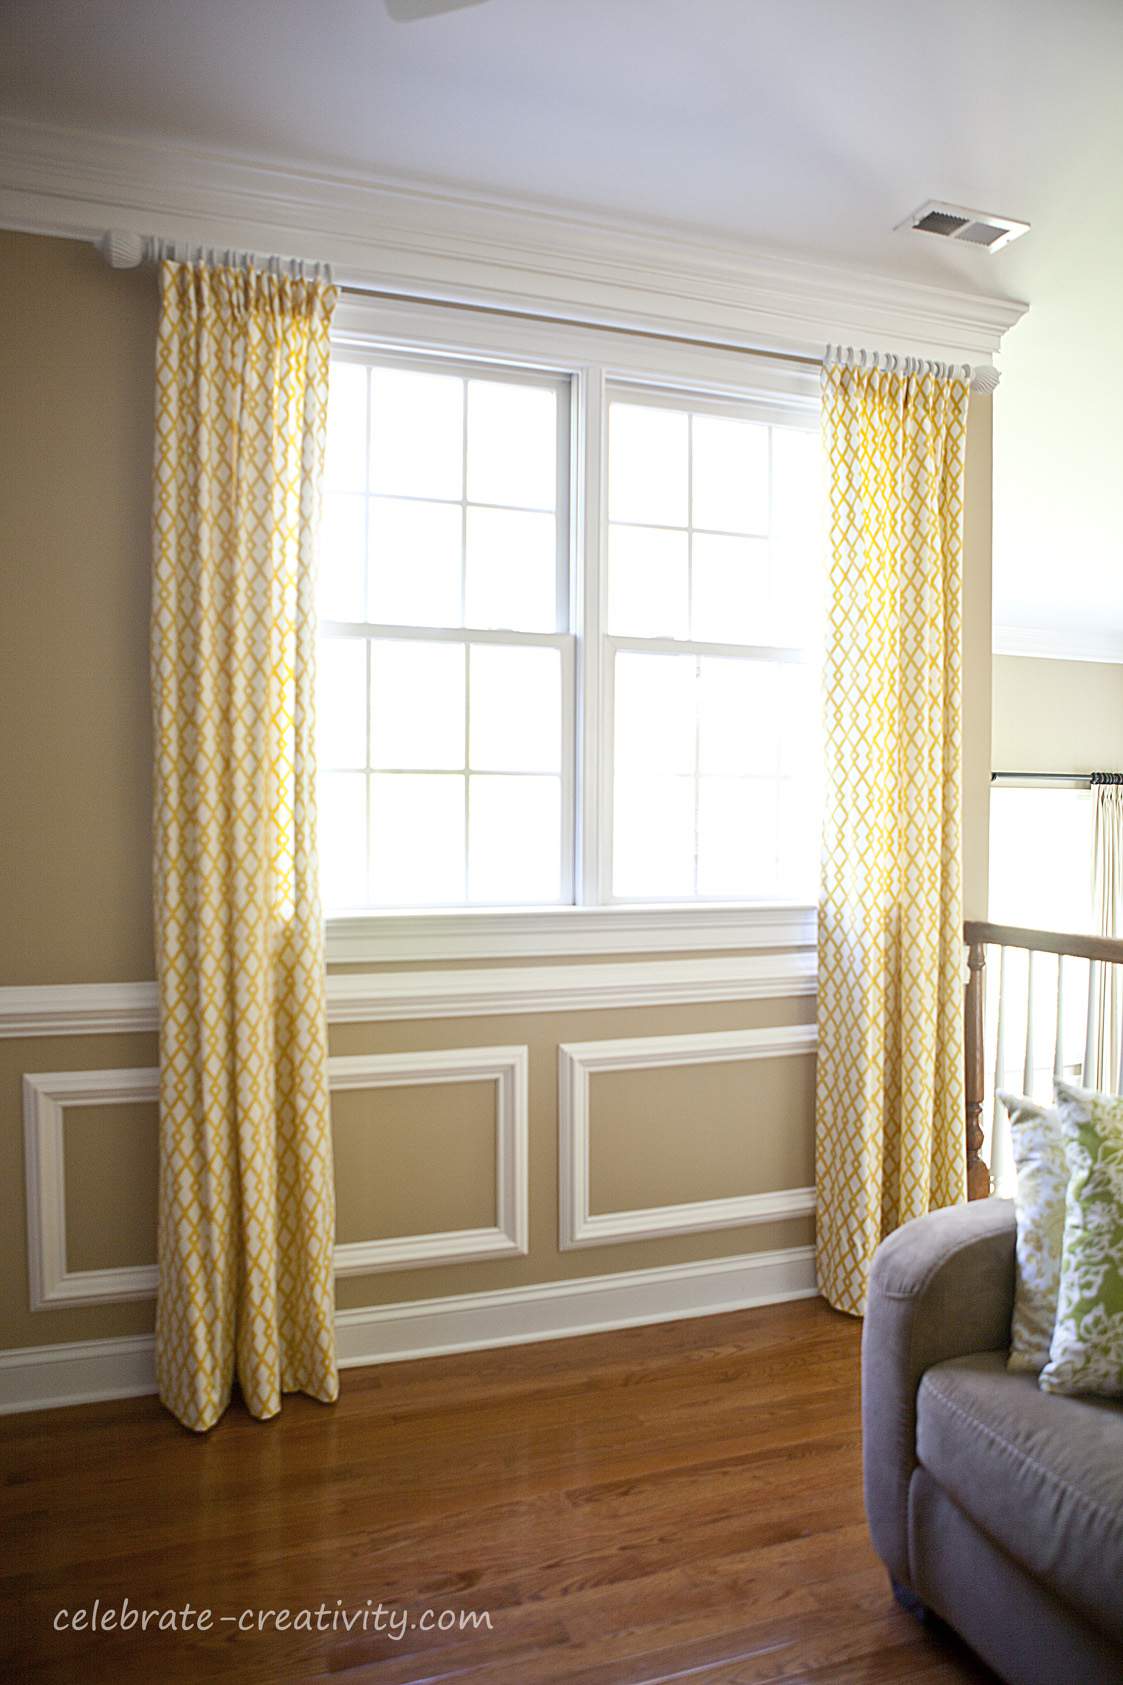
Here’s a look at my finished window treatments.
I think they brighten and transform the entire space and it’s exactly what this little window needed.
Thanks for stopping by.

Beautiful Lisa!!! I can’t wait to see the makeover!!!
I noticed you have been sewing with two different machines. One for all purpose stitching and another for embroidery. What style and brand are you using for the embroidery? Thanks
So beautiful fresh for Spring Lisa!! LOVELY!!! 🙂
So beautiful…it certainly gave that room a cheerful glow!…Love the pattern and love how you carried it out with the lamp shade!….Such a great space!…Have a most joyous Easter!!
I actually thought the room looked great to start with, but the curtains did improve the window by a surprising amount. I’ll have to take a look at my own windows now that I know what I could change. I might need to replace a few to get them looking as nice and new as yours.
Those window curtains looks awesome. Based on the steps you have pictured and written out I should be able to do this in my home no problem. Instead of the yellow fabric you have I might go with a lighter blue color to match the rest of my home. Thanks for the great post.