H
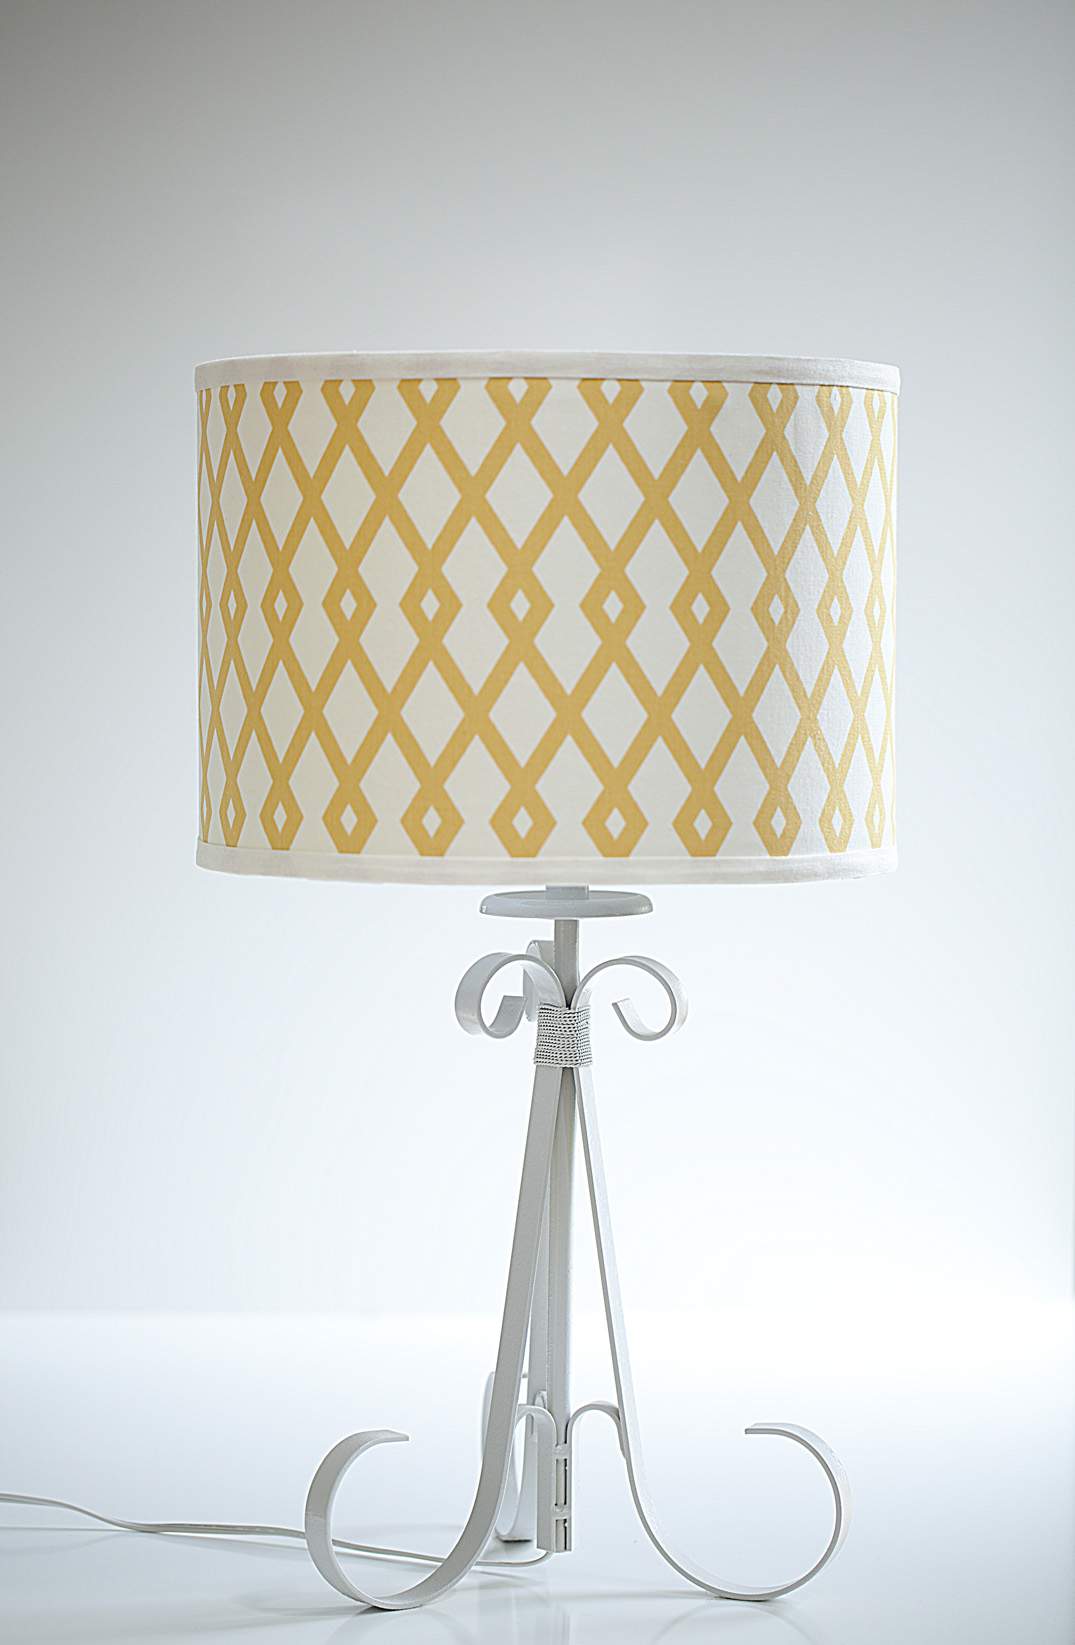
ave you ever thrown your hands up in frustration over not being able to find the perfect lampshade? Well, I certainly have and that disappointment recently gave way to a fantastic solution.
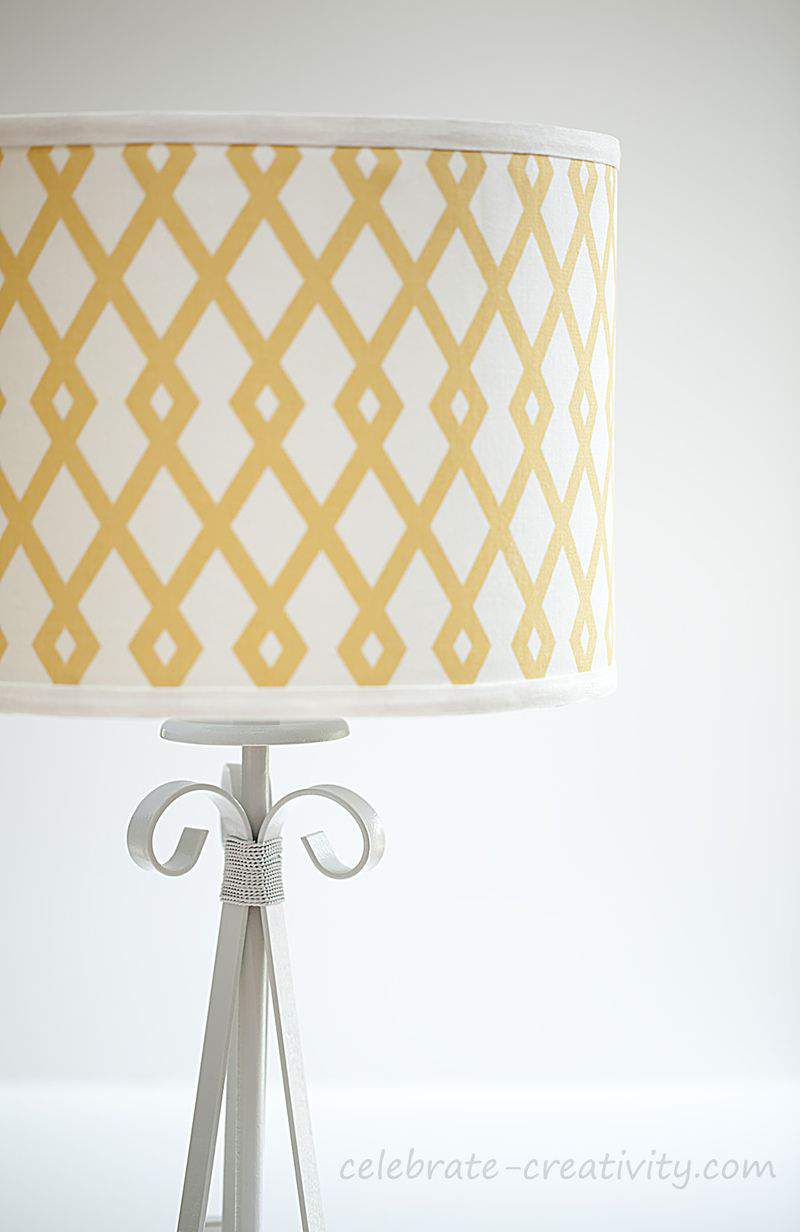
This lampshade makeover project is super simple and throughout this post, I’ll show you how I customized my own lampshade, using my own fabric.
This is such a super-simple project, I’m not sure why I didn’t think of this any sooner.
You’ll only need a few supplies including less than a yard of your desired fabric.
You’ll also need a plain lampshade.
I suggest using a barrel-shaped shade so that the fabric can be applied easily and smoothly over the surface.
Store-bought shades will almost always have some sort of trim around the edges.
Carefully pull this trim off of the shade and set it aside.
I decided to re-purpose an old lamp base which was originally a dingy and dusty ivory color.
That’s where a can of white spray paint comes in.
Make sure you cover the parts of the base you don’t want to get paint on.
It’s always best to spray projects like this outdoors but if that’s not possible, be sure to spray in a well-ventilated space.
Measure the width and length of the shade. Add 1/2″ to the length measurement and cut fabric to size. This extra 1/2″ will give you the extra length needed to turn the fabric over for a properly finished edge.
Also cut the same measurement of lining. Apply a light layer of spray adhesive to the back (wrong side) of the fabric. Then, attach the lining to the back side of the fabric.
Now, cut a section of Heat-n-Bond to fit this same cut of fabric.
NOTE: Heat-n-Bond is a double-sided heat-activated adhesive. You can find it sold by the yard at most fabric stores or in smaller pieces at many crafts stores.
Fold one edge of the fabric over about 1/4″.
Lay the section of Heat-n-Bond on top of the back of the fabric-lined cut and iron.
The heat from the iron will activate the adhesive and once side of the heat-n-Bond will stick to the fabric.
Carefully peel off the outer to packaging layer which will expose the other adhesive side which will be applied to the lampshade.
Gently line-up the fabric cut with the top and bottom of the lampshade and carefully, use a dry iron to activate the second adhesive side which will adhere it to the lampshade.
Work carefully and deliberately so the fabric cut stays lined up with the top and bottom of the lampshade as you slowly continue to activate the adhesive, adhering it to the lampshade as you go.
When the two ends meet, make sure the slightly folded edge overlaps the other just a bit.
This double-sided clear adhesive tape is another great product to keep in your stash and it works like the Heat-n-Bond product only this does not require any heat.
Easy to remove strips of paper protect both adhesive sides of this tape until you are ready to use it.
You can find Res-Q-Tape in various sizes at most fabric stores in the notions section.
NOTE: You can also use this for quick hems if you’re in a hurry and don’t feel like using a needle and thread.
Remove the protective strip to expose the adhesive and then, adhere a strip of the Res-Q-Tape to the original lampshade trim.
Peel off the second protective strip and adhere the trim to the top and bottom of the lampshade.
Fold a piece of the trip over just a bit for a finished-looking connection.
Make sure you line up the trim connection with the fabric connection.
It’s that easy to create a lampshade to suit your fancy and match whatever home decor you like.
Heavier fabrics may not require a lining but lighter fabrics almost certainly will. Test your fabric by draping it around the bare shade with the light on to see if it creates the effect you want before proceeding.
By the way, this lampshade makeover was part of a mini-office makeover I’m working on.
I’ll definitely share the entire space soon in upcoming posts so stay tuned. ♥
Thanks for stopping by.


On the third-to-last caption under that picture, I noticed that you said heavier fabrics do not require lining like light materials do. I would like to see if can get the heavier fabric without the lining for my design to put around a candle lamp. I like how you said to test the fabric by draping it around the shade after further reading that same paragraph. My thought is that I could try both heavier and lighter material to see which one would drape best around a candle lamp.
I love this lampshade makeover. In fact, I have been dreading going to the specialty lampshade store as they are VERY PRICEY and these lamps we have are about 30 years old. My grandson decided to design it himself by poking a sharp knife through the shade. I am sure I can apply your technique to my poor battered and stabbed lampshade, actually 2 of the same. It has a beautiful base in cream and copper. Any tips on restoring the once pretty copper, now laden with waxed in marks and dirty fingerprints from my own 30+ year old daughter’s? Also, can the banding at the top and bottom rims of the shade be bought? If not I have my own ideas on how to address this! Thank you so much for your DYI projects!
Hi Debbie, I’m sorry to say I don’t know much about restoring once pretty copper. I’ll have to look into that for my own future reference. As for the banding, yes you can make your own. You can pick up pre-packaged bias tape from any fabric store. You can also use two sided hem tape to attach the bias tape to the rim of the lampshade. Also remember that the lampshade itself needs to be a drum shape in order to use my technique. You won’t be able to use a tapered shade because then you’d have to fold the fabric to make it fit. A perfect drum shape is the same width all the way around so all you have to do is cut a piece of fabric and wrap it around the shade. Good luck with your shade makeover and let me know how it comes out. I think you’ll be very pleased.