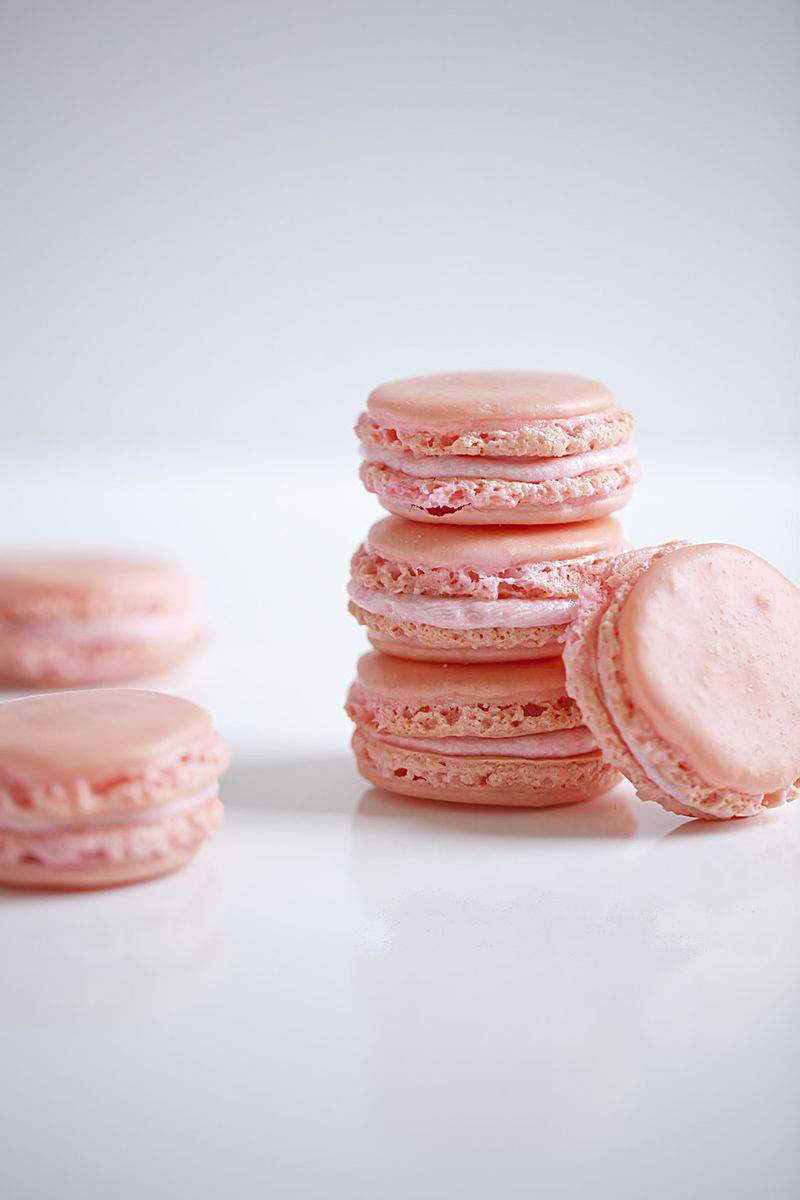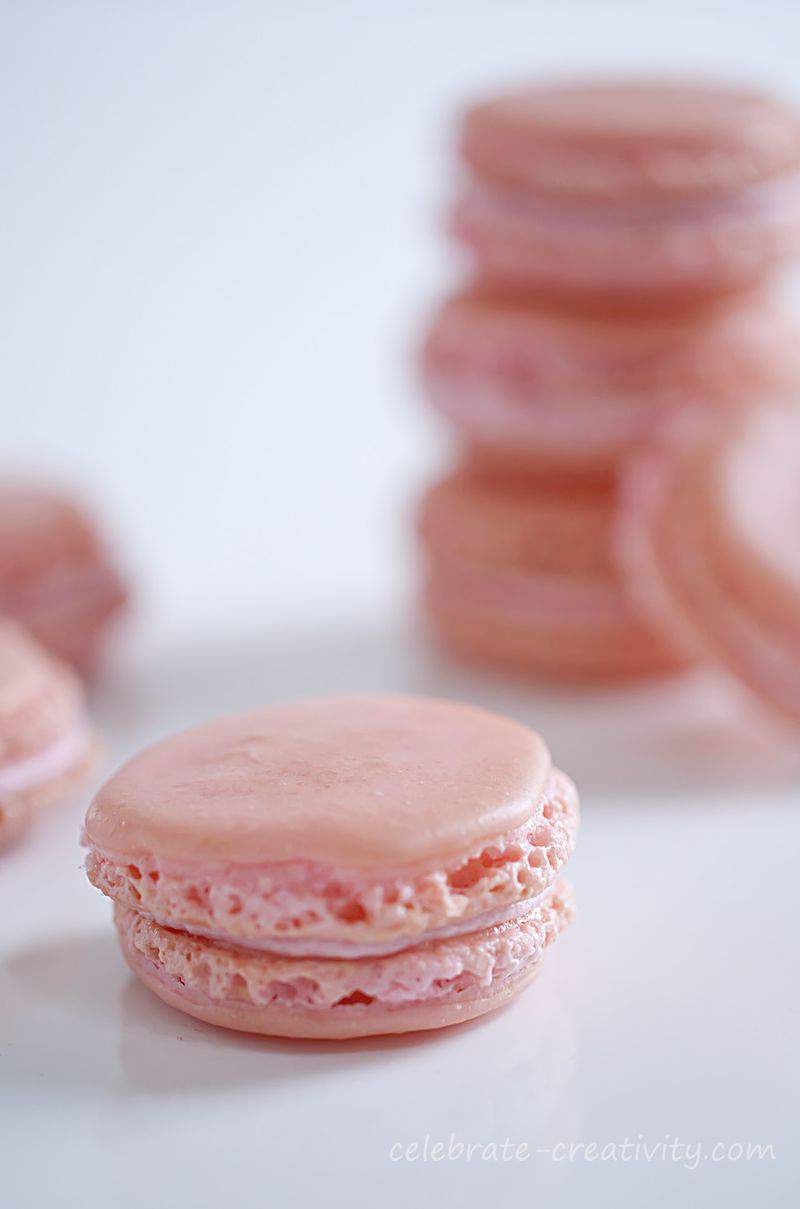
Difficult. Finicky. Troublesome. Sneaky. Frustrating. Disastrous. Those are just a few of the adjectives that I’ve alternately used to describe the process of making French Macarons at home.
I could use more descriptors but I think you get the idea.
French Macarons are by far the most difficult dessert I have ever tried to make.
Despite the notoriously-temperamental nature of the French Macaron, I still think they’re worth trying to make.
They’re so pretty and their colorful options are so visually appealing.
In case you’re not sure… they’re pronounced like “Mack-a-rahn”, not to be confused with their more casual and flaky cousins the macaroon (as in coconut).
I promise, I’m not trying to scare you. I’m just trying to be realistic. This was actually a very good magazine article.
Practice will eventually make perfect but you will most likely have to practice quite a bit before you get exactly the kind of cookie you want.
Recently, I took a French Macaron class at one of my favorite cooking stores, Sur La Table.
It was my first-ever official cooking class and I really enjoyed it and I plan to sign up for even more classes down the road.
Instructors make it all look so simple, don’t they?
In fact, my macarons turned out perfectly… in class.
I think I’m going to sign up for another macaron class as a refresher since I still struggle with my macaron technique.
There are a ton of French Macaron recipes on-line so throughout this post, instead of focusing on a particular recipe. I’m going to focus on 10-techniques to help you get a better macaron.
Even thought I still struggle with making the perfect macaron, I thought you’d enjoy the following tips that may help you bake a perfect batch.
TECHNIQUE #1-USE ROOM TEMPERATURE EGG WHITES. The early process of making French Macaron begins with the egg whites that must be whipped foamy. Whip the whites until they form an upright peak.
TECHNIQUE #2-DOUBLE AND TRIPLE SIFT DRY INGREDIENTS. One of the main ingredients in French Macarons is almond flour which has a tendency to be clump-heavy. It’s important to make sure those clumps have been sifted out completely.
I triple and quadruple sift my dry ingredients just to be sure.
TECHNIQUE #3-USE A FOOD COLOR GEL NOT A LIQUID. The array of colorful macarons are part of their long-standing appeal. However, all colors are not created equal when it comes to macarons.
The water in liquid gels may be enough to throw off the delicate balance of ingredients so it’s always best to use the thicker gels.
TECHNIQUE #4-MEASURE INGREDIENTS PRECISELY. It’s even better if you can use a kitchen scale to get the exact measurements called for in your recipe. Any amount of overage will impact your result. With a scale you can get the ingredients right down the ounce.
TECHNIQUE #5-FOLD FLOUR AND SUGAR MIXTURE. If you over mix the ingredients you’re going be out of luck, if you under mix the ingredients, you’re equally out of luck. Folding involves mixing in a downward “J” like motion. As you’re folding, press the mixture hard against the inside of the bowl.
If you don’t fold the mixture correctly, those tell-tale “feet” or ruffled looking edges won’t form on the bottom of the cookie.
Meanwhile, circular templates can be placed under your parchment paper or Silpat mat to help guide you in piping perfect circles with the mixture.
You can find these templates online in multiple sizes.
Just search online for “macaron template”.
TECHNIQUE #6-STAND ABOVE THE TRAY WHEN PIPING. This will help you pipe evenly.
Stand directly above the tray with the tip close to the surface. Don’t squeeze the mixture out in circles, rather pipe it out slowly and allow the mixture to spread naturally into the circular shape.
TECHNIQUE #7-SLAM THE TRAYS TO RELEASE AIR BUBBLES. After the cookies have been piped, slam the baking tray on the counter to eliminate any air pockets.
Air pockets in the cookies will cause hollow cookies to form.
TECHNIQUE #8-ALLOW COOKIES TO DRY BEFORE BAKING. Let the trays sit out for about 45-60 minutes before baking to dry out.
You’ll know they’re ready for the oven because the tops will have formed a light shell and they’ll be dry to the touch.
I’m going to make an effort to actually show my face (instead of just my hands) more often around here, so I had one of the fellow students snap this photo of me during the class.
TECHNIQUE #9-DON’T OVER BAKE YOUR MACARONS. Even if they look like they’re done in the oven, leave them in for the duration of the recipe requirements.
Under cooked macarons will stick to your baking tray.
TECHNIQUE #10-PRACTICE-PRACTICE-PRACTICE. Don’t be discouraged. I’ve honestly lost count of the number of French Macarons I’ve attempted to make with failed results.
Even now as I offer you advice, I continue to practice and learn how to make better French Macarons.
They get better and better with each attempt.
Perhaps you’ve long-admired these attractive, French-inspired cookies but never considered making them yourself.
Well, give it a try.
Perhaps it won’t be long before you turn the “world’s’ most impossible cookie” into a most delicious and very possible treat. ♥
Thanks for stopping by.
See you back here next time.


Beautiful photos Lisa! Thanks for all the great tips — now I’m VERY hungry for a sweet little macaron!!!
I believe I mentioned that macarons are on my bucket list of things to do. Now I have a very important question to ask — what do you do with the rejects??? 🙂 And do you have a favorite flavor?
It is funny that sur la table is offering this class now. I asked them about it about 6 years ago and they had no idea what I was talking about. At any rate, yours look lovely and these are all great tips. Definitely ones that I have used. My favorite one so far is still the first I made. Raspberry with dark chocolate ganache. yum!
Wow! Those look delish! I’m embarrassed to say… I’ve never tried them. Yours turned out beautifully!
Those look yummy! I have never had them before. Thanks for sharing.
Wow these look awesome! Those photos are really good! I’ve never thought of making macaroons. I’m still trying to perfect the chocolate chip cookie. Haha!
I love all of your photos and creative ideas and tutorials! I really would like to try this recipe for macarons one day. I think my family would love them so very much!
Wow… that looks difficult, even though you said it’s easy. Then again, I’m not the world’s most accomplished baker. I’ve never had one of these; have to find a bakery that makes them one of these days.
These look good, but I doubt I would take the time to make them. Love all the great photos!
These look wonderful and your pictures are gorgeous! These would be perfect for an Easter get together. Thanks!
Those look fabulous! Now to see if I can find a recipe for macarons that are vegan.
I have a couple tips for when you make macaroons again: rather than almond meal or flour, take slivered almond and put them in a food processor; don’t under or overmix the batter; before you let them set for about 15 minutes, rap the tray the macaroons are on a few times on the counter; take the tray with the macarons on it and put another one beneath it while cooking.
great tutorial!
I’m glad you like it, June.
I hope your French Macarons turn out beautifully.
It does take a bit of practice but once you get the hang of it, you’ll be fine.
Happy 4th of July holiday.