Don’t you love this time of year? I sure do. I love the cooler weather and changing colors in nature. Autumn decorations that mark the Autumn season are also among my favorite.
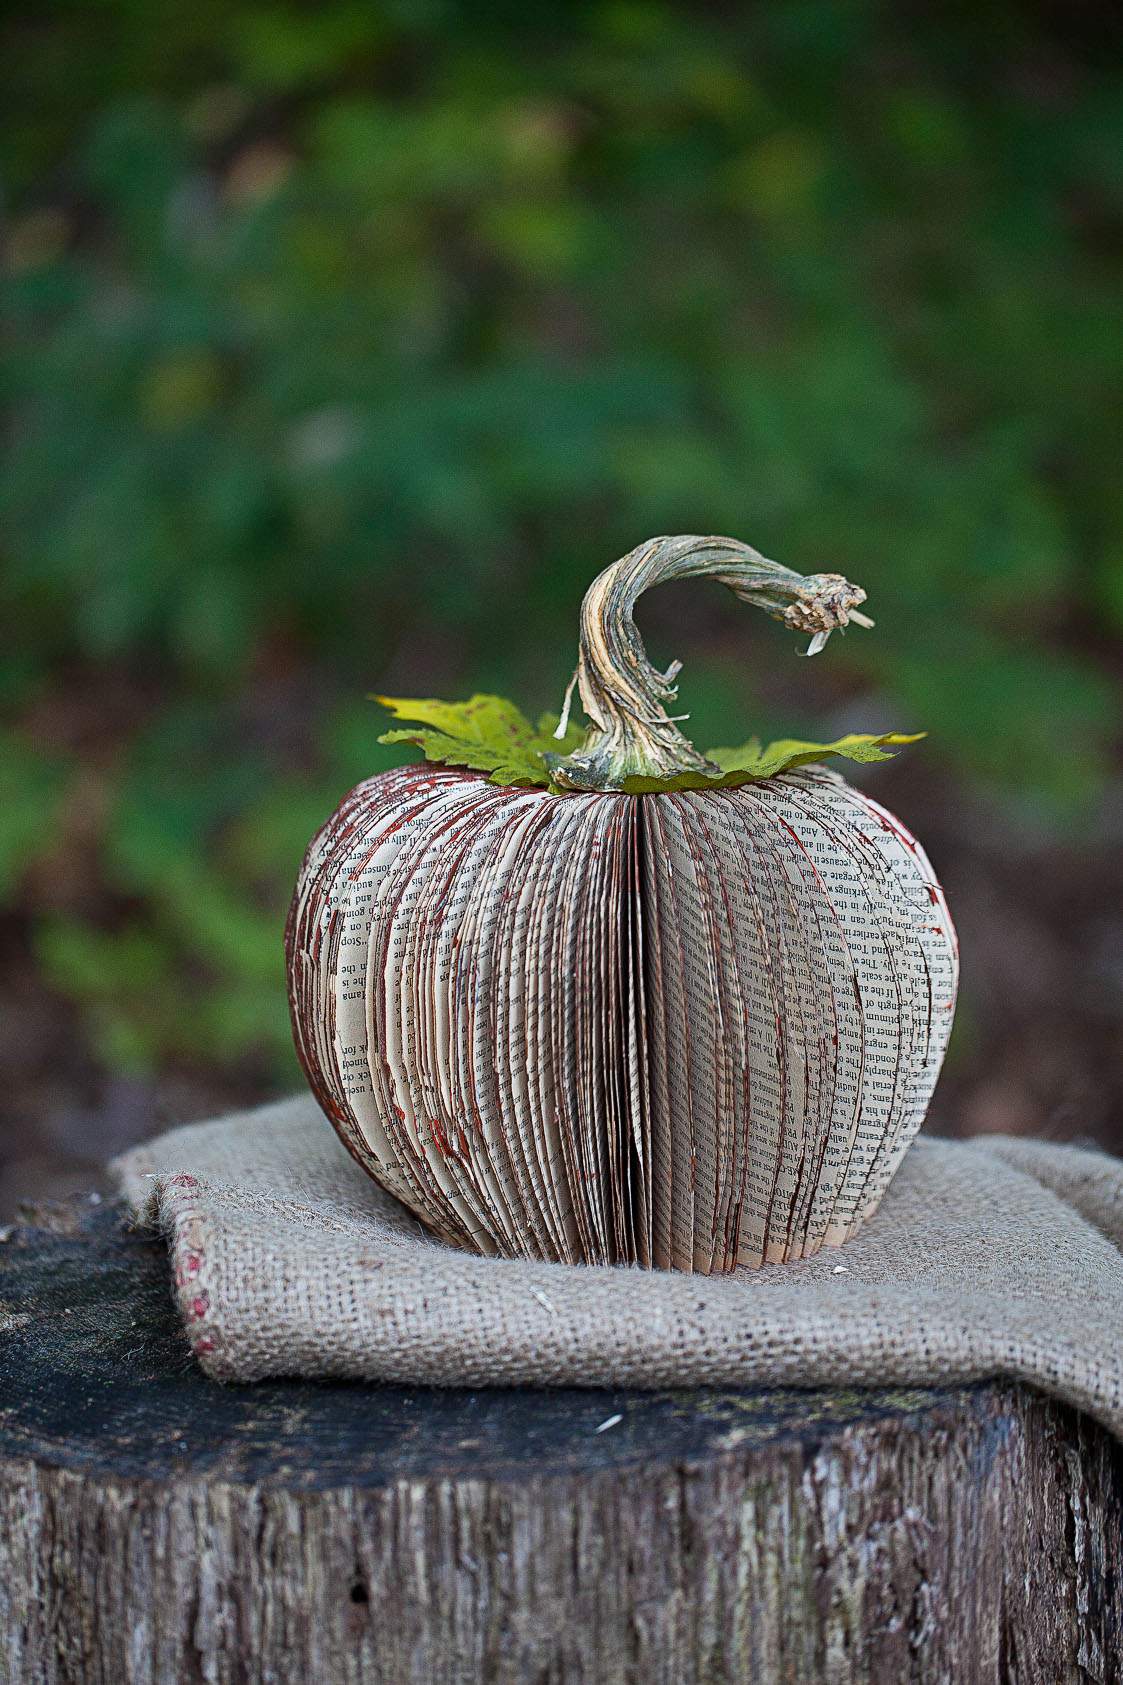
Of course, the pumpkins are a familiar sight this time of year and today I’m sharing pumpkin art with a paper crafting twist.
This is the first time I’ve ever attempted to make art from a book myself.
It’s super easy and throughout this post, I’ll walk you through how I made mine.
To be honest, as an ardent book lover, I do think there is something inherently wrong with cutting up books.
Having said that, if you do have books around the house that you think will never, ever get picked up again, I suppose it’s OK.
You may feel more comfortable (as I did) about using cheap thrift shop books rather than cutting up paperbacks from your own personal library.
Whatever you settle on, first thing you’ll have to do is to remove the front and back cover.
You’ll only need a handful of supplies for this project including a hot glue gun, an X-Acto knife, scissors, a pencil and a self-healing cutting mat for this project.
Self-healing cutting mats are made of a thick flexible plastic and are often used with rotary cutters.
These mats come in a variety of sizes, large and small and can be found at most crafts stores in the sewing supply aisle.
You’ll need to create a template.
I printed the shape of a pumpkin just to give me an idea of how to shape my own guide.
Draw a dotted line down the center of our sketch.
Fold the pumpkin sketch in half along the dotted line. You’re only going to use one half of the template.
Before cutting out the template, make sure the pumpkin half will actually fit within the book you plan to cut.
Trim the template accordingly to get the perfect fit for the book.
Slide the self-healing mat under 4-5 pages.
Place the template on top of the pages and carefully use the X-Acto knife to cut the pages along the template.
Limit the number of pages you cut at one time to about 4-5. If you stack too many pages, the knife may not cut through them cleanly.
After cutting the first set, slide the mat under the next stack of pages and repeat until you get to the end of the book.
Get ready. The cutting process can get a little messy with paper slivers ending up just about everywhere including in your hair and on your clothes.
Just take your time, and watch what you’re doing carefully. Always be aware of where your fingers are in relation to the moving blade.
X-Acto knives/blades are super sharp and can be very dangerous.
I don’t recommend allowing young children to use X-Acto knives unless you’re confident in their ability to handle a blade and then, only allow use under strict supervision.
I like adding texture to a project like this.
Keep that in mind as you consider what to use for a pumpkin stem.
There are so many possibilities.
Yes, cinnamon sticks are a great option for a stem. Just cut it to size and hot glue it into place.
Other choices include braided jute, real pumpkins stems, twigs and small branches.
NOTE: Even if you don’t use a real pumpkin stem for this project, save your real stems this year for upcoming projects. You can see my previous post on how to dry pumpkin stems for crafting projects HERE. Also, check out my velvet pumpkins project which feature real stems HERE.
Use a hot glue to connect the two sides of the book together along the spine. You may also want to hot glue the two end pages together for added security.
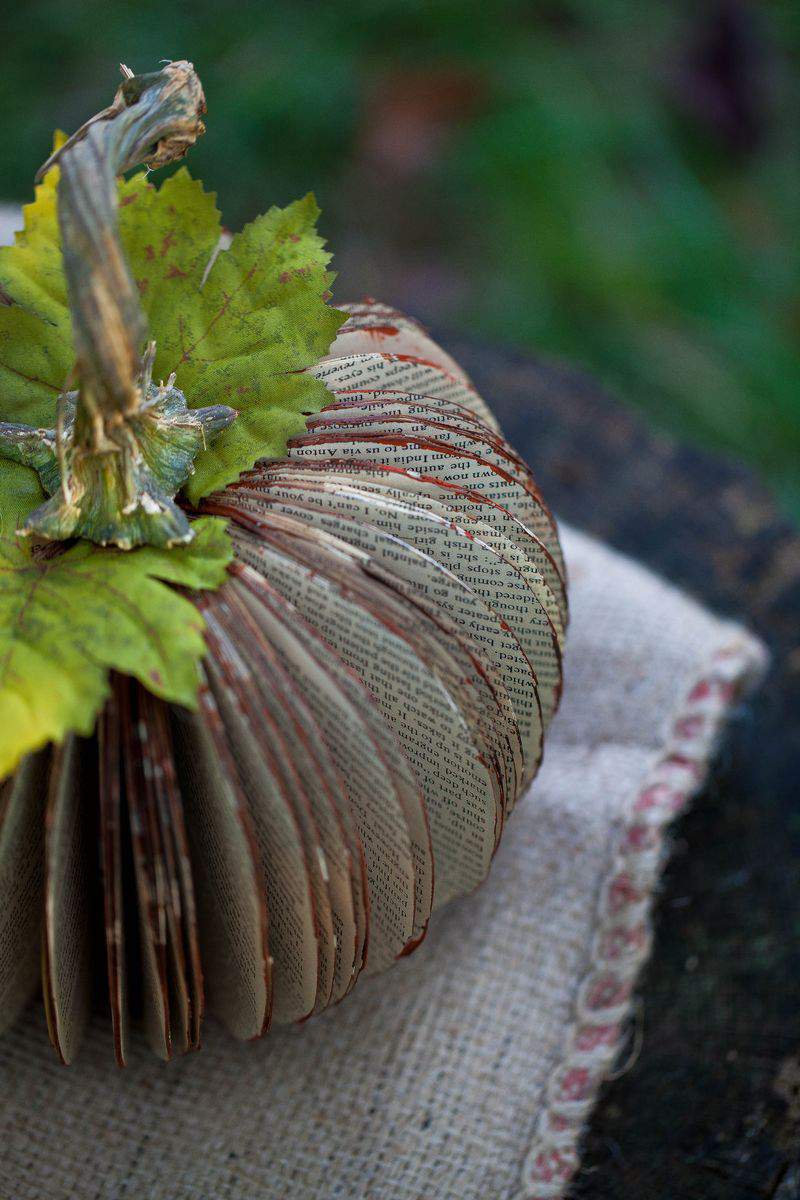
After the book is secured in the pumpkin shape, just hot glue the stem onto the top. I personally like how the pumpkin stem looks but like I said, you could use just about anything for a stem.
NOTE: As you can see, some of the page edges are a little rough. That comes from trying to cut too many pages at one time with the X-Acto knife.
Just trim any rough edges with a pair of scissors and you’ll be fine.
While the pumpkin looks just fine in it’s raw state, I wanted to see how it would look with a little paint along the edges.
You could paint the edges pumpkin orange but I went with a brown, wine color for a more vintage, understated presentation.
Fold the book and use a sponge brush to apply several coats of craft paint across the outside of the pages.
Allow to dry.
Once the paint has dried, you may notice that many of the pages will stick together.
Gently pull each page apart to ensure the finished pumpkin is nice and full and plump.
If you have any artificial leaves, use the hot glue gun to apply them to the top of the pumpkin.
Once the leaves have been glued in place, hot glue the stem on top.
Of course, the size of your book will determine the size of your pumpkin.
Imagine how lovely an arrangement of assorted pumpkin sizes would look.
Happy paper crafting. ♥
Thanks for stopping by.
See you back here next time.
I’ve been busy on a very special project and I think you’re going to love it.
STAY TUNED
I’ll share the exciting news right here very soon.


Absolutely beautiful and so creative. I really look forward to every one of your posts they are truly inspiring.
Lisa I love it!! I’m a book lover too but where we are visiting, the library is having a sale this weekend — I’ll get an old worn out book and make the pumpkin. The kinda antique, old look about it is wonderful. I can’t wait to make it. Your tutorial is great.
What a cute idea!!
So pretty! The book and you 😉
This is the nicest book pumpkin I have seen in blogland!
I like this. I also cringe at cutting up books but using tossed books makes sense. Thanks also for the detailed how to. Linda
You are brave, your pumpkin looks enchanting. I’ll have to try this too . Thank you for the tutorial.
Ohhhh! Can’t wait to hear the news!!!!!!
And your book pumpkin is AMAZING!
Happy day friend!
karianne
Lisa,
Congratulations on your NEW beautiful, fantastic blog! I once contacted you about your blog before the change and have followed you forever. It was amazing then. Now, it is more amazing! I haven’t seen anything on your blog, that I wouldn’t make or cook.
Thank you! ;-).
Thanks Elisa! Let me know what projects and/or recipes you tackle.
Enjoyed your Tutorial. I love pumpkins and scarecrows for fall.I can keep them out for months 😀 The Organized Dream sent me over to you.
Thanks, I’m glad you like the tutorial.
I agree, Carolyn. Fall is my favorite time of year too.
Happy day to you and thanks for popping by.
Going to try this, like the look
Oh, good for you, Paula.
It’s a fun project and quite simple.
Keep your eyes peeled for those dried pumpkin stems.
Also, consider saving as many stems as you can this season. Dry them out for future crafting projects.
I have a post on drying stems. Just do a quick search.
Good luck with your project.
Love it!
Thanks so much, Melanie.
I hope you decide to make one.
They’re actually quite fun. Just be very careful with that exacto knife.
Happy weekend to you.
This is one of the most beautiful paper crafts I have ever seen! How did I miss this?!!
LOVE, LOVE it!
Love it. Will make one for my library Halloween party.
That’s wonderful, Lisa.
These are so fun and easy to make.
If you have several disposable books of different sizes, I think a trio would look great as a centerpiece.
Good luck on your upcoming party and happy Fall.
I love the book pumpkin does the boom have to be a certain page number to have them look full
Hi Sheila, I’m so glad you like this project.
I don’t think you necessarily need a certain number of pages but the thicker the book, the thicker and more full your finished book will be.
I suggest you stop by any of your local thrift stores for old, inexpensive books to use.
Good luck and thanks for popping by.
xoxo