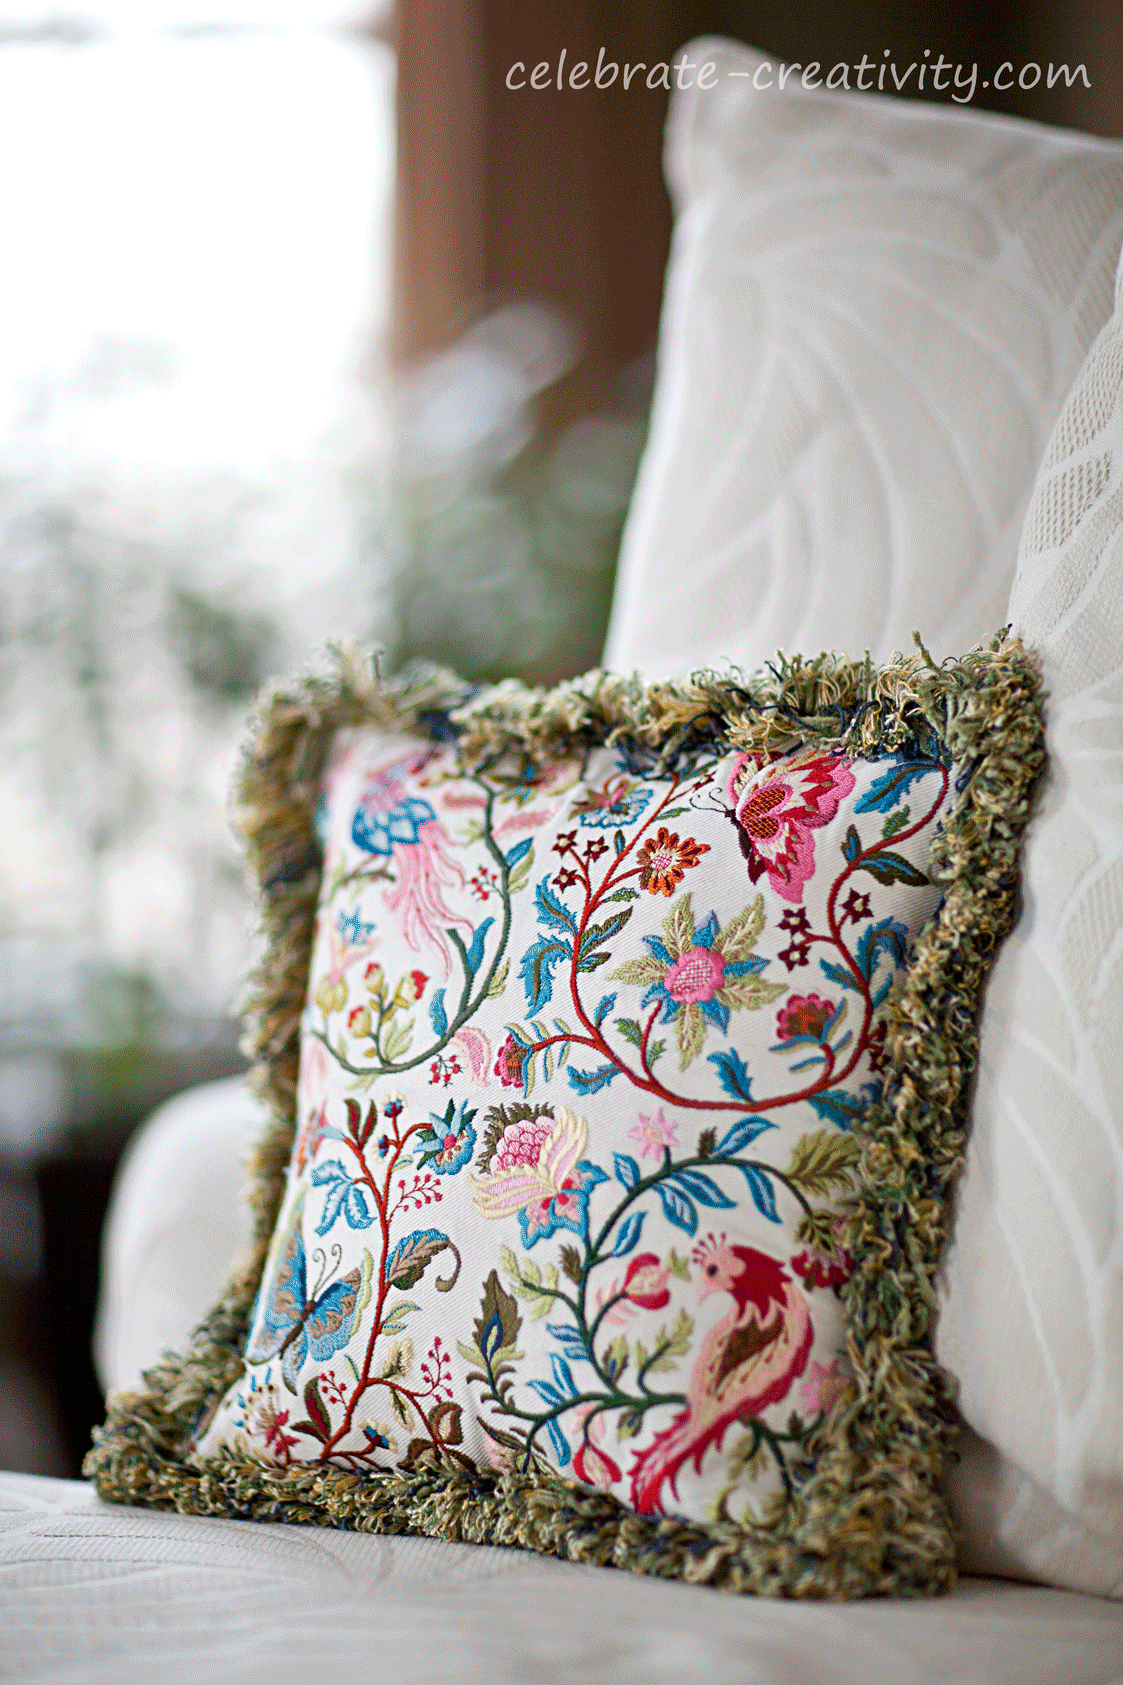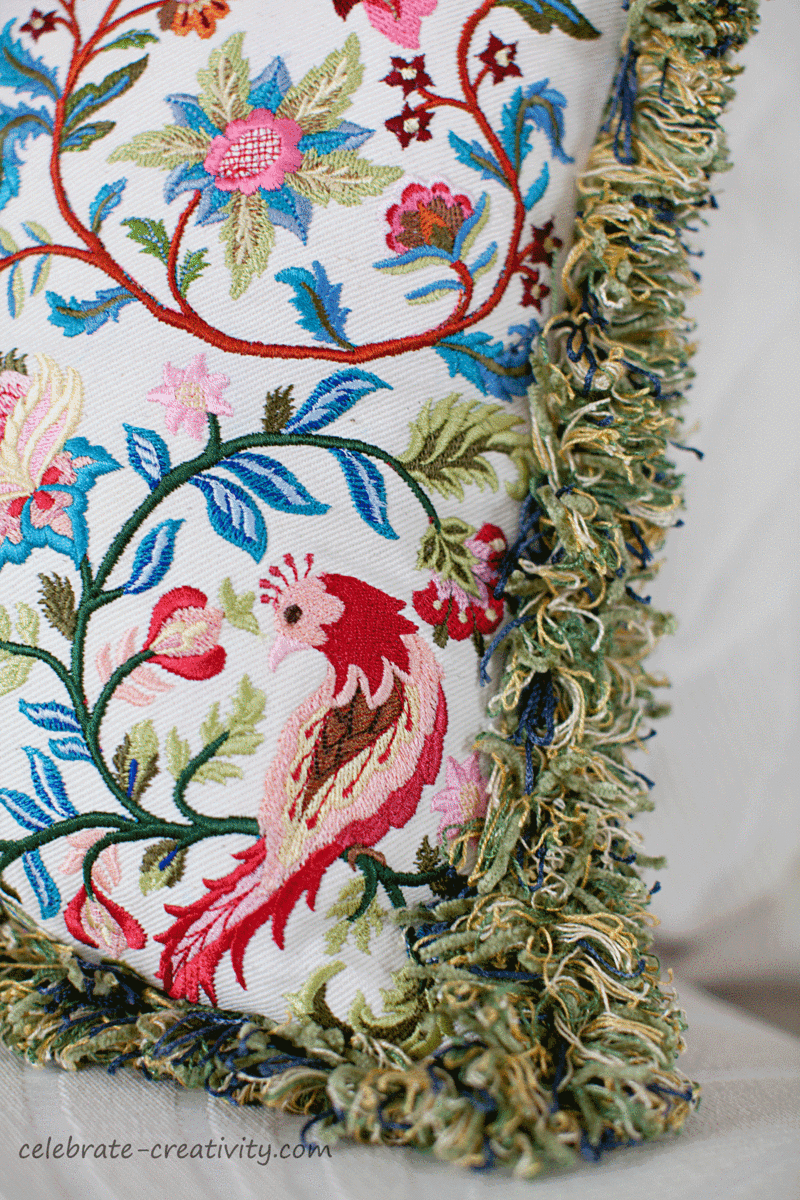
I’ve always admired those old-fashioned looking intricately embroidered pillows that resemble tapestry. Now, I’m proud to say, I’ve made one myself.
This Jacobean embroidered pillow project measures a mere 10″ x 10″ in size but it contains more embroidery stitches than I’ve ever applied to a single project.

I love to incorporate a little machine embroidery into my pillow making and I think you’ll enjoy seeing how this project unfolded.
By the way, you can see some of my other pillow projects that feature embroidered elements here, here and here.

I first started this particular project several weeks ago and was thrilled with how it quickly began to come together for me.
You can see my first post about Jacobean embroidery here and you can find the embroidery designs I used for this project here.

Throughout this post, I’ve recapped the embroidery process for you.
It all started with a gorgeous, colorful threads and a stunning design. In this case, I used four different designs to create the look of one big, cohesive design.
A thread chart dictates the order of the colors and a design template helps with accurate placement which is critical when combining four different designs so close together.

It’s always fun to watch the colors stitch out on the fabric.
The transformation is totally cool when you start with blank fabric and before you know it, an intricate design is slowly revealed.

You can see how the design began to take shape in the photos below.
Each design here required more than 50-thousand stitches and an average of 30-thread color changes.
Imagine how long it would take to duplicate the same number of stitches if you were to do this by hand (which I just do not have the patience for).

Here’s a look at my first finished square.
One square down, three more squares to go.

Another template is used to help determine exactly where the next embroidered square will go.
I had to line-up each square very carefully to get the designs as close together as possible without any stitches overlapping.

Here’s another look at the embroidery stages of square number two, number three and just a hint of square number four.
Once all the squares have been stitched out, I used a water soluble marker to create a cutting guide.
IMPORTANT NOTE: Never cut the fabric around an embroidered project, until you’re absolutely sure that you’ve measured and you’re sure of the exact finished size you want your project to be.
Even then, cut a bit more allowance just to be sure.
You can always cut down the size but if you cut the wrong size after ou’ve put in this much embroidery, that would be a shame.
I wanted the pillow to be the exact size of the embroidered dimensions.
The completed design ended up being about 10-inches so that’s what size pillow form I purchased.
This pillow would look just as lovely without fringe but I decided to add it, to frame the finished project with just a little bit more color.
The fringe was actually looped but I clipped the loops after installation for straight edged thread effect.
I also decided to add a bit of Jacobean embroidery on the back flap of the pillow as well.
The back is made up of two, over-lapping flaps.
Pin the fringe in place and put right fabric sides together and stitch all the way around to create a pillowcase flap opening in the back.
Turn inside-out the pillowcase and insert the pillow form through the opening in the back flaps.
Fluff the fringe and I’m all done.
I love it. What do you think?
Most people will never know the extra embroidery is on the back unless they turn it over.
But if you add it, you’ll always know it’s there and that make it that much more special.
I’ve already started a matching 10-inch companion Jacobean embroidered pillow to go along with this one.
It features four floral arrangements as focal points (instead of birds and butterflies like this one) and so far, it’s shaping up just as beautifully.
I’ll be sure to share it here later in an upcoming post.
This post is part of my new column, The Embroidered Attic where I’ll help de-mystify machine embroidery, share new projects and techniques and generally (and regularly) bring home embroidery to life.
Stay tuned for more embroidery features later in upcoming posts. ♥
Thanks for stopping by.
I’ll see you back here next time.
I’m linking this Jacobean embroidered pillow project to the following fellow bloggers:
Heather at Whipperberry
Lucy at Craftberry Bush

Lisa, I love coming to your blog for inspiration. Everything you create is exquisite and this beautiful pillow is no exception. You are incredibly talented! Thank you for taking the time to share your beautiful projects and especially your step by step instructions.
Oh Lisa…all I can say is BREATHTAKING!!….What a exceptionally gorgeous pillow you created!..and love that added touch of the flower in the back…an amazing detail ..
It’s beautiful Lisa! And at over 50,000 stitches per quadrant, I know this was a time-consuming project!
The pillow is absolutely beautiful! Makes me want to get my own machine.
Stunning! Simply beautiful!
Lisa, what a gorgeous pillow. The colors are stunning and you have finished it off beautifully in the back. You have been blessed with a wonderful gift of creativity and you put it to use with your lovely creations. I look forward to seeing your next project.
I’m here by accident. 🙂 Internet gives pleasant moments.
All very nice, a delight!
Beautiful woman with golden hands! 🙂
What a beautiful pillow! What type of sewing machine do you use?
Thanks Molly, I have a Brother ULTD that I’ve had for more than a decade.
I’ll put some more specific information for you about embroidery machines and email it directly to you this weekend.
Lisa – Lovely use of EL designs and precise placement. The fringe is frosting on the cake! Did you mean, however, that this pillow is a “10 inch square”, rather than “10 square inches” (a ten inch square of fabric being 100 square inches)?
Thanks so much for your kind words on my embroidered pillow project. It was quite the project indeed but worth every stitch. I’ll double check how I worded the size. Thanks for the heads-up. It should read 10″ x 10″ in size.
3D Puff Embroidery Digitizing
Thank you for a great explanation. I was looking online for a similar idea and really appreciate it
You’re welcome, Aimee.
I’m glad you found my project and information helpful.
Good luck with your embroidery projects.