Regular readers of this blog know that I love embroidery. While I dabble a bit in hand embroidery, the majority of my embroidery projects are done by machine.
I’ve had my embroidery machine for more than 10 years and I still consider it one of my best purchases ever.
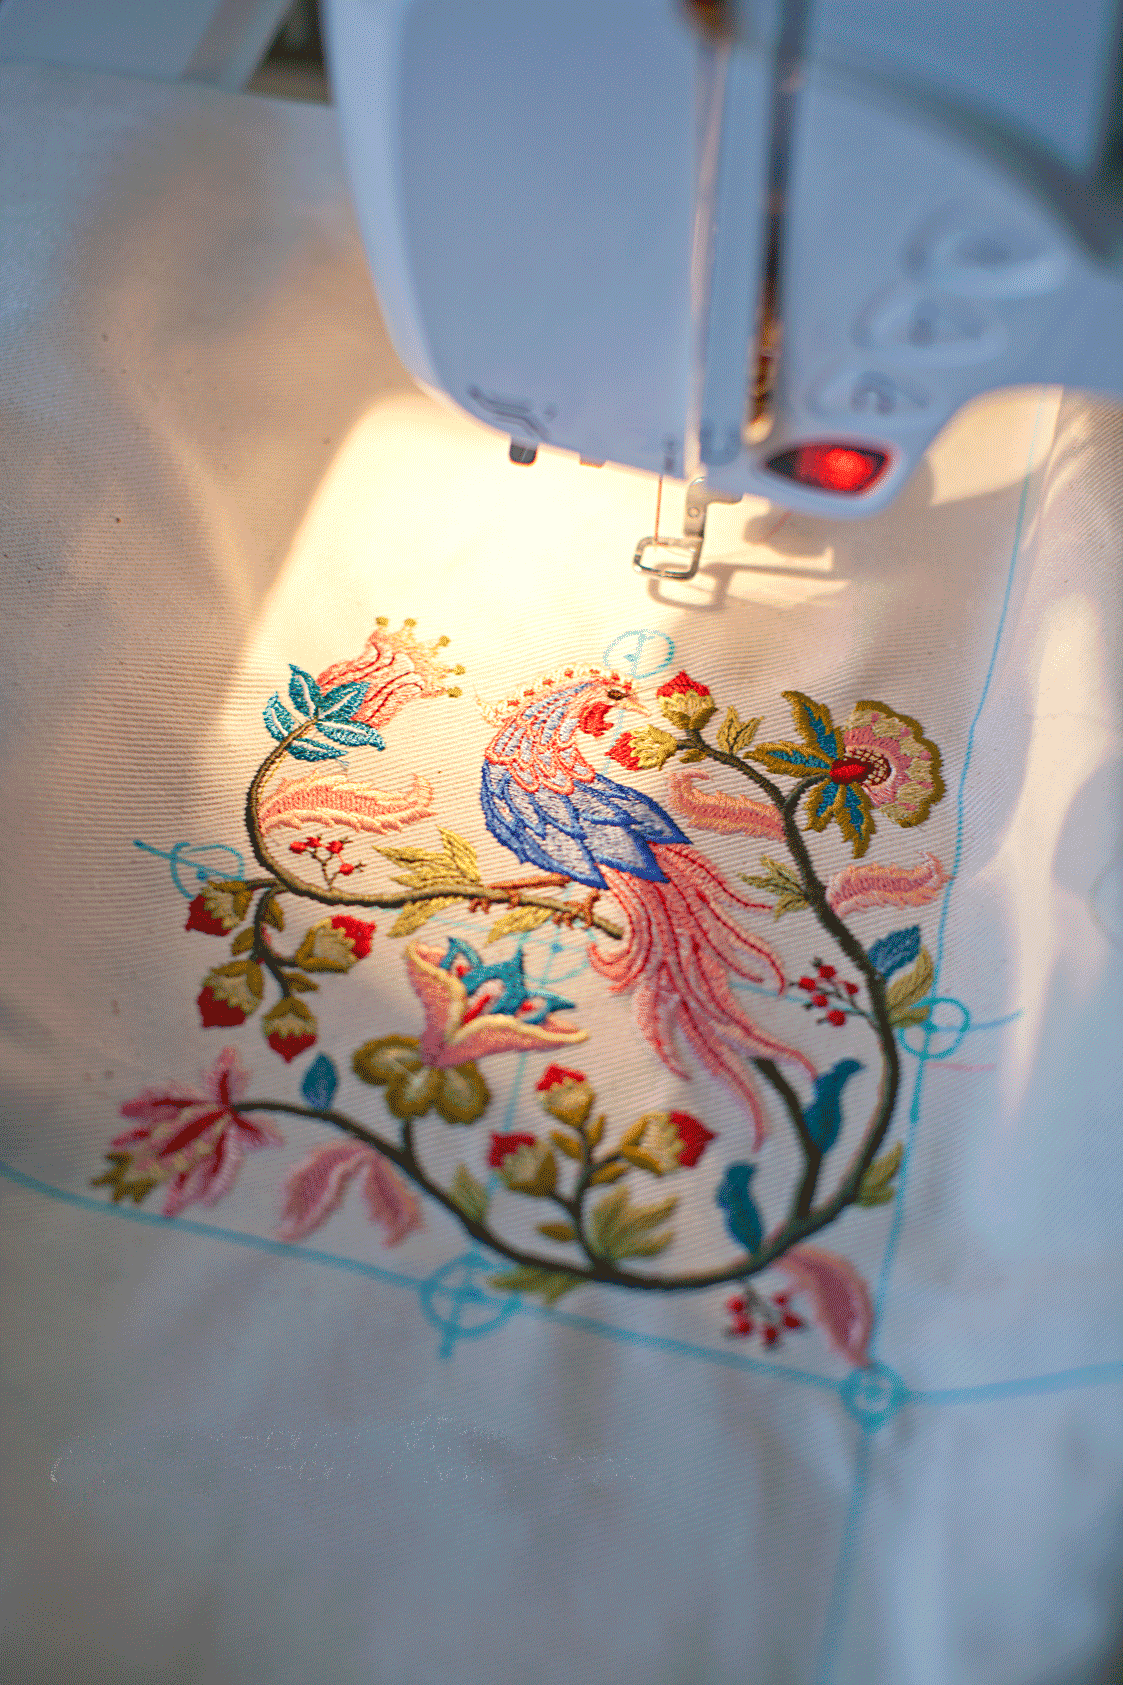
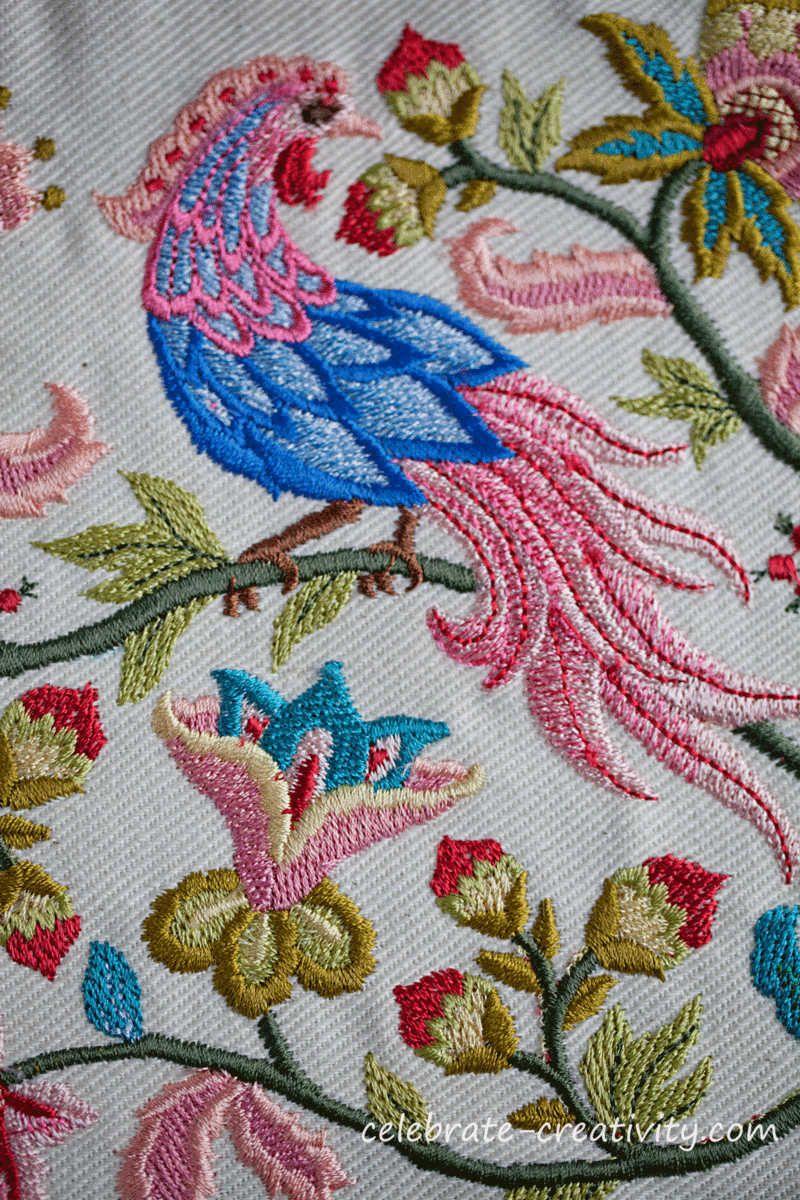
Over the years, I’ve been able to experiment with more and more complicated projects including this Jacobean embroidery piece which was among the most labor intensive… and impressive.
No reason to be afraid of machine embroidery. I plan to feature even more embroidery projects coming up to help de-mystify the process.
I’ll also plan to include interviews from time to time with embroidery artists who continue to take the art of embroidery to new heights.
The embroidery in this pillow project features Jacobean embroidery designs.
Jacobean embroidery (pronounced Jah-coe-bee-en) is easily recognized and well known for its thick, raised and colorful stitches that resemble hand crewel embroidery work.
Right now, I’m working on a fantastic embroidered pillow project featuring four Jacobean designs I know you’re going to love as much as I do.
When machine embroidering, I use multiple guides to assist me including (1) a vellum template for accurate placement, (2) a printed copy of the design and (3) a thread color guide.
Layout the design templates on top of the fabric to determine the placement of each design.
Even though I’m using four different designs, I want the finished embroidery to look like one big pattern so design placement is critical.
The individual images need to be placed very close but not so close that the stitches from neighboring images overlap.
This one design requires more than 50-thousand stitches and more than 30-thread color changes.
While some of the color changes are actually repeat colors, it’s still important to carefully track the colors being used.
Whenever, I stitch out a thread-heavy design like this, I put all the colors I need in chronological order.
Once the fabric is marked (with a water soluble marker) and the design placement is determined, the embroidery hoop is attached to the machine and the real fun starts.
Check out how the designs on the fabric slowly come to life.
As you can see, the design is really taking shape now.
This is going to make a beautiful pillowcase and I’m so excited about this project because it’s coming together just the way I envisioned.
This one design took about two hours to complete but imagine how long it would have taken if I had stitched it by hand.
That’s what I love about machine embroidery… more immediate gratification.
Remember, this is just one quarter of the entire project so far.
I still have three more embroidered quarters to go to complete the “whole” design I want.
Second design template is in place and I’m ready to stitch this next quarter section.
I can’t wait to finish this project and I’ll share it with you right here when I’m done.
Stay tuned for more beautiful embroidery in upcoming posts.
I have a ton of other embroidery projects, tips, ideas, designs and gorgeous stitches planned for my new column, The Embroidered Attic. ♥
Thanks for stopping by.
I’ll see you back here next time.

I’m linking this Jacobean embroidery project to the following:


I am SO super excited about this column Lisa!! I love to embroider too but am still pretty novice at using my machine. We need to have a creative “retreat!!!”.
Beautiful work!
Oooh, how exciting Lisa! I love my embroidery machine, but I haven’t done much with it in the last few years. I did do a Jacobean table runner years ago that I still love, although mine was more of an applique design. The stitches in your design are gorgeous! I’ll be looking forward to reading more about machine embroidery here!
Hi Lisa, I love Jacobean designs and your pillow will look so beautiful when finished. A true work of art. I have a few questions. First, what embroidery machine are you using? Second, I’m wondering why you did not hoop your fabric? I personally like to float my top fabric, but in looking at what you are using plus the design density, I’m surprised you didn’t hoop it. Did you use adhesive to keep it in place? Since you are doing multiple designs, do you find it easier to get correct placement by floating your fabric? Thanks!
Nancy in Grand Rapids
http://www.embroideryit.com
That is absolutely beautiful. I didn’t know they had sewing machines for home, that did such detailed work. (I guess my old Kenmore that I have used to death, is my reason for not looking for new machines!) Thank you for sharing.
Lisa, I’m inspired! I have not even had the embroidery module for my machine out of its case in years. Classes at a local shop seem so advanced for me. I hope to learn from you and then execute some of the ideas I had. Thank you!
Absolutely gorgeous, Lisa! What brand and model machine do you use? I am inspired to get one!!
These designs are incredible. Thanks for sharing! I’ve always been mystified when I looked at embroidery in the store. I had no idea it was something you could do in your own home. Now that I’ve seen a little more of the process, I’d love to try it out for myself.