
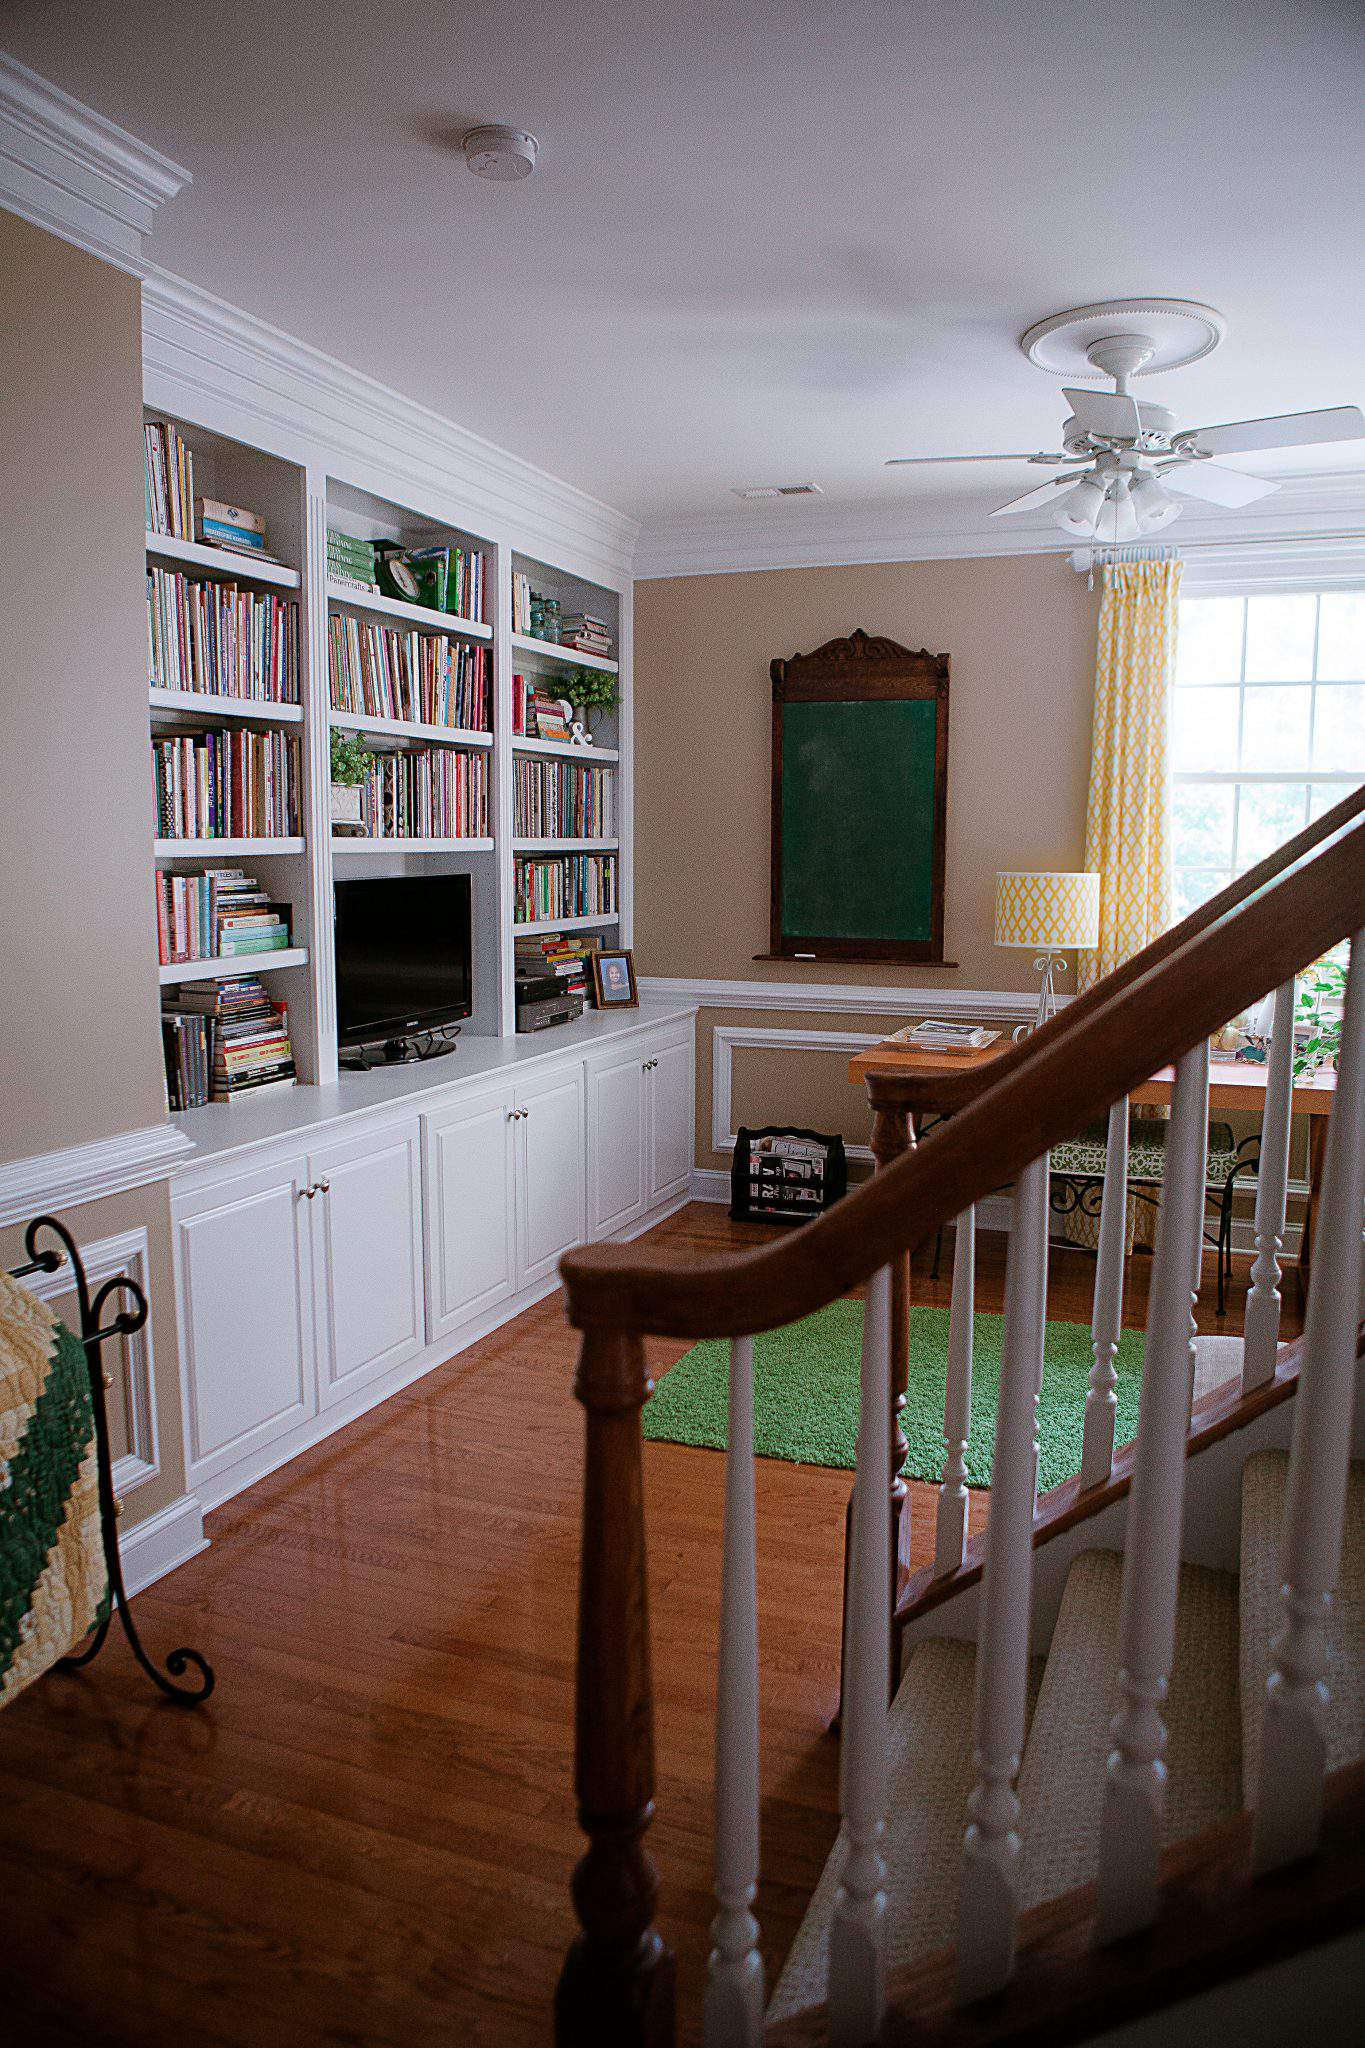
A while back I transformed an overlooked and little-used loft in my house into my own mini office space.
This is a great space to sit and not only write this blog but also jot down ideas and projects for future posts and ventures.
By the way, if you want to see how this room took shape you can see more of that HERE and HERE.
Anyway, I do a lot of jotting here… and that’s one reason, I’m especially excited about this vintage chalkboard project.

This is a great chalkboard that’s a decent size too at 26″ x 50″.
With its old-fashioned green chalkboard surface and rustic wood frame, I think it evokes a hint of nostalgia… despite its modern day surroundings.
Now, you know this chalkboard didn’t start out looking like this… and it’s now one of my favorite makeover projects.

The original frame came from an auction house.
I had never been to an auction house before but I went along for the ride with my good friend, Laurie.
She’s a talented furniture re-finisher and has an eye for finding really great pieces at places like this.
Of course, I had my eyes peeled for potential props for my photography and styling.
I didn’t spot any props but when I saw this frame… I liked it right away.
Laurie ended up bidding on it, winning it for under $30… and then, gifting it to me.
How sweet is that?
I knew I was going to turn it into a chalkboard but my original plan was to paint the wood ivory and distress in a way that small areas of the old brown would peek through the lighter color.
However, after I got the piece home, the original color started to appeal to me.
The more and more I thought about it, I also liked the idea of the future chalkboard looking rustic… like something you might find in an old-fashioned schoolhouse.
When I got the frame home, the front wood pieces were in pretty good shape although it was quite filthy.
I took all the pieces apart including the backside which had to be completely replaced.
Laurie ended up sanding and staining the large center board for me because I had a hard time getting some old glue off it… and she has much better sanding equipment than I do.
This is the perfect makeover project for a rainy day and on the weekend I did most of the work on this, it was just pouring outside.
Now, I’m not one to praise the act of cleaning anything… bit it was fun getting this frame in shape.
With each stroke with the cleanser, I just envisioned how wonderful it was going to look when I finished.
Oh, if you’re interested in seeing a few more of my makeovers you can check them out HERE.
The original backboard was pretty damaged so, I decided to replace it altogether.
I took a few detailed measurements and was able to get my local hardware store to cut my board down to the exact size I wanted.
Before attaching any of the framework to the new board, I lined everything up first to make sure that all the pieces would fit properly.
Once I felt good about the placement, I set things up to add the chalkboard paint to the lumber.
Meanwhile, did you know that you can buy chalkboard paint in just about any color you like?
I thought I was going to have to invent a special green for this project, but there is actually a color called “schoolhouse green”.
That’s exactly what I wanted.
I measured the size of the frame opening and purchased a large, flat board from my local hardware store for the chalkboard.
Make sure you allow each coat to dry completely between each application.
The paint initially looked a little too teal green and I was a tad bit concerned but it dried a more mute green which was more along the lines of what I was going for.
Once all coats were applied and dry… I still had to season the board.
Seasoning is a simple and very necessary step anytime you paint your own chalkboard.
All you have to do is cover the entire surface of the newly-painted board in chalk.
Then, just wipe it off with a dry cloth.
This seasoning will not only protect the paint but also insures that the chalk will adhere to board properly when you’re ready to write on it.
Yeah, the work area will get dusty during this process, but it cleans up easily with a damp cloth.
Remember damp cloth to clean the work area but….. dry cloth to clear the chalkboard.
I love the way my chalkboard turned out and it’s going to be fun having it in my office space to jot down ideas, reminders and notes that pop into my head.
On top of that, I’ve always wanted to learn how to do the pretty chalkboard lettering that I see on cafe and boutique signs and this new vintage chalkboard will give me a forum to practice.
I picked up a wonderful book on chalkboard lettering filled with tutorials, ideas and chalkboard techniques and I’m excited about the possibilities for whimsical and creative messaging.
I’ll keep you posted.
Thanks for stopping by.
See you back here next time. ♥
That is amazing and one of the most beautiful chalkboards I have seen.
Thanks so much, Davina.
I’m definitely happy I kept the original brown color wood.
Hope you have a wonderful and creative week.
This is such a clever and creative project. I love the transformation process. Well done!
I appreciate that, Laura.
This was a fun project to work on and I just love the old-fashioned green too.
Have a lovely week.
That turned out so neat!! And how great that you have a special room to work. Hopefully next house I’ll have the same. Was that originally a mirror? I’m always interested in the history of furniture. Have a great week!! Hugs!
Thanks, Marisa.
You know, I wondered what the original frame was used for.
I’m guessing that it probably was a mirror that got cracked along the way somewhere and the owner didn’t want to bother replacing it.
Lucky me, right?
This turned out so cute, and I love that you worked so hard to keep the original wood. It looks great against your more modern furnishings. Thanks for sharing.
Thank you, Connie.
I love the look of the old wood so much and I’m glad I kept the original color.
You’re sweet to pop over and let me know how much you like it too.
Happy day to you.
what a great project!
Thanks, Suzanne.
Keep your eyes peeled.
Just goes to show yo that one person’s junk is another person’s new, vintage chalkboard-lol.
Happy day to you.
It looks great! I knew it would be perfect in your house!
Thanks for the frame and for your help on it too.
Glad you like it.
Now, on to our next project-lol.
Very nice….love that you kept the natural wood finish…aged to perfection and with the schoolhouse green…just delicious.
Thanks, Jeanne.
Yes, I’m happy that I kept the old wood too.
It’s so much more authentic looking.
Happy day to you.
That is one amazing chalkboard. It looks like it belongs in an old grand restaurant or hotel with a menu or a list of announcements. Of course you got a book on chalkboard lettering. You always go forth and master all you do!! Can’t wait to see some great chalkboard art from you!! Fantastic job Lisa!
Oh, Shirley… you already know me so well.
Once something sticks in my head, you know I can’t let go. I’ve been practicing the chalk lettering… it’s not that easy.
But I’m determined to figure it-lol.
Fun post to read, chalkboard turned out great! Can’t wait till you start playing around with the lettering, I’m sure it will be lovely.
Thanks so much, Barbara.
Yes, indeed… practice makes perfect and so far, I need a lot more practice-lol.
Once I figure out a nice design, I’ll definitely do a follow-up post.
Have a beautiful week.
I love it! I didn’t know you could buy green chalk board paint. This looks wonderful!
Thanks so much, Penny.
Yes, chalk paint comes in a variety of different colors and you can also have it tinted in whatever color you choose.
I bought mine at Home Depot which also sells the neutral color that can be tinted.
I actually painted one wall in my kitchen Lenox Tan (by Benjamin Moore) in chalkboard paint to match the rest of the space.
My hubby didn’t really like the idea of writing on the wall in the kitchen so, I don’t use it-lol.
However, because the wall is the same tan color as the rest of the house it doesn’t make any difference.
I love it, Lisa! Though I am sure the other color you first planned on would have been beautiful, I can’t imagine the finished project any more perfect. I too, am looking forward to your future lettering post!
Thanks so much, Candace.
It pays to keep your eyes peeled for interesting pieces.
I like the way it turned out too.
Happy day to you.