Have any of you spotted those great looking beaded and leather bracelet that seem to be on wrists these days just about every you look?
I think they’re so cool.
For a long time, I simply admired them because I thought they were a bit too pricey.
Well, I finally learned how to make them myself and that changed everything.

These bracelets can be made for a fraction of the high-end boutique cost.
When I first learned how to make these wonderful bracelets a few years ago, I went crazy making them in just about every color I could think.
I was a bit of a beading maniac which is kinda how I am about most new hobbies.
I’ve made plenty for myself, friends, loved ones and for holiday gifting… and you can too.

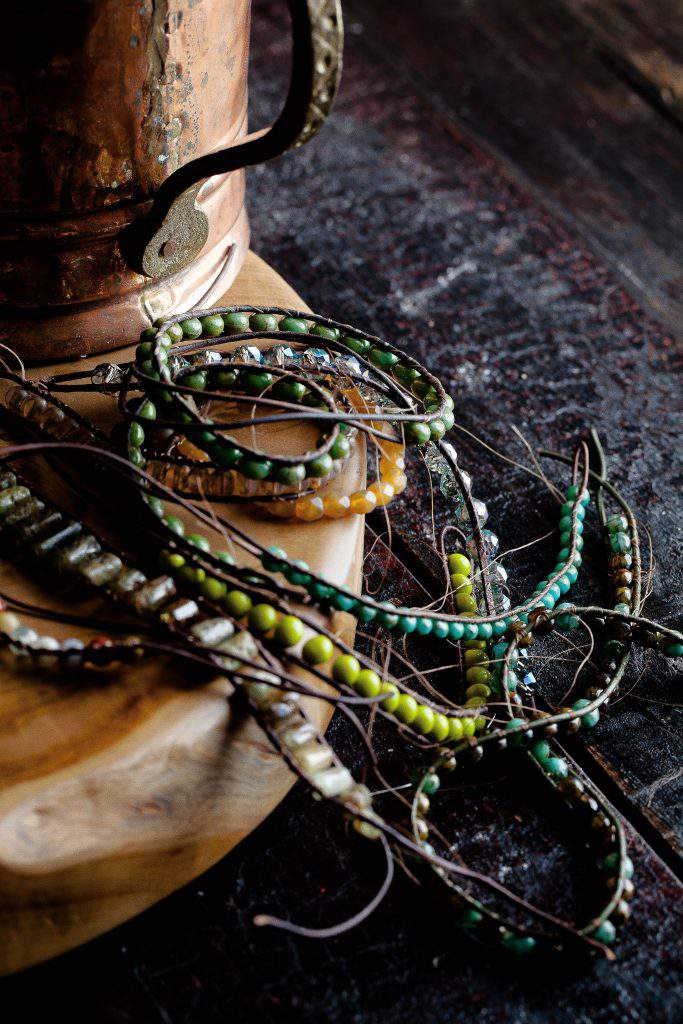
Oh, by the way… all the loose threads you see in the middle of these are just un-clipped strands.
These are just a handful of the bracelets that I whipped up in almost no time.
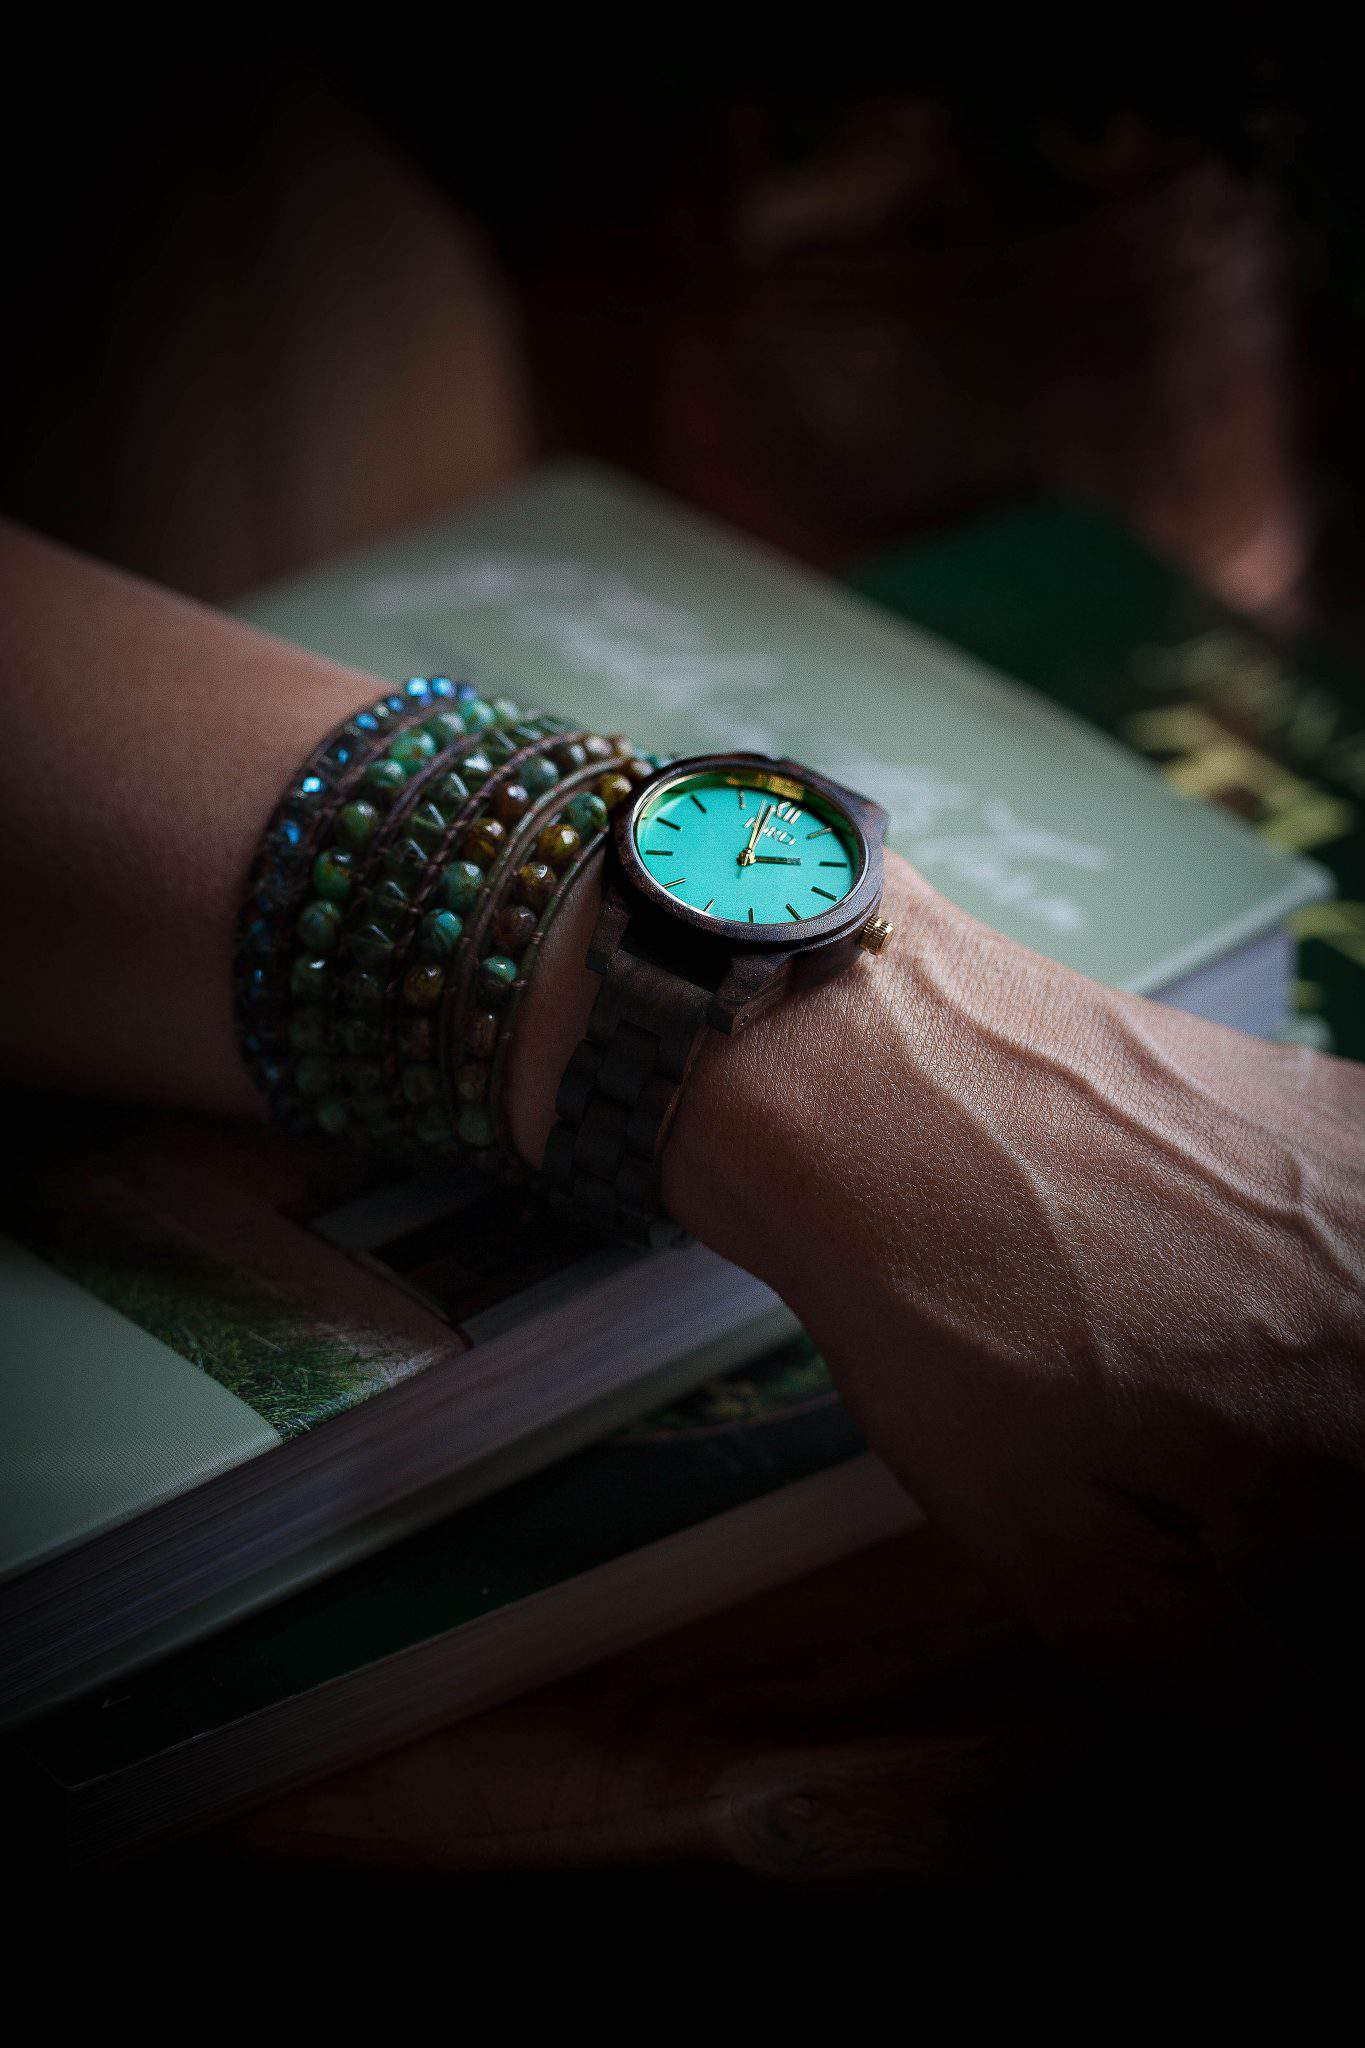
Before I show you how to make these pretty bracelets, allow me to tell you about the watch they’re paired with.

I’ve been collecting distinct-looking watches for years and I have almost a dozen in my small but growing collection.
Given my affinity for interesting timepieces, I was happy to partner with JORD watches for this post.
Their watches feature a gorgeous and unexpected take on the traditional leather or metal strap with wood bands.
Regular readers know I have a penchant for lovely wood… mostly wood cutting boards and these wood watches certainly appeal to the wood lover in me.
This dark sandlewood and mint has subtle color variations in the grain that give the band a soft and slightly rustic appearance. And mint face is a fun pop of color and contrast.
While it’s called mint, it’s actually more of an light emerald to me. I find myself keeping it under guard because a certain teenage daughter has been eyeing it… along with my bracelets.
Sorry Sweetpea, the watch and bracelets are mine.

I’m a sucker for great packaging and this sturdy wood box that the watch comes in is as functional as it is good looking.
It features a hidden bottom drawer which is perfect for tucking away the beaded bracelets I wear with it.
Cute all around and a nice gift idea to boot.
OK, let’s get to that beaded and leather bracelet tutorial.

You can find all the supplies you’ll need at your local crafts stores, although you may find a higher quality beads and leather at a specialty bead store.
You’ll also need a beading needle which is long, thin and flexible.
Finally, you’ll need beading thread and a small button which I’ll talk more about further down in this post.

Determine how long you want the bracelet to be and whether you plan to wrap it once or twice around your wrist.
Double the length and fold the leather string in half.
Tie a small knot around one end of the leather. This needs to be a small loop, but large enough to squeeze a button through.

Thread the needle and place the first bead just under the loop knot.
Insert the needle into the bead making sure the thread is on UNDER of the right side of the leather.
Pull the needle through and bring the thread out over the TOP of the left side of the leather.

Reverse the needle by bringing the needle through the bead the same way but in the opposite direction making sure you take the needle UNDER the leather through the bead and then on TOP on the other side.
Insert another bead and repeat.
It may help to imagine you’re threading in a figure eight motion while threading the bead and wrapping the leather on each side.

Keep your eyes peeled for small buttons. I found some of these on old sweaters.
The most important thing is that the back of the button have a large enough shank (opening) that both ends of the leather bracelet can fit through.
Once you get to the end of your beading, secure the thread with several knots.
Slide the ends of the leather into the shank and use jewelry glue to adhere the leather to the shank.
You should also put a small dab on the openings of the last bead and the first bead in the bracelet for added security.

I think these beaded bracelets look their best when they’re stacked.
Make a few with similar or complimentary colors and then combine 2-4 of them for a great look.
I’ve worn as many as six at one time before and it’s a real attention grabber.

I thought you’d enjoy seeing a few more of the bracelets I’ve made for myself over the years.
Don’t you love the way they look, all lined up like this together.
Once you get the hang out of making these, you’ll quickly realize… you can’t have too many.

This three-row beaded bracelet is a little more fancy and while it is a little tricky, it’s still quite doable once you figure it out.
All you have to do is double the stand of leather and once you attach one set of beads down the center, attach smaller vertical beads with the leather running in the opposite direction.
Attach beads one side at a time and then bring the ends together in a knot at the end.
It is a little more time-consuming but worth the end result.
I’ll post a tutorial for this more intricate beaded bracelet another time.

I partnered with JORD Wood Watches on this post. All opinions about their time pieces and how great they look with handcrafted, beaded and leather bracelets are my own.
Thanks so much for stopping by.
See you back here next time. ♥


Love this! I have a couple of the “pricey” bracelets, and I love the idea of making my own! Thank you for the instructions–I’m going to start a bracelet today. 🙂
I’m so glad you’re going to give this a try, Shar.
You’ll be surprised at how many you can make once you get going.
Email me if you have any trouble and I’ll get you through it.
Just remember that “figure 8” image when threading the beads.
Keep me posted on how yours turn out.
Lisa, this are so very lovely! And you are 100% correct, they must be stacked. And what great gifts they’d make! Looking forward to the tutorial on the more intricate one…that one looks like it’s right up my alley!
Have a wonderful day.
Lynn
Lynn, you can also make a super long one and wrap it two or three times.
It will take a little practice to get the hang of holding the beads in the center of the leather while you’re threading.
But you will get it in no time, I promise.
I whip these out while watching TV since my hands always have to be doing something… even when I’m watching a movie-lol.
Let me know if you get stuck on it, I’ll walk you through it in more detail, if needed.
Wow Lisa!..those bracelets are gorgeous!!….and yes, that watch pairs so perfectly with the bracelets!!! I crown you Ms. Creativity for 2017 and beyond!!!
Shirley, you’re so sweet. I really appreciate that.
Thanks and I’ll take that honor.
Hope you have a great weekend.
Hi Lisa – once again you create such sparkle with your ideas and creations. The bracelets are perfection. And oh my, hold on to that watch! 🙂
Thanks so much, Jeanne.
Yes, I feel like I need to hide the watch at night.
I wouldn’t mind loaning it to my daughter but I’m sure she would see that as a keep-lol.
Happy weekend!
LOVE! I’m loving that you make these little bracelets! Jewelry making is one of my favorite things to do, and yet I have very little time for it. These are absolutely adorable! Thanks for sharing this post:)
Cindy, I’m so glad you like them and I love knowing that you enjoy making jewelry (in addition to your many decorating talents).
Hope you give these a try one day.
Have a lovely weekend.
Thank you for all the instructions on the beaded bracelets and mosaic pot. They’re so pretty! I can’t wait to get the materials and try to make some of each. You’re very talented and sweet to share!
Great, Janice.
So glad the instructions make sense to you.
It’s a little tricky at first to balance the beads between the leather at first, but you will be able to do it
Be patient as you find the best balance for your fingers
Good luck and let me know how your beaded bracelets turn out.
Feel free to reach out to me if you get stuck on anything and I’ll try to walk you through it, if necessary.
Lisa — thank you for the fantastic post and for being an inspiration! I am excited to make a few of these bracelets and gift a few of them for the coming holiday. I look forward to your more advanced tutorial on the more complex bracelet design. I’m also very excited about the Jord watches — I already have one picked out for myself.
That’s great, Anita.
You’ll love making these bracelets.
Take your time when balancing the beads between your fingers for the first few rows. It can be bit wobbly during that early stage but don’t give up.
Good luck and let me know how your bracelets turn out.
If you get stuck on anything, feel free to drop me a line and I’ll try to walk you through it.
What is the thread us used?
Hi Corinne, sorry for the delay in my response to you.
The store where I bought my thread closed. However, you can find Superlon thread online.
I found a thread that looks the same as what I use for my beaded jewelry on Etsy.
Here’s a link below:
https://www.etsy.com/listing/769613189/coats-nylbond-extra-strong-beading?external=1&rec_type=ad&ref=pla_similar_listing_top-3&pro=1&sts=1&plkey=7f31ea314d40b84bbfceb9fb28e9e759b7d71389%3A769613189