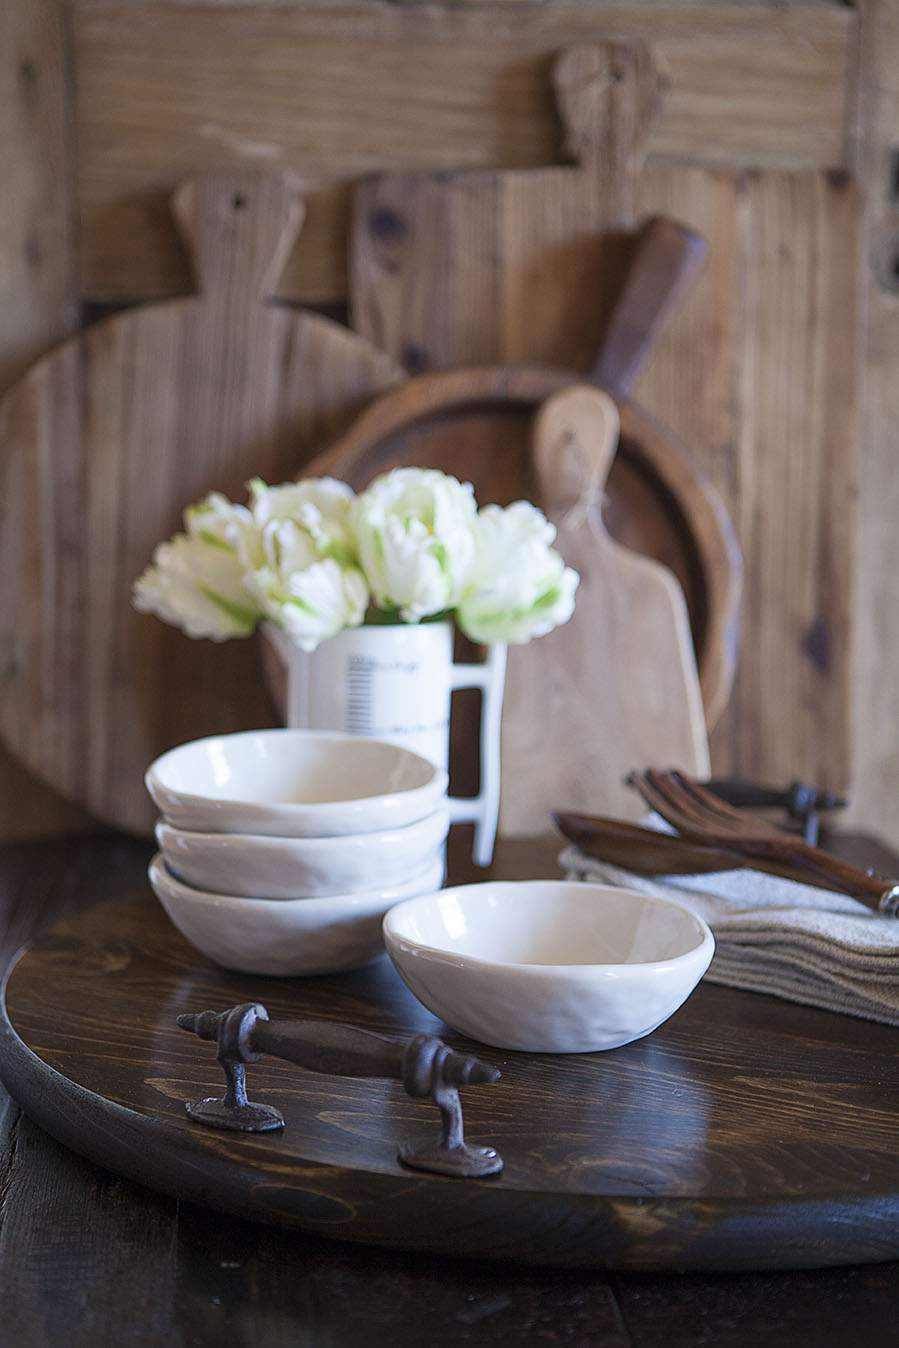
One of the things I love most about this project is that it’s not only so darn simple to make… it’s also super easy on your pocketbook.
This DIY serving board cost me less than $30 dollars to make which is a whole lot better than the similar ones I’ve seen in Pottery Barn (and other stores) for $100 dollars and up.
I think this looks just as good as any you’d find in a high end retail store and I have the satisfaction of being able to say, “I made it myself”.

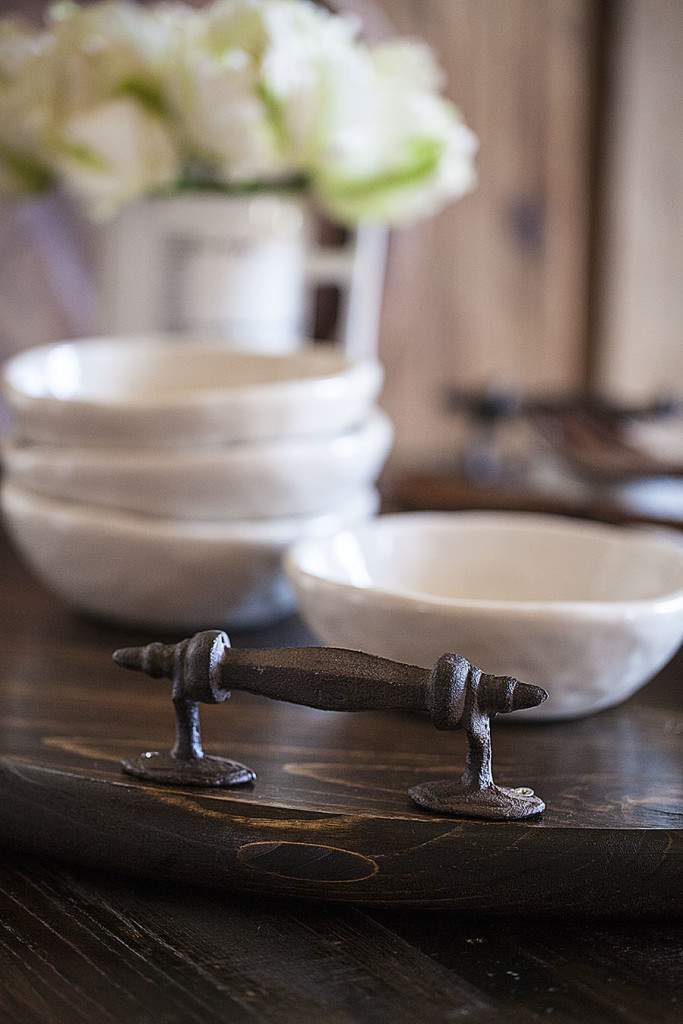
These cast iron handles are what actually inspired this project.
I spotted them for under $5 at Hobby Lobby a while back and at the time, I didn’t even have a particular project in mind for them.
I just like the way they looked and they reminded me of something you might see in The Game of Thrones.
Yes, I’m a fan of that show and can’t until the Season 6 return on April 24th.

I already had some of the necessary supplies on hand and you may too.
You’ll need wood stain, rubber gloves, a foam brush and rag.
Grab some butcher block oil sealer which is food safe when applied to raw wood (I’ll talk more about using food safe oil a little further down in this post).
I found the raw, pre-cut wood circle at Home Depot for $15.

After cleaning the wood board of any dust or debris, apply a think coat of stain.
Make sure you apply the stain in the same direction of the wood grain to ensure a smooth, streak-free appearance.
Each new coat give adds a new layer of richness to the board and I ended up applying five coats of stain in all.

If you look closely you can see how the richness in color builds up slowly, coat after coat.
The lower area of the board represents the third coat of stain.
You can see how much lighter the upper area of the board is after two coats.
Once you’ve settled on the color you want, set the board aside and allow to dry at least overnight.

I wanted to make sure this rich color is preserved so, I added a clear sealant in the form of butcher block oil.
Use a fresh foam brush to apply the oil in the same direction as the wood grain.
IMPORTANT NOTE: The directions on the butcher block sealer specifically say if you want the surface to be “food safe” to apply the oil to unfinished wood. I read that mean that if I use this particular product on wood that has some sort of finish on it (like regular wood stain), it will not necessarily make that surface, food safe.
I don’t plan on putting any unprotected food directly on this board but if you want to make a board to use for food-serving, I suggest you stain it with a food safe product first instead of regular wood stain, as I did here.
There are a number of food-safe, vegetable-based stains available that you could use to add color to your raw wood and then you could seal it with the food-safe butcher block oil.
Determine how you plan to use the board and then choose the appropriate stain and finish to ensure safety.

After the board is dry, install the handles.
As long as you select screws that are long enough to cut deep into the wood (without poking through the other side), you’ll have very sturdy handles.
Once the handles were screwed in, I dabbed a small amount of brown paint over them so they would blend into the cast iron.
When that paint dries, just brush a small amount of clear fingernail polish over the screws to keep the paint from rubbing off easily.

Oh, thanks to the most loyal photography assistant I know for helping me show off my serving board.
My son, Jordy has been my go-to helper since he was very little. Click HERE to see what I mean.
Love those dimples (still learning to love the eyebrows).


Thanks for stopping by.
See you back here next time. ♥


Beautiful Lisa!!!….Love those handles….the perfect choice…and kudos to your assistant!!!….Such a very handsome guy with a great smile!
Thanks Shirley, I had to show your comment to Jordy. Lots of blushing to go with that great smile of his-lol.
This is a wonderful idea! I need something like this for weekends on the back porch. Such beautiful photography as well!
Thanks, Jan. Yes, this is a great weekend project. I hope you make one and let me know how it turns out.
Hi Lisa, I just found your site and am loving everything! You are definitely a woman after my own heart, as we share the same interests, and I also, am an avid DIY-er.
Love your new tray and I’m sure you will garner tons of compliments!
So glad you found your way here. Enjoy the browse and thanks so much for your sweet words.
Hi Lisa – Thanks for a fun, easy and useful DIY. You have a very cute, patient and so helpful assistant. No wonder all your shots are perfection! I have an assistant too…she “works” as my model and demonstrator(!)
Yes, Jeanne, I’ve seen your assistant/model and she’s a doll. That’s what kids are for, right?
I am so happy that you came to visit my blog because it led me back to you. I am in love with your blog and all of the beautiful photos. I cannot wait to see more.
Thanks so much Elizabeth.
What a fabulous project. I will be making one for myself.
Thanks Debra. The serving board is so easy I hope you do make one. I’m going to make a few more for holiday gifts later this year.
Love your Beautiful tray and the handles remind me of my grandmother’s cast iron skillet she gave me when I got married many years ago. Love getting your emails and reading your blog. You sure do have a Handsome young helper. Love those Precious Demples and Beautiful Smile!!
You’re so sweet, Cheryl. Yes, those handles make the whole project in my opinion. Thanks so much and my “young helper” thanks you too for your nice comment.
Helpful and handsome young man! Love the beautiful board inspired to create it today!
Thanks for that, Laura.
I hope your board turned out well.
Stay safe and have a lovely day.