It may not officially be Fall just yet, but it’s certainly cooled down in my neck of the woods.
Windows are wide open today and there’s a cool breeze flowing through my house, and I have on socks.
You may wonder what that has to do with this sweet Ginger Pear & Walnut Tart.
Well, it just feels so much like Fall, and this is one fantastic dessert that suggests the Fall season is definitely upon us.

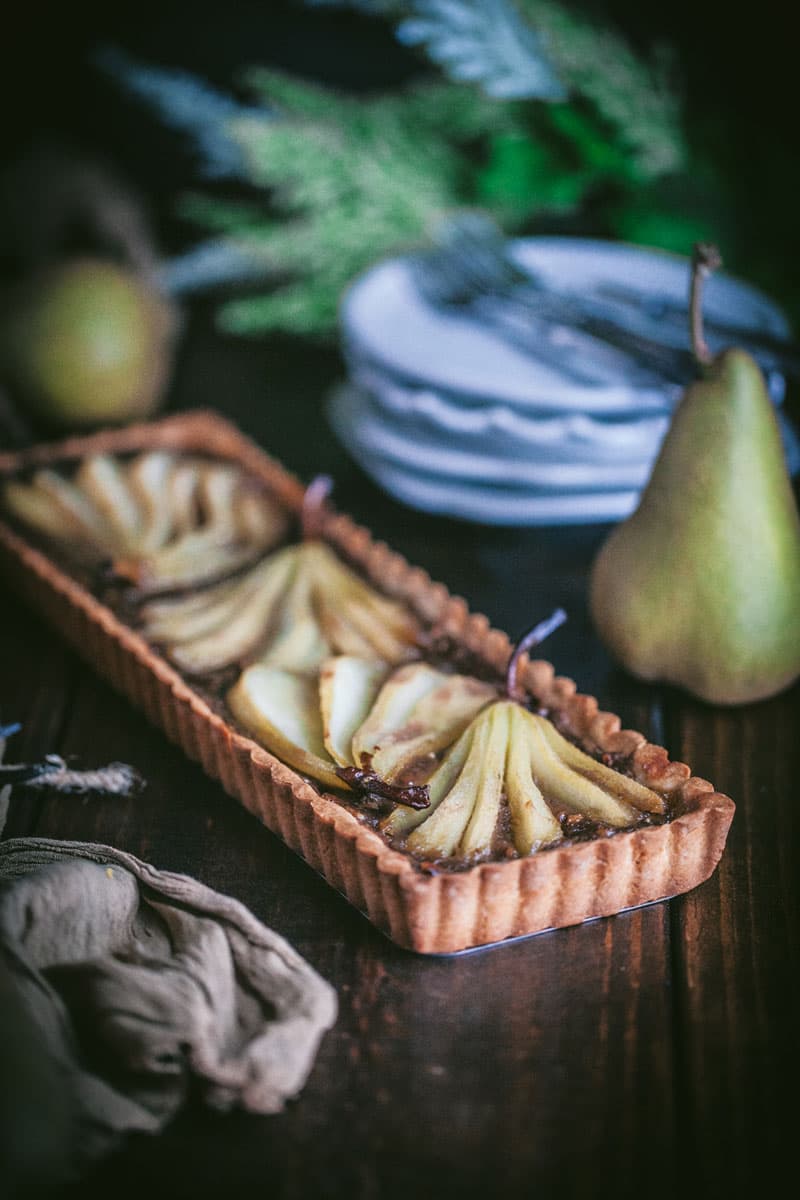
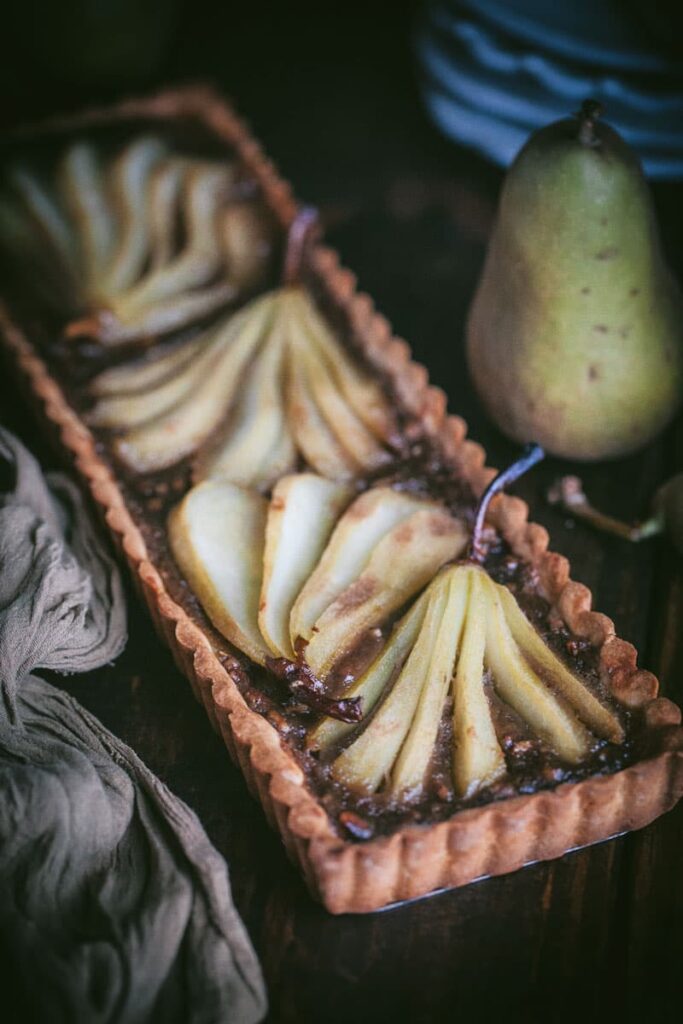
While the fanned-out, pear halves really help to elevate this dessert into a visual treat, it’s the rich flavor that truly packs a punch with the combination of brown sugar and butter with smooth hues of vanilla and ginger throughout.
The tart bottom is flaky and lightly sweet, with tiny walnut pieces embedded into the crust that give it a speckled appearance.

Bosc Pears are the centerpiece of this dessert.
I love the beautiful, cinnamon brown skin of the Bosc variety, which are known for their long stems, and elongated necks with a slightly plump belly.
The brown coloring give these pears an especially rustic appearance which lends itself really well to still life photos like the image above.
OK, let’s get started.

After peeling the pears and slicing them in half, you’ll need to poach them for a short time.
It’s important to not poach them for too long for this recipe because you’ll need the pears to remain fairly firm to hold their shape on top the tart.
That makes for easier slicing too, when cutting the halves in a fan shape.

Of course, there a ton pie weights out there but I really like these natural clay weights. The rustic and varied coloring of is so appealing. This is not sponsored in any way, but if you like these as much as I do, you can find these pie weights HERE.
Meanwhile, like many tarts, this recipe calls for the crust to be blind baked which involves baking the crust prior to filling it. Use parchment paper to separate the weights from the crust.
Pie weights help to prevent air pockets from forming and also helps to ensure less crust shrinkage and puffing of the crust. Using weights during the blind bake also helps create an even and more evenly baked crust.

This recipe calls for walnuts but pecans or chopped macadamia nuts would be equally yummy. There are nuts in the crust recipe too.
However, if the tart lovers in your life have nut allergies, it’s perfectly fine to skip the nuts altogether. The tart and filling will still taste great.
I really do like the look of the stems still attached to the pear for this recipe but they need a little extra protection.
Just before you pop the tart into the oven, take a small piece of foil and gently wrap around each pear stem. This will prevent the stems from scorching or outright burning during the baking process.

The full recipe is a just bit further down in this post and next up, I hope you enjoy my latest example of beautiful food on the move with my latest Food in Motion video segment.
If you click over to You Tube to watch the video, please consider subscribing to my channel, as I’m trying to build an audience on that platform too.
Thanks so much for your support of my creative, culinary and videography efforts.
Food in Motion

Ginger Pear and Walnut Tart
Ingredients
Ginger Pear and Walnut Tart
- 1-1/2 cups all-purpose flour
- 1/2 cup confectioners' sugar
- 2 tbsp ground walnuts
- 1/4 tsp kosher salt
- 1/2 cup cold, unsalted butter (cubed)
- 1 egg
- 1 tsp vanilla extract
- Walnut Tart Filling
- Poached Ginger Pears
Walnut Tart Filling
- 2 large eggs
- 1 cup firmly packed dark brown sugar
- 1/3 cup unsalted butter
- 1/4 cup heavy whipping cream
- 1 tsp vanilla extract
- 1/2 cup chopped walnuts
Poached Ginger Pears
- 4 cups water
- 1/2 cup honey
- 1 fresh ginger, peeled and thinly sliced
- 4 medium Bosc pears
Instructions
For the Crust
- Preheat oven to 350F.
- Beat flour, confectioners' sugar, walnuts and salt at low speed in stand mixer.
- Add cold butter, beating until mixture is crumbly.
- Add egg yolk and vanilla and beat until combined. Add a few drops of cold water, as needed if mixture is too dry.
- Gently press dough onto a lightly floured surface, press into oval shape and wrap in plastic. Refrigerate for an hour.
- Turn dough onto lightly floured surface and roll to a 16" X 4" rectangle.
- Transfer to a 14" x4" removable-bottom tart pan. Press into pan and trim excess.
- Pierce tart with fork to vent.
- Place parchment paper over tart, add pie weights and bake until lightly browned, about 20 minutes.
- Spread Walnut Tart Filling into prepared crust.
- Gently arrange sliced poached pears on top of filling.
- Bake until crust is golden and bubbly, about 15 minutes more.
- Allow to cool and serve with fresh whipped cream or vanilla bean ice cream.
For the Walnut Filling
- Whisk eggs until frothy and place over medium heat in a large saucepan.
- Add brown sugar, butter, cream and vanilla.
- Stir to combine.
- Bring to a boil over medium heat. Reduce heat to medium and cook, whisking constantly until thickened, @7 minutes.
- Remove from heat and add chopped walnuts.
For the Poached Ginger Pears
- Bring water to boil in large, heavy-bottomed stockpot.
- Stir in honey until dissolved and add the ginger.
- Peal pears, and cut in half. Be careful to keep stem intact on one half of cut pears.
- Use a tablespoon to carefully core each pear half.
- Gently slide pear halves into boiling liquid, reduce heat.
- Cover and cook the pears until a fork can pierce the pears, @25 minutes.
- Be careful not to overcook the pears. You'll need them firm, to arrange a top the tart.

The texture of this filling reminds me a little bit like pecan pie, but this tart definitely has it’s own profile.
Also, if you love pears, I have a couple of other recipes from previous posts that may strike your fancy.
Every slice of this tart delivers a burst of delicious flavor, with each bite made even more tasty against the gentle backdrop of the ginger-infused poached pears.

I hope you’re inspired to give this Ginger Pear and Walnut Tart a try.
Thanks for stopping by.
See you back here next time. ♥

I am now making this recipe but I don’t see an oven temperature. Can I assume it’s 350?
Looks so delicious and perfect for fall.
Yikes! Yes, Mary, you are correct to set your oven temperature to 350F.
I’ve made this dessert a few times. The original recipe from the Bake From Scratch magazine called for 375F, but I found that higher temperature baked the crust to fast and dark.
So, I stick with 350F.
I’ll correct the instructions too. Thanks for the heads-up.
Let me know how this turns out for you.
Happy baking!
xoxo
Lisa,
As always even from the start ‘way-back-when’ your work is AMAZING!!!! I am awwwwwed by your talents.
Elisa
Thanks so much for those kind words, Elisa.
Yes, I’ve been blogging since “way-back-when”-lol.
I appreciate your long-lasting support of my creative efforts too.
I’m so glad there are some things around here that strike your fancy.
Have a wonderful week and thanks again.
xoxo