For the last few days, we’ve gotten significant snowfall in my neck of the woods.
Not that I’ve been venturing far from home anyway, but snowy roads give me even more reason to stay put and do things around my house.
If you’re in a similar position (and even if you’re not), and you want something fun and easy to do this weekend, consider candle making.
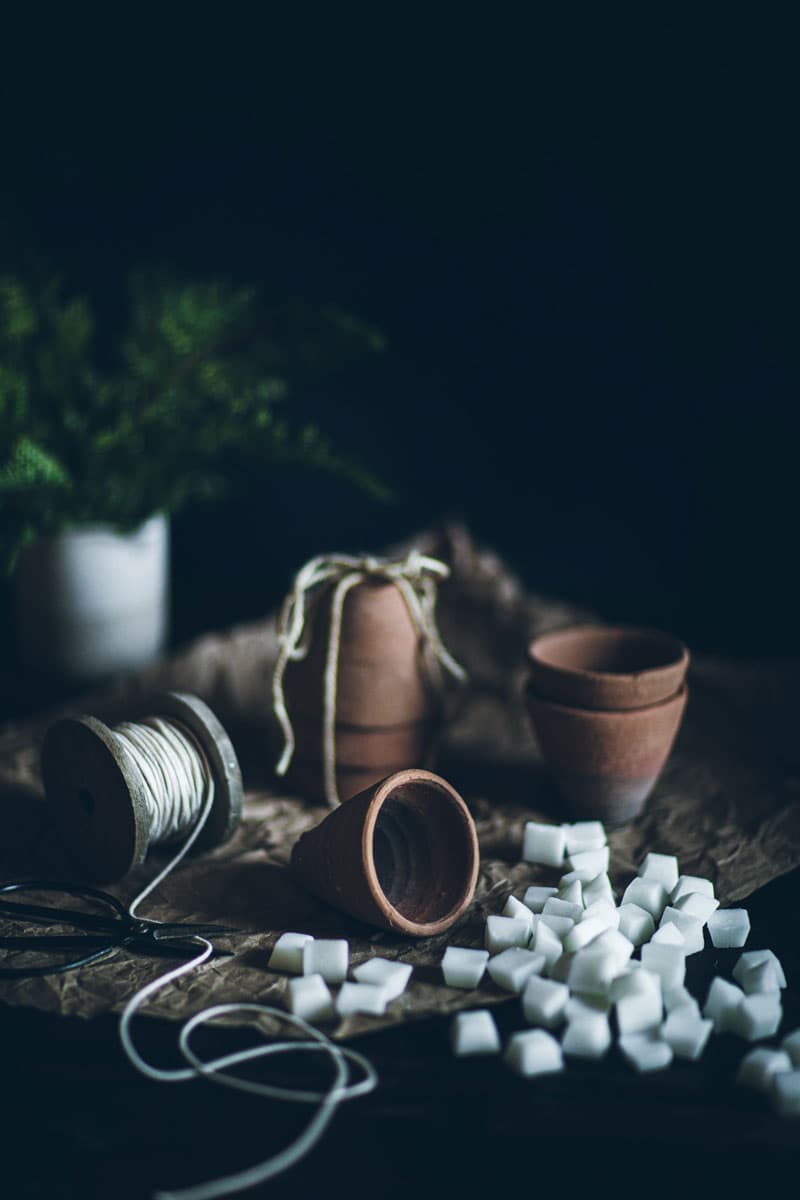
These terra cotta candle pots are more first foray into pint-size candle making and I think you’ll enjoy making them as much as I did.

You’ll only need a few supplies which you can find at your local crafts store or even better, online.
I actually bought the small terra cotta pots a few years ago from a garden shop and rediscovered them in a cabinet drawer recently.
If you like these exact mini pots, I found a different sources for them HERE (and they’re only $2 each, at the time of this writing).
It’s important to use pots that DO NOT have a hole in hole in the bottom or your hot wax will leak right out of the bottom.
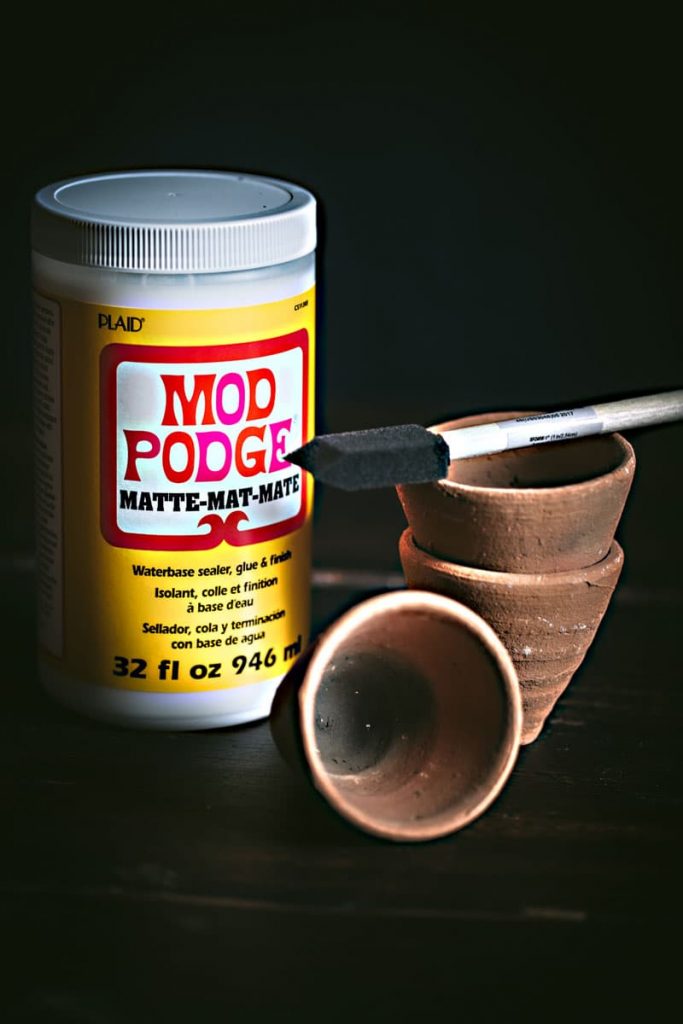
Also, because terra cotta is so porous, you’ll need some Mod Podge to thoroughly seal the inside of the terra cotta before you add any wax to it.
I added three coats of Mod Podge, allowing each application to dry before applying the next.

Of course, you’ll also need wicking material.
It generally doesn’t come on a spool like this.
I wrapped it around an empty wooden spool I had on hand, because it just makes for a much better display.
Yeah, I’m that detail oriented when it comes to photogenic styling.

After you have sealed the inside of the terra cotta pot and allowed it to dry completely, you’ll have to suspend the wick above the pot.
Any small twig, popsicle stick or dowel will do.
When cutting the wick, be sure to cut slightly more than you need.
The bottom of the wick should touch the bottom of the pot, with enough wick on the other end to wrap securely around the suspension stick.

Candle wax comes in a variety of colors.
I picked plain white because I thought it would be a nice, clean contrast against the terra cotta coloring.
The wax also comes in various fragrances or you can add your own.
I melted the wax in a small metal saucepan on the stove, set at a low temperature.
As soon as it melted, I added a few drops of store-bought lavender candle scent to it.
When working with small amounts of wax, it will cool and harden fairly quickly so, it’s important to get it into the terra cotta pots as quickly (and carefully) as possible.

I don’t think you need to pour the wax to the rim of the pot.
I like leaving a bit of clearance so the wax melts back into itself and not off the rim.
Allow the wax to cool and harden in the terra cotta pots overnight.
Then, simply clip the wick and you’re good to go.

One day, when it’s safe to do so, we’ll get back to hosting dinners with friends.
And when we do, how cute would these rustic, terra cotta, homemade candles look lined up on a dinner table?

Of course, never leave your sweet candles lit and unattended or too close to any other table decor.
Sorry, I feel compelled to share that obvious reminder.
There you have it.
A simple sweet, fun weekend craft… whether your snowbound or not.

Thanks for popping by to see my Terra Cotta Candle Pots.
I hope you give this project a try.
See you next time.
Stay safe and be well.♥

Fun project and beautifully photographed. Thank you for sharing.
I hope you find some time to give this project a try, Vicki.
Hope all is well in your neck of the woods.
Stay safe.
xoxo
Lisa, you are a blessing, with beautiful talents. Love your posts and family.
Thanks so much for that, Elisa.
I appreciate your kind words.
Hope you have time to try a few projects here and there.
Stay safe and be well.
xoxo
So nice!
Thanks so much, Constance.
Happy weekend to you.
xoxo
Gorgeous photography! And I love the rustic pots😍
Thanks so much, Cathy.
It’s such an easy project and I’m happy to have rediscovered these little terra cotta pots.
It’s good to put them to good use.
Happy weekend,
xoxo
Nice…how your camera caught the candle smoke. Lovely photos, as always!
Oooooh, you caught that.
Thanks, Karen.
I lit and blew out the candles to get that about half a dozen times.
The smoke kept dissipating so fast-lol.
Glad you like the project and images.
Have a lovely weekend.
xoxo
May I ask how you lost the weight? I must have missed that post ! I need to lose a bunch!!!
Hi Nancy, I’m sure you meant this query for Karianne (which I suspect is how you found me).
No problem-lol.
I’m looking forward to her posting the answer to that question one day soon too.
She looks amazing.
While you’re here, I hope you like the candle project.
Happy Valentine’s Day.
xoxo
Beautiful photography!. Lovely, simple project but I was wondering what you use to keep the wax from coming out of the hole in the bottom of the pot?
Thanks so much, Barb.
These particular terra cotta pots did not have a hole in the bottom so, I wasn’t faced with a leaking issue.
I imagine if you want to use a pot with a hole, the hole would have to be sealed in some way with something that is flame retardant.
Don’t forget whatever you use would also have to be sealed with Mod Podge along with the interior of the pot before adding wax.
I think it’s probably much easier (and safer) to find pots that don’t have a hole or opening in the bottom from the start.
Good luck with your candles (and Happy Valentine’s Day).
Lisa, every time I see my inbox that you have a new post, I get excited. I love to see all the things you do and your photography s amazing! Thank you for sending me notifications each time you post!