I love finding new and interesting ways to wrap Christmas gifts.
This year, I’m going with a more vintage, earthy look for some of my boxes.
And dried orange slices are at the heart of the presentation.

If you don’t have access to a dehydrator, you can dry your fruit slices out in the oven.
Set the oven temperature to 200º.
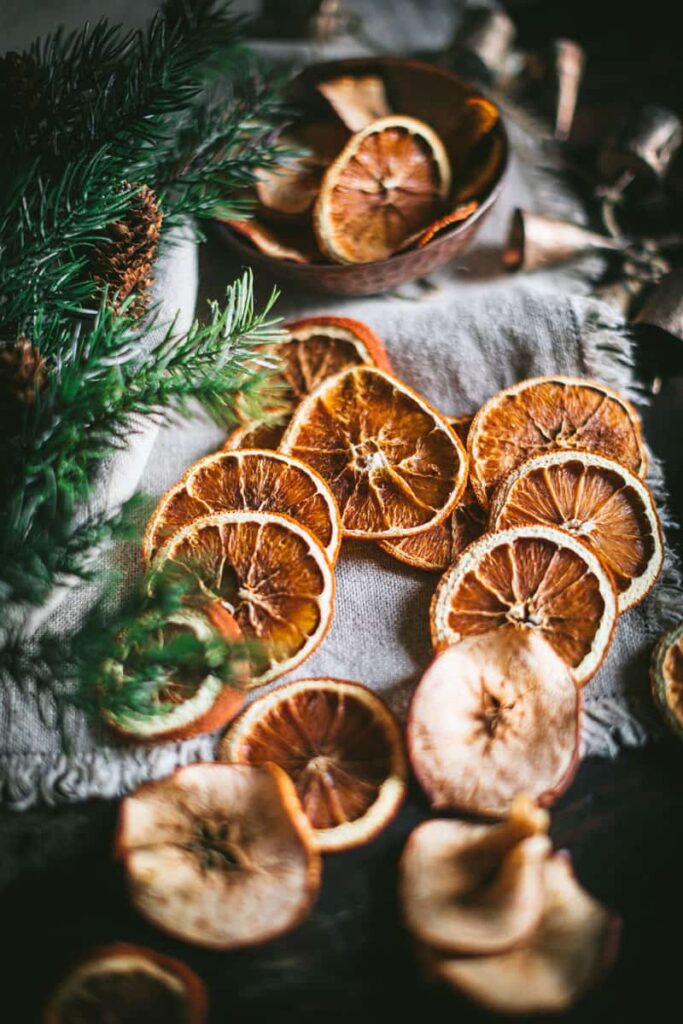
Slice the oranges (or apples) about a 1/4-inch thick and place on parchment paper-covered baking tray.
Bake in the low temperature oven for about 4-5 hours until the fruit is dried out and slightly shriveled around the edges.
It’s a good idea to flip the slices every hour for even drying throughout the entire slice.

Once the slices are removed from the oven, allow them to sit out overnight to ensure that they’re completely dried out.
Dried orange slices (and dried apples too for that matter), are an easy, fun way to add a touch of rustic, old fashioned appeal to your gifting efforts.
I don’t know about you but I just love the look of dried fruit like this.
In addition to using dried slices to adorn your gift boxes, there are so many other great holiday uses for dried slices.

Consider looping a ribbon or jute through the slice and add a small piece of greenery to single slices to create a tree ornament (or two, or three or four).
You could always string multiple slices together to create holiday garland that you could hang on your tree of even a festively decorated doorway.
If you’re working on a homemade wreath, you could also incorporate dried orange and/or apple slices into that holiday project.
Also, consider combining dried slices with star anise, cinnamon sticks, mixed nuts still in the shell, and dried greenery to create your own potpourri.

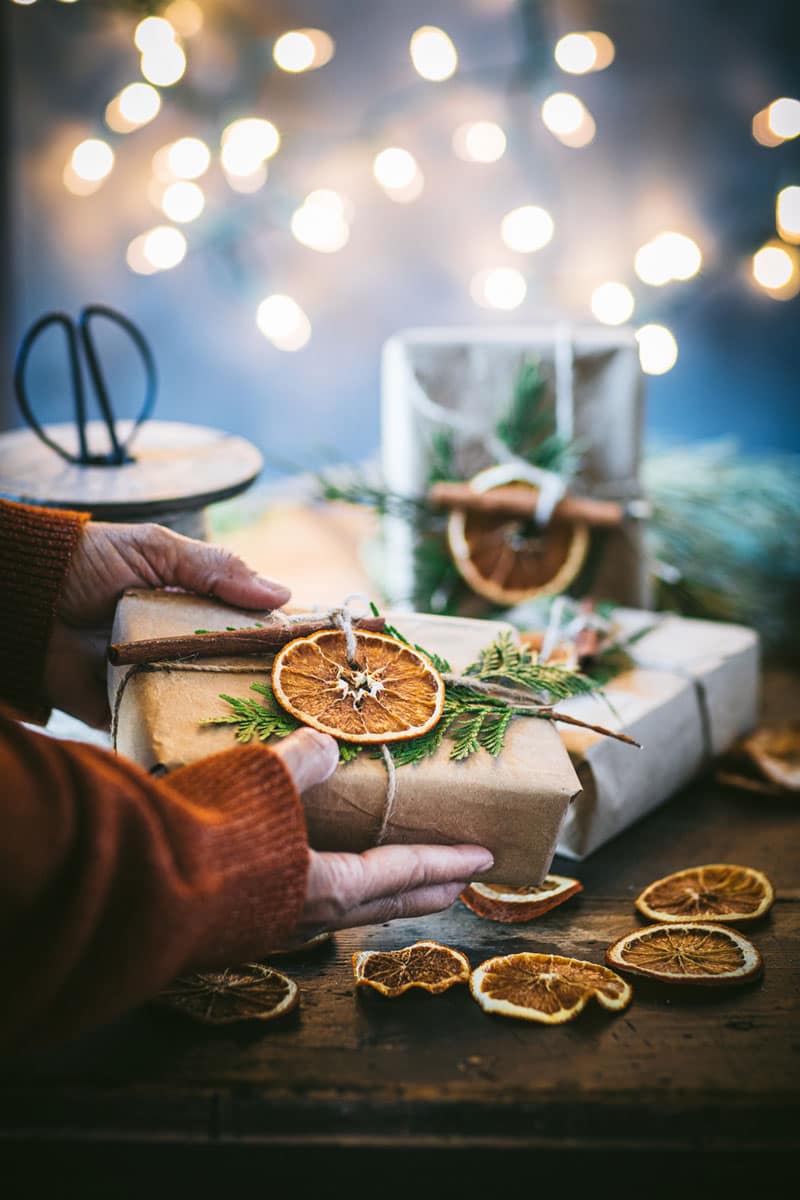
After wrapping your gift box in craft paper, tie a ribbon or strand of jute around the box and attach the orange slice.
Slide a scented piece of greenery under the string for a lovely pop of color.
Add a handcrafted gift tag like these to personalize it even more.
Voila, a lovingly wrapped gift that harkens back to nostalgic days, long before pretty patterned wrapping paper was the norm.
I think your gift recipients will love a gift wrapped like this.

Finally, here’s a quick holiday photography tip.
If you want to create this blurred (bokeh) light effect, just position your subject about at least a yard (or more) away from the lights. These lights are just a string of tree lights lights tossed over a backdrop.
The further the subject is placed from the lights, combined with your lens set at the lowest possible aperture, the blurrier the lights will appear.
For this image, I used an 85mm lens set at F1.2.
Give this technique a try and make those fairy lights truly dance in your next holiday photos.
Thanks for popping by for a visit.
See you back here next time.
Happy holidays.♥

Oh my goodness, Lisa!!!!!! Every post, as stunning and amazing as the others! Once again, thank you for your talent and instruction! Blessings to you, and yours, in the New Year!
Thank you so much for that, Toni.
I’m sending you equally good wishes for a safe and happy new year.
Stay safe and well.
xoxo
Lisa, a little late to the party. I am definitely going to use all of your beautiful suggestions next Christmas. As always your photography is stunning!!
Thanks so much for that, Shirley.
Hope all is well in your neck of the woods.
I love that your Mum is visiting you for a while.
You two enjoy each other.