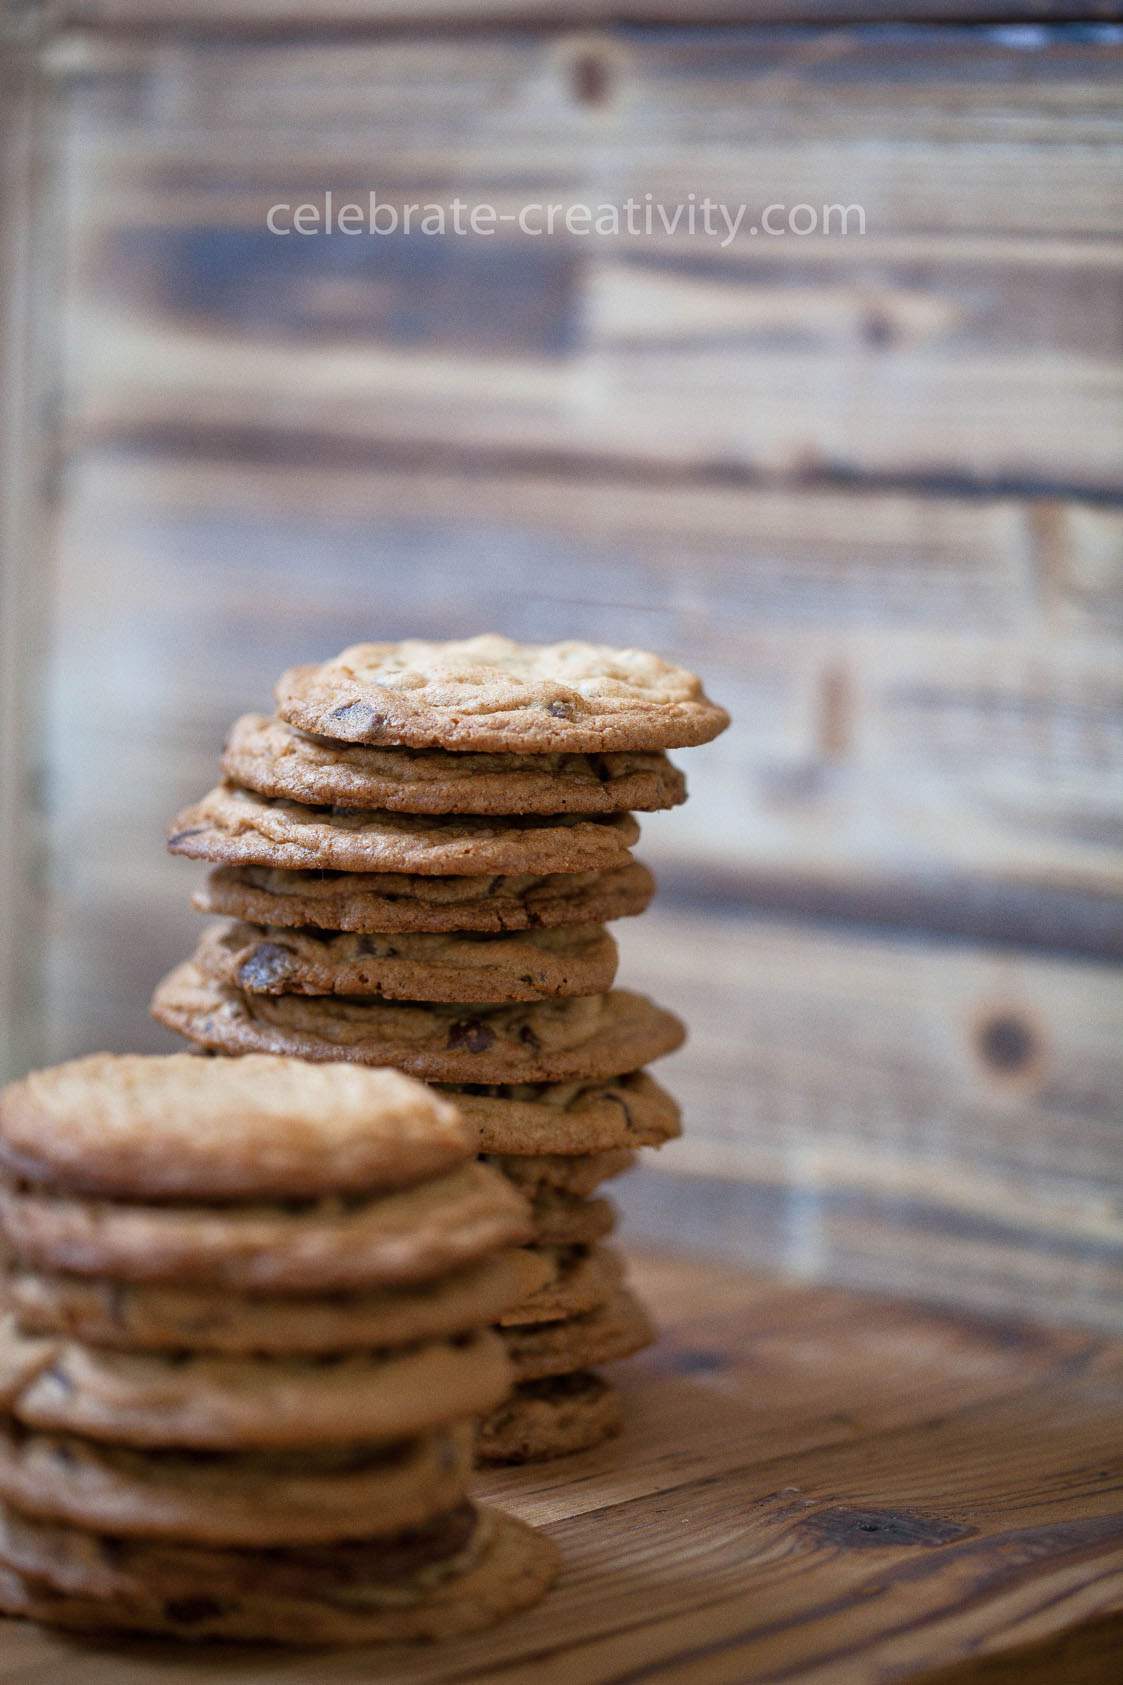
A
s tasty as these chocolate chip cookies look, this post is not about cookie treats. This post is about what you can see “behind” the cookies.
Welcome to the latest edition of my regular GET THE SHOT photography column.
Throughout this post, I’ll show you how easy it is to take a simple wood crate and turn it into a versatile, rustic backdrop board that you can use time and time again to enhance your food styling photography.
Various wood surfaces can easily be incorporated into food styling to add texture, color, warmth and just plain interest to a photo.
I’m always on the lookout for interesting pieces of wood that I can use but I have to admit, this backdrop was an after-thought.
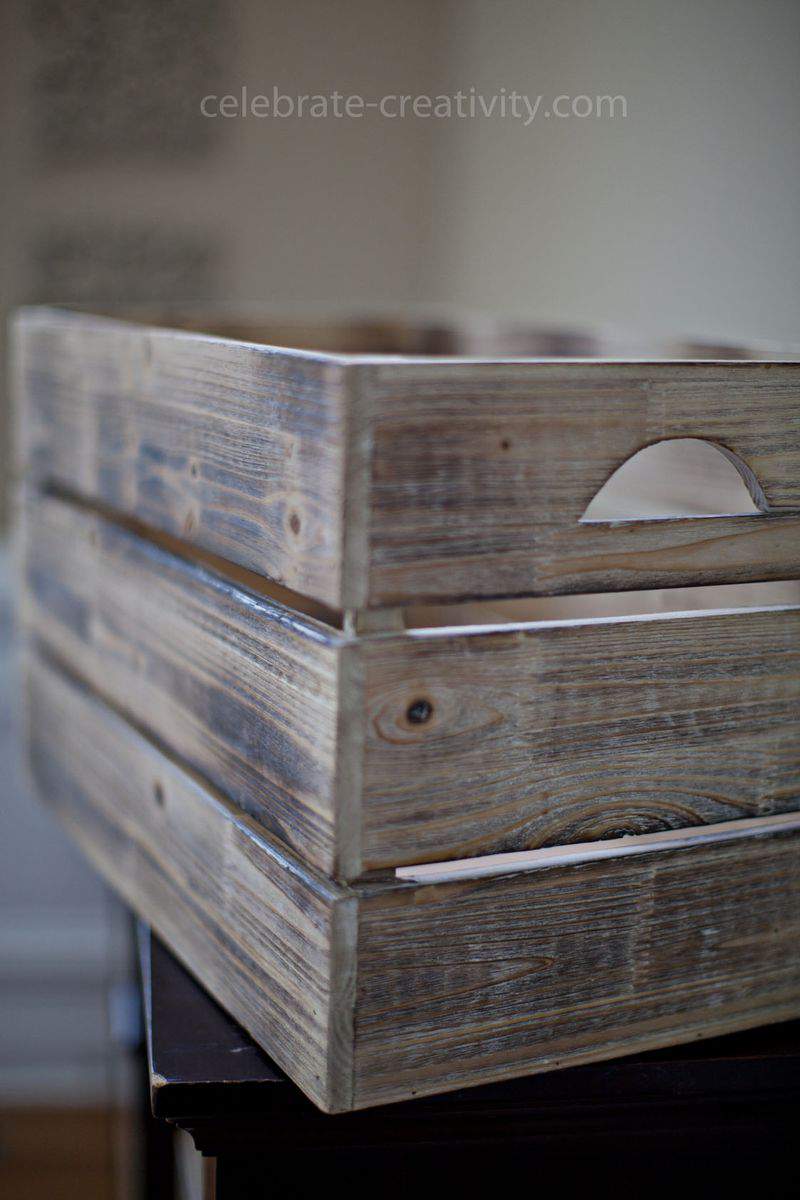
When I spotted the rough and worn texture and the variations in the coloring of this crate, I was won over. OK, the coloring and the price-$14.
I initially intended to use it for a magazine storage box but quickly changed my mind almost as soon as I got it home.
Regular readers of this blog may recall my affinity for collecting and creating interesting backdrops that I can use for my photography efforts and I thought these boards would work nicely along those lines.
The crate was only held together with tiny staple so it was quite simple to bust the boards apart.
Once all the boards were separated, I rearranged them side by side to create a flat surface.
I used the smaller boards to frame the larger surface.
Then, I attached the boards using wood glue.
Be sure to wipe off any excess glue from the bottom of the boards or you’ll risk adhering the bottom of your new backdrop board to whatever surface it’s drying on.
To add a little extra support, glue a few wood slats to the back of the board.
Sit board aside and allow to dry overnight.
Once dry, clean the surface of the board with a warm, slightly soapy cloth.
Wipe excess and allow to dry completely again.
I also added a small amount of food-safe mineral oil to add a layer of protection and restore a bit of color to the wood.
You can read more about using mineral oil on wood in a previous post HERE.
A few small tacks make the boards a little more unique and authentic, as if they were taken from a barn or some other old structure.
These small, 1/4-inch tacks can be found at many hardware stores in the same aisle as screws and nails.
Here’s an example of how the boards can be used for something as simple as cookies and a few ingredients.
Really simple, huh?
Sometimes, all you need is just a small amount of rustic texture to help the elements in your food styling shine.
These boards add just the right mount of warmth and old fashioned country appeal to the shot.
See what I mean?
In this photo, there’s just a tiny amount of wood peeking through but it’s enough to add supporting interest to the cookie stack which is the true focal point of this shot.
In this picture, I placed the cookies on a cutting board and propped my new backdrop board up against a wall to get that interesting wood coloring behind the subject.
Like I said, these boards are versatile.
Getting off topic for a moment… if you love nearly paper thin cookies (like I do), allow me to share my top 3-tips for ensuring a flat cookie.
1. Beat butter and sugar together thoroughly until super creamy.
2. Add eggs one at a time and make sure you beat each egg thoroughly before adding the next egg.
3. Use UN-SIFTED flour and add it to the cookie mixture a little at a time. I’ve found that sifted flour makes my drop-cookies very thick and clumpy.
Meanwhile, when using (and admiring) your new photo backdrop board, always keep your eyes peeled.
Young cookie “swipers” are never as far away as you may think. ♥
Thanks for stopping by.
I’ll see you back here next time.


Thanks for another great photo tips post Lisa! I always wanted to make a collection of backdrops — I always scurring to take photos and having a choice of backdrops would make it so much easier. Love your little cookie thief too! ;-D
You always have great tips and your photos are so inspiring. I’ve been working on trying to take better photos and I think I’m getting better. I do need to work on back drops too. Thanks for the inspriation.
Great post!! I study the photos very carefully and read every word. Since we travel a lot I ended up getting some photo backdrops that look like rustic wood. It rolls up easily and is very portable. Not as lovely as your rustic wood but it helps.
Love this post; been wanting something like this and never thought of disassembly and reassembling! You are indeed creative! Thanks
That was such a neat box! I would have had trouble making myself break it up. Hope that cute Mason jar measuring cup thingy is on your post next week. Really cute!