I’ve been a big admirer of furniture makeover projects for many years but until now I’ve never really tackled a big furniture face-lift myself.
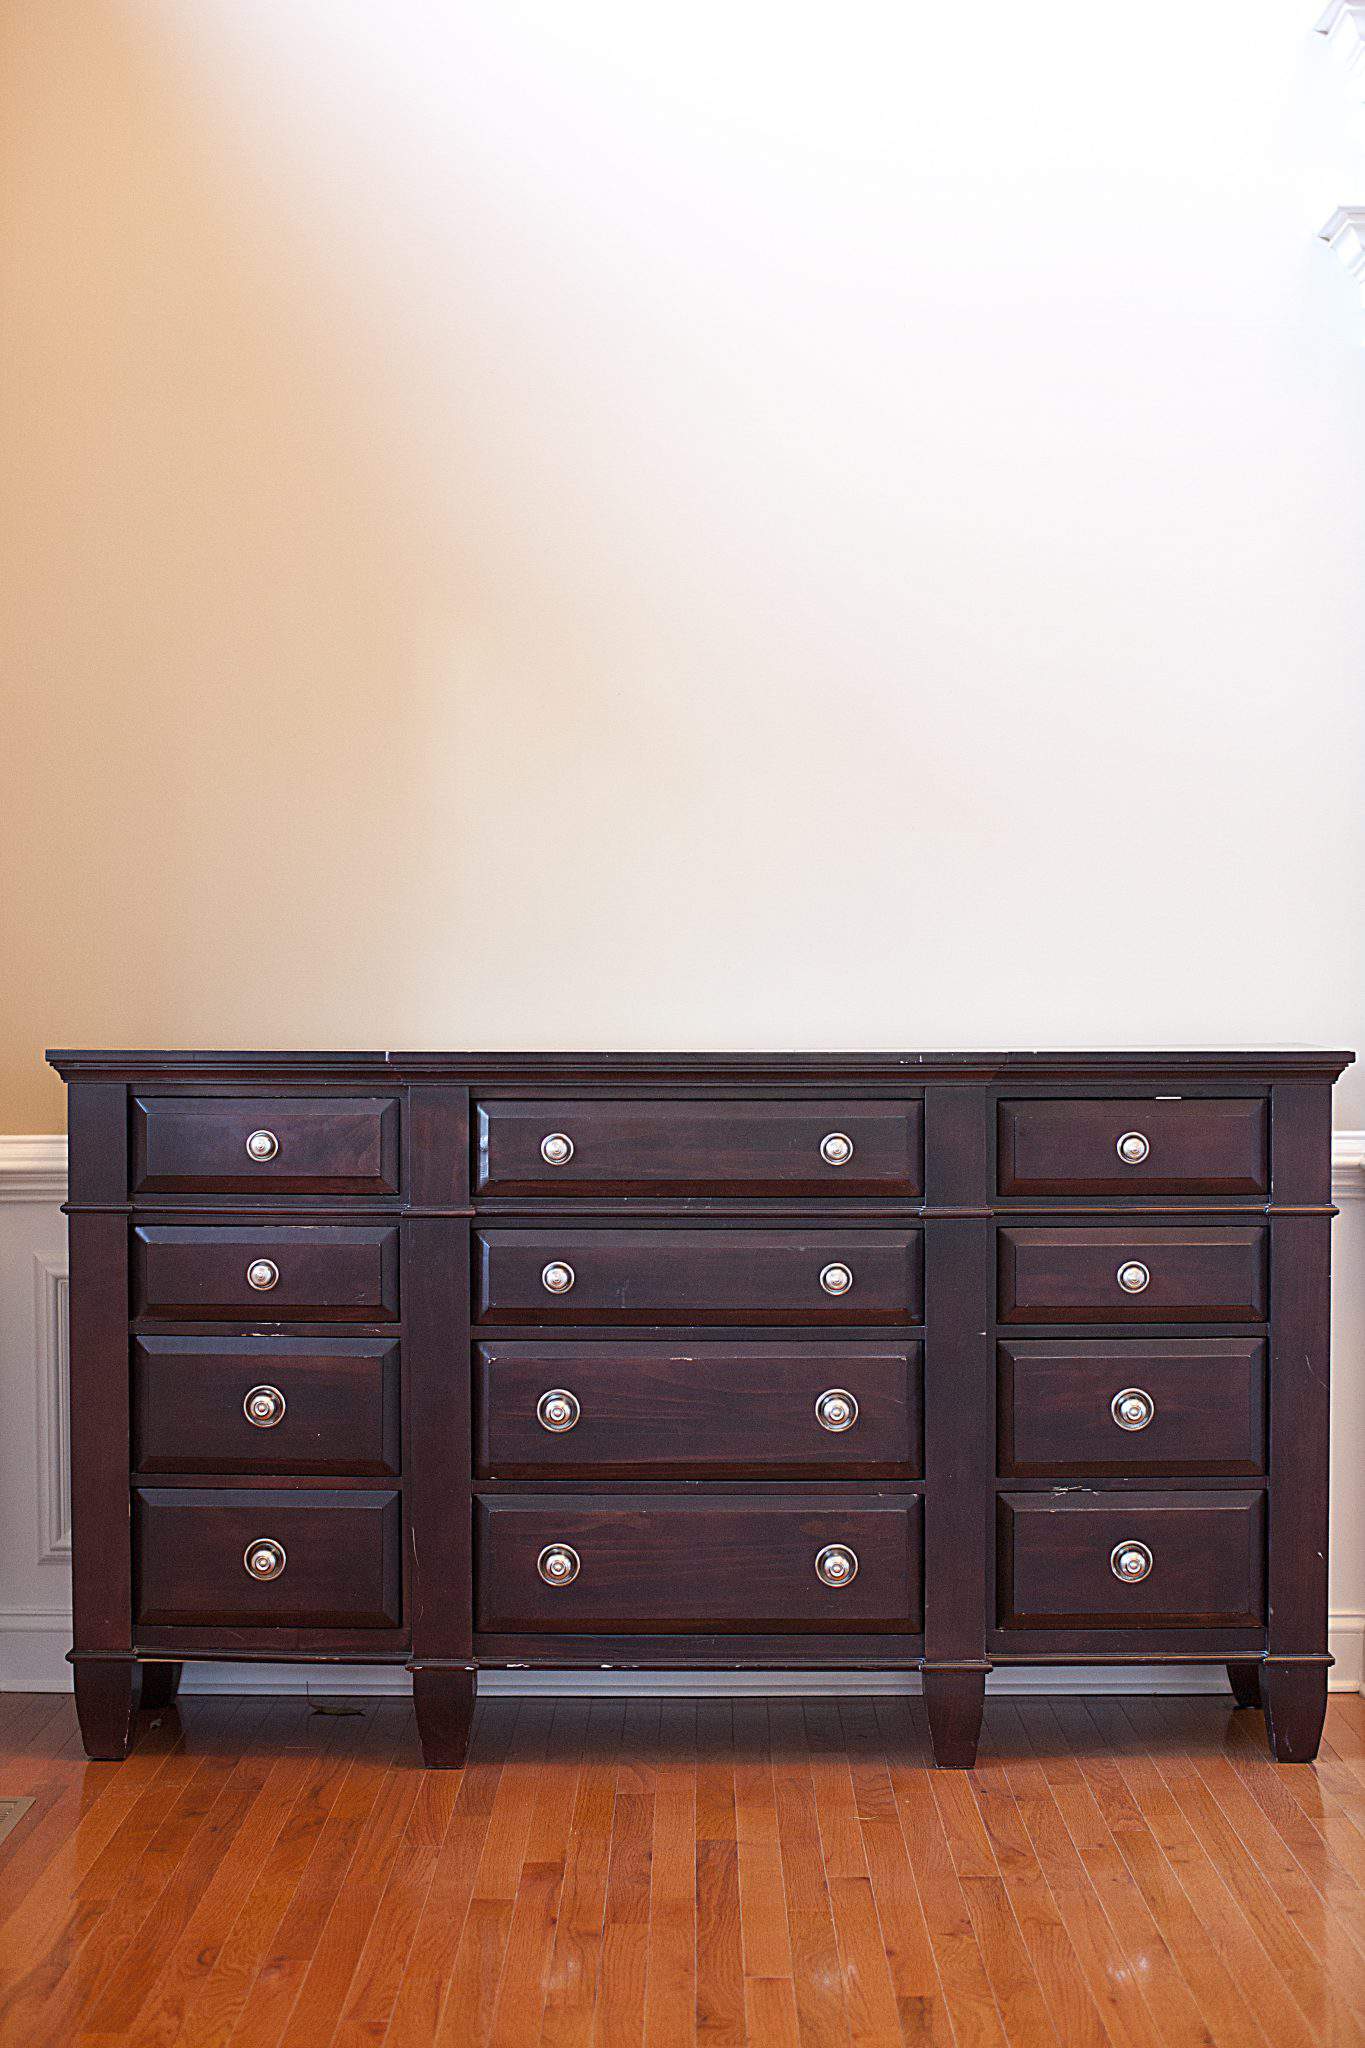
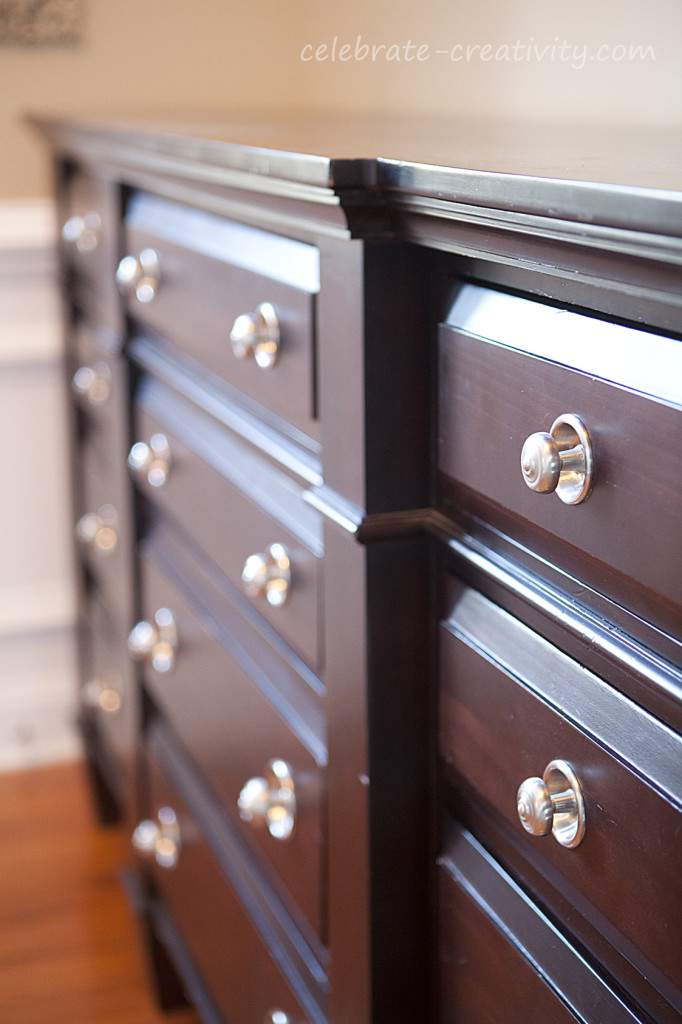
That’s where this side-cabinet comes in. I found it at a local thrift store a few weeks ago for a rock bottom price and couldn’t resist it.
My plan is to re-finish and distress the entire piece and I must admit this is a pretty ambitious project considering it’s my first big furniture paint project.
With 12 drawers and a 76-inch X 4-1/2-foot frame, I definitely have my amateur work cut out from me.
Because the finish is smooth and a bit shiny, I was a little worried about the paint sticking to it.
To address this, I sanded the finish to eliminate some of the sheen and give it a rougher texture for the paint to attach to.
Use a micro-fiber cloth to remove any dust or debris.
Then add the first coat of paint. I didn’t want the original burgundy color to show through, so I painted the drawer brown.
When you have this this many drawers to paint, start an assembly line.
To create the distressed look I’m after, I used a resist technique which requires a beeswax application around the edges of the drawers.
Just rub the beeswax on the areas where you want the topcoat of paint to come off easily.

Now, time to add the topcoat which should be gently applied directly over the beeswax.
I painted two coats to ensure complete coverage.
Once the paint is fully dried, use a small piece of sandpaper to gently (and patiently) rub around the edges where the beeswax was applied.
The paint should lift easily thanks to the resist created by the beeswax.
Be careful not to sand too hard or the undercoat (first paint color) or you may accidentally remove too much of the undercoat and reveal the original color (in this case-the burgundy that I don’t want).
Once the edges are sanded to your satisfaction, now you can add the antiquing effect using waxes.
I used this natural fiber brushes to apply a clear wax first and then a dark wax.
These special, natural-fiber brushes also help you get wax into those nooks and crannies of more intricately designed pieces of furniture or surfaces.
After a coat of clear wax is applied, wipe off the excess with a soft cloth and then add a coat of the dark wax.
If you find you’ve added too much dark wax, just dab a cloth into the clear wax and use it to wipe away excess dark color.
I didn’t want the dark wax to overpower the light topcoat so I didn’t use a heavy hand.
If you look closely, you can see how the dark wax deposits give the wood more of an antique look.
Here’s what the first drawer looks like. It’s a stark contrast to the dark, burgundy of the original finish.
One drawer down, 11 more drawers and the frame to go.
I’ll definitely share the finished makeover later in an upcoming post so stay tuned. ♥
Thanks for stopping by.


Wow Lisa — what a change. The new finish is beautiful! I’m looking forward to seeing the finished piece — will you use the same hardware?
I really like it, the old varnish look isn’t something I desire but the new look you gave that draw was very good and I hope the share it with us when its finished.
see so easy to transform, i dont understand why people throw things out
For your first project, you did a REALLY great job!!! Did you ever finish this? I’m gonna take a look and try and find it:) Have a great weekend, Lisa:)
Cindy, such a timely query. I finished all the drawers and added knobs but I still need to finish the larger frame. I was just looking at it this week and thinking that I really need to get back to it.
I’ve been swamped with so many other things, I’ve been putting it off but it’s time to finish it… especially since it’s the first thing guests see when they walk into the house.
Thanks for lighting the additional flame under my you-know-what-lol.