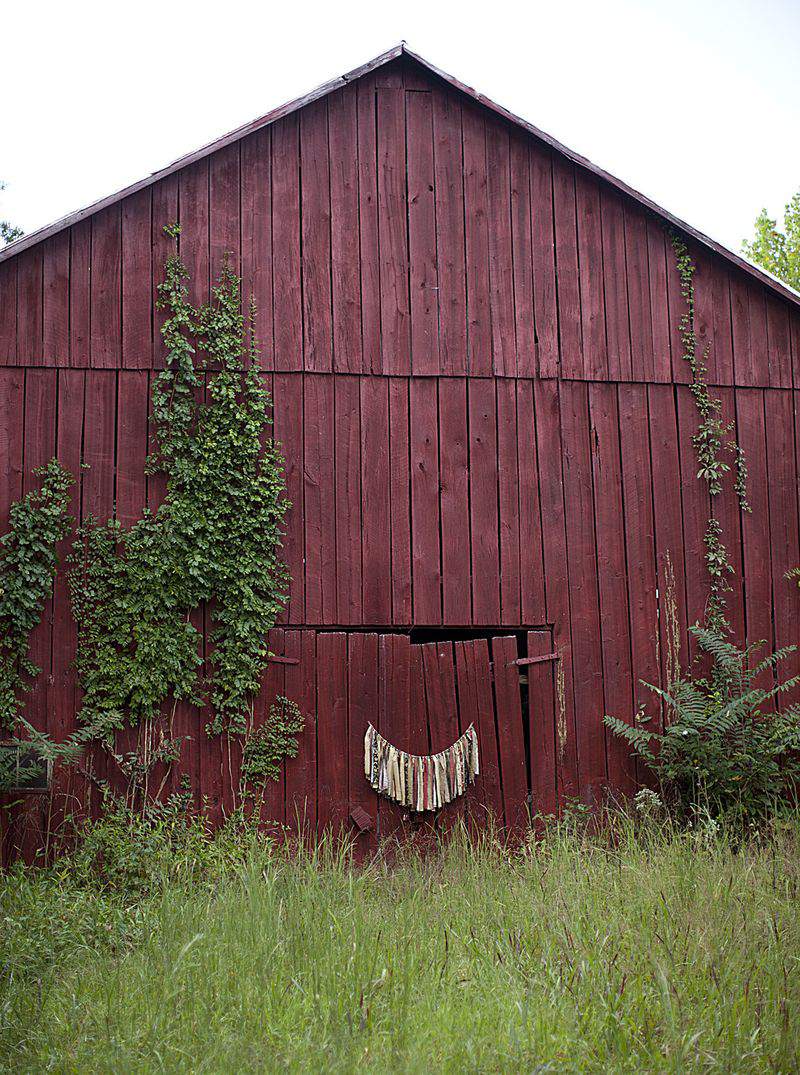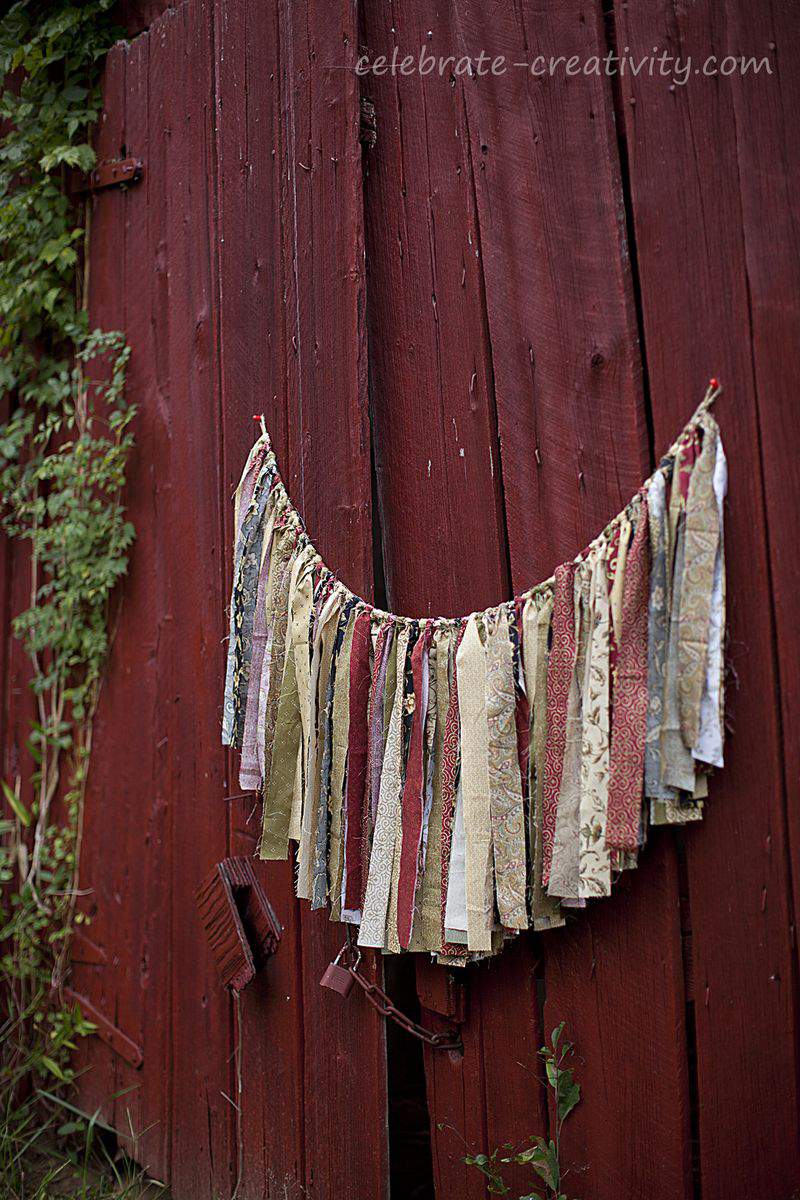
I’m always on the lookout for interesting ways to display the projects I feature on this blog. During a recent visit to my family’s Maryland farm, I spotted the perfect backdrop in this old, red barn.
More on this barn later but for now, let’s talk about my FALL FABRIC-STRIP GARLAND PROJECT.
You’ll enjoy making this fabric garland and it’s a great way to use up old fabric strips and scraps.
You can tailor a fabric-strip garland to fit any occasion.
I picked these fabric colors for the Fall season but imagine the possibilities for any occasion.
Consider black and orange for Halloween or red and green for the holidays or even pastels for a child’s birthday party.
Over the years, I’ve accumulated various fabric fat quarters, fabric bolts and fabric scraps that are too large to throw away but too small to use in any major project.
The stack of fabrics below were left over from a quilt project I started years ago.
It was nice to finally do something with some of this pretty, leftover fabric.
I cut my strips about 2-3/4-inches wide and about 32-inches long.
The length of your strip is determined by how long you want the strands to hang. Just remember to double the length since you’ll be wrapping it around the rope.
NOTE: If you’re fabric is not at least 32-inches long, you can always sew two strips together to make up the difference in length. If you do that, just make sure you hide the seam in the knot.
You’ll also need about 1-1/2-yard of sturdy rope or jute as well as a small amount of thinner string.
I’m a big collector of string and string dispensers too. I know, strange, right?
Anyway, you can check out my previous post about string HERE.
Loop the jute about an inch and wrap with the thinner string to close the loop and secure it in place.
The thinner string will be concealed later when you start to wrap the fabric around the rope.
Once the fabric is wrapped around the rope, you’ll want to make sure that the “right’ sides of the strips are exposed from the front and back.
To do this, make sure the “wrong” sides of the fabric strips are back to back.
Loop the fabric strip over the jute and pull the two tails through the loop as if you were pulling the tails through a necktie.
Place the first strip close to the end of the loop to hide that thin string you used to secure the loop.
Pull the fabric tightly to secure it to the rope.
Adjust the fabric as needed to make sure the right sides of the fabric are exposed on both sides.
As you can see, the finished knot looks very much like a necktie.
Slide the knot as necessary to conceal the end of the loop/end connection.
Repeat the knots, making sure you alternate the fabric selections to mix it up a bit.
Slide the knots closely together for a fuller arrangement.
Try to tie each knot the same way to maintain a uniform presentation.
Once the rope is filled with the fabric strips, you’re basically done.
Use small pushpins to hang the garland in a doorway or over an entry over a table or even on an old barn door.
Sometimes depending on how tightly you wrap the strips, the tails may end up being a little uneven.
To correct this, just lay the garland out flat on the floor after everything is strung and use a pair of scissors to trim across the bottom so that all the tails are even.
As I mentioned earlier, I snapped these fabric garland photos around a barn on my family’s farm.
I just love the color and old texture of the barn and I’ll share more about this old barn structure later in an upcoming post. ♥
Thanks for stopping by.
See you back here next time.
I’m linking this FABRIC-STRIP GARLAND to the following:
Trish and Bonnie at UNCOMMON DESIGNS
Kim at SAVVY SOUTHERN STYLE
Beth at HOME STORIES A TO Z
The ladies at LOU-LOU GIRLS
Yvonne at STONE GABLE


Lisa…the fabric garland is a true beauty…and you give the best tutorials…and I must say that the garland is stunning on the doors of the barn!!!!…sharing!!