I
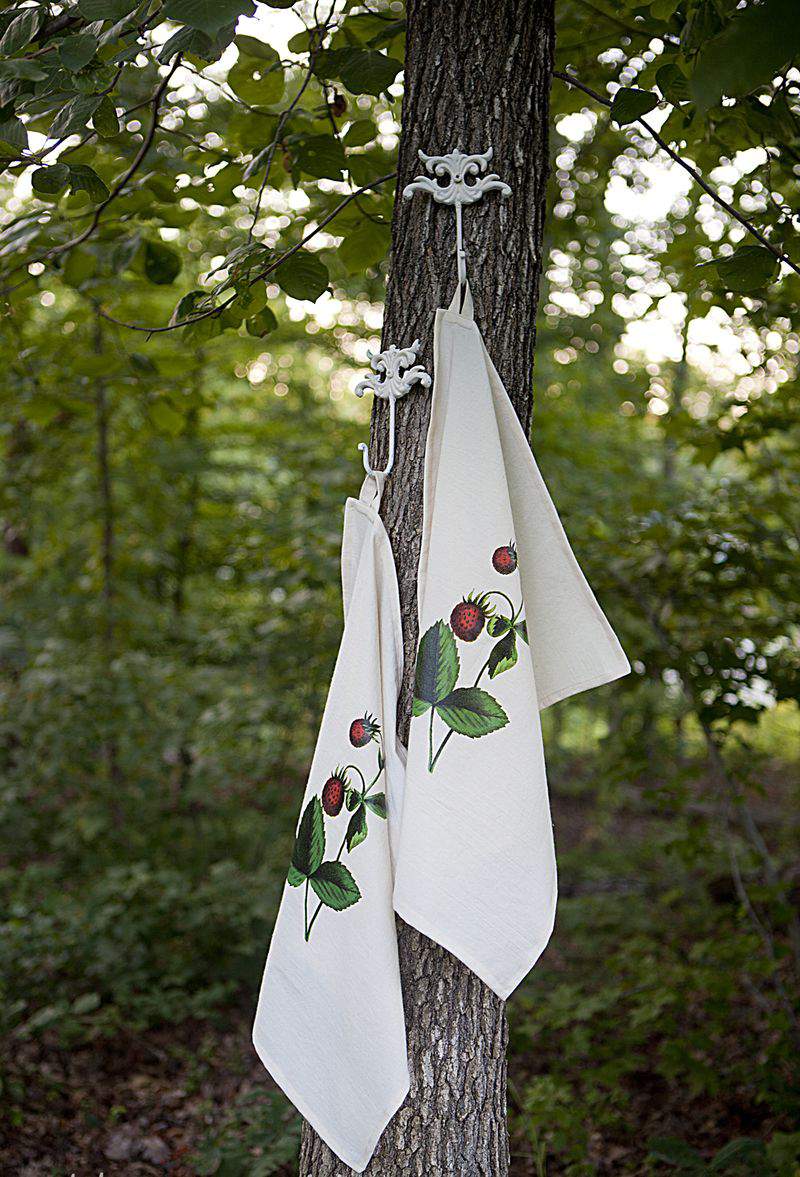
know, I know. There is no practical reason to have t-towels hanging in trees. I just happened to like the way these towels look hanging outside in a backyard tree.
While I’m always looking for interesting ways to stage my projects, that’s not actually what this post is about.
Throughout this post, I’ll share an easy technique for making strawberry dish towels.
This post is all about a super simple way to transform fabric into adorable t-towels and it all starts with an image you really like.
I love this gorgeous image of vintage strawberries.
You can find these strawberries on The Graphics Fairy website which features thousands of fantastic images, tutorials and image-based project ideas.
You’ll only need a few other supplies for this project including Iron-on transfer paper (which can be found at most crafts stores), fabric and an iron.
After you’ve found a picture to use, simply pull it up on your computer and then print it right onto the transfer paper.
Image goes on the white side, grid lines are the back.
I’m never at a loss for fabric for handcrafted napkins and/or t-towels.
I keep a nice little stash of various linens, cotton solids and flour sack material on hand to turn to just for projects like this.
First, cut the fabric to the desired t-towel size.
You can double turn the fabric edges and stitch it down to finish off the edges or you can miter the corners as I did here.
If you like the look of mitered corners, it’s easier than you may think and you can check out my previous post entitled How to Miter Fabric Corners to miter your own corners.
When making t-towels one optional element that can be added is a loop.
1. Start with a piece of fabric @2-1/2 inches wide by 4-5 inches long.
2. Iron both side so they meet in the center.
3. Turn fabric over again and iron.
Topstitch along both sides of the strip to complete.
Iron to eliminate any wrinkles or small creases.
Refer back to my tutorial on mitering corners.
Before stitching the edge of the napkin down, pin the loop into the seam.
Turn the stitch up toward the outer edge and stitch across the loop where it meets the top of the edge.
Flip the t-towel over.

Stitch again across the top edge to hold the loop in place.
You’ll like the look of the loop and you can get a closer look at it further down in this post.
When you print your image out onto the transfer paper, make sure you adjust your printer setting to “best” quality.
This will help ensure maximum color saturation.
In order for the image application to look as clean as possible, it’s important to cut away as much excess white space from around the image on the transfer paper.
I used an exacto knife and fine-point scissors to cut the strawberries out as close to the edges as possible.
Turn the image side down onto the napkin surface and use a hot, dry iron to slowly go over the entire image.
Do not use the steam setting on the iron for this step.
Then, carefully peel the transfer paper away to reveal the image.
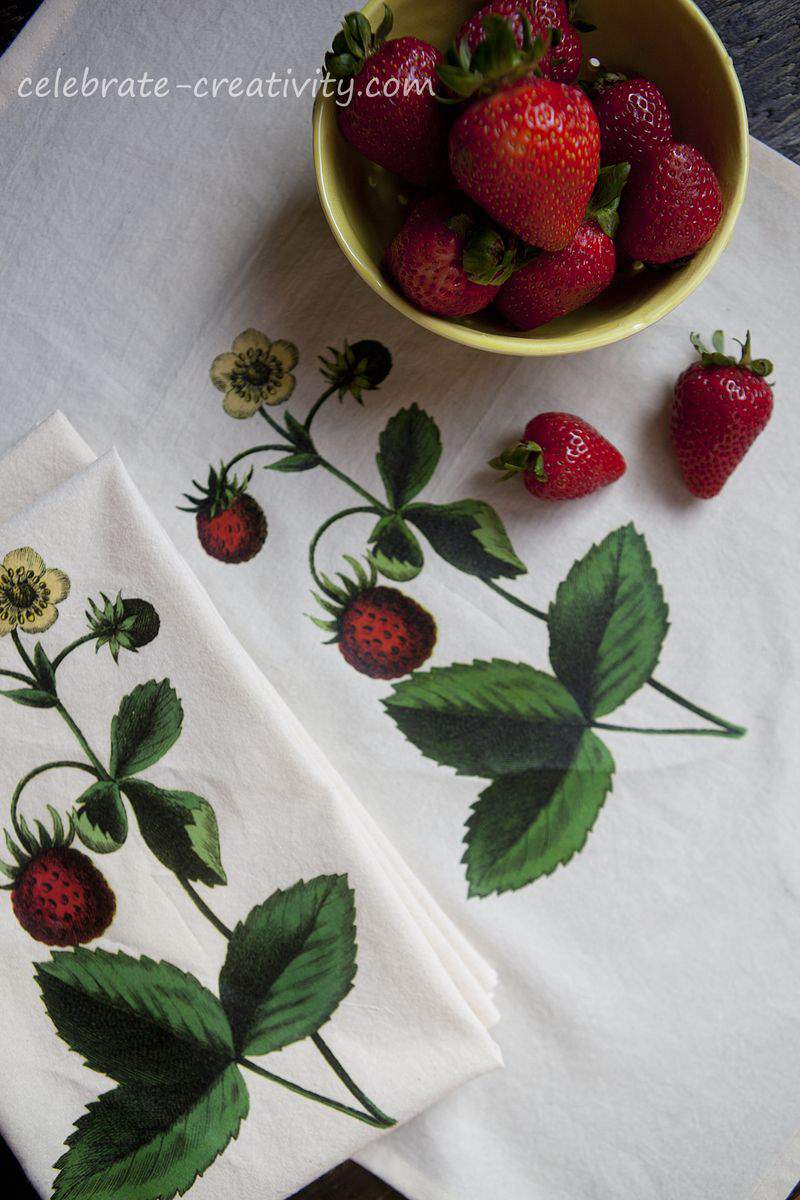
These ink-based strawberries almost look like the real thing.
Now, wouldn’t these t-towels make a great gift accompanied by a bowl of fresh strawberries?
That brings me to the finished strawberry dish towel.
Think about all the beautiful images you can transfer to your own project.
Oh, here’s a closer look at how my loops turned out.
Again, loops are optional but I think the t-towels look so much cuter and finished off with them.
Also, here’s a fun gift idea.
Roll a set of newly-embellished t-towels and tie with rustic jute and place them in an equally rustic box and slide the box.
Slide the box into a celophane gift bag and tie the bag with the same rustic jute.
Add a handcrafted gift tag and you’ll have the perfect gift offering.♥
Thanks for stopping by.
See you back here next time.
WANT MORE CREATIVE INSPIRATION?
I’m linking this Vintage-Inspired Tea Towel to the following:
Beth at Home Stories A to Z


lovely!
Those are beautiful Lisa. Oh, the ideas for so many graphics — thanks for sharing!!!
They are so beautiful…and love that Karen provides us all with the convenience of the magnificent graphics…thanks for the tutorial Lisa!
What a lovely idea Lisa! Those are so beautiful!