H
ere’s a riddle for you. When is a picnic bench, not a picnic bench?
Answer: When it’s a photo backdrop board.
Well, if that Q & A doesn’t quite make much sense to you right now, it will… after you read this latest installment of my Get the Shot photography column, “GET THE SHOT”.
 While recently strolling local store liquidation sale, I spotted this picnic bench which had been used to display women’s clothes.
NOTE: Store closings and everything-must-go sales offer unique opportunities to pick up great fixtures and unusual props. Check out some great storage fixtures I featured in an earlier post HERE.
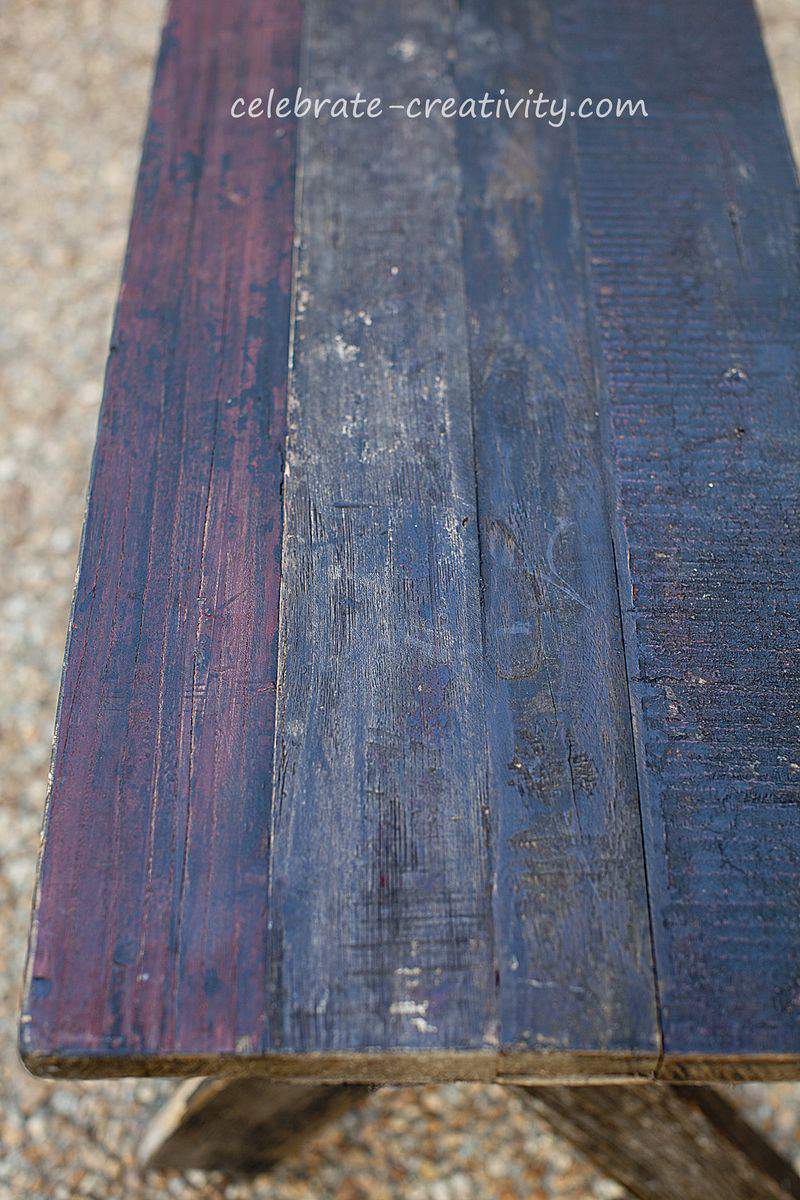
Anyway, what really caught my eye about this picnic bench was the beautiful and varied coloring of the slightly distressed wood.
When I got it home, I broke off the criss-cross legs.
Then I cut the bench in half.

When you look at these two pieces of the bench side-by-side, I think you can see the rich texture of the wood.
Even though I could spot the pretty coloring in bench form, I think the color is really concentrated when viewed in smaller pieces like this.

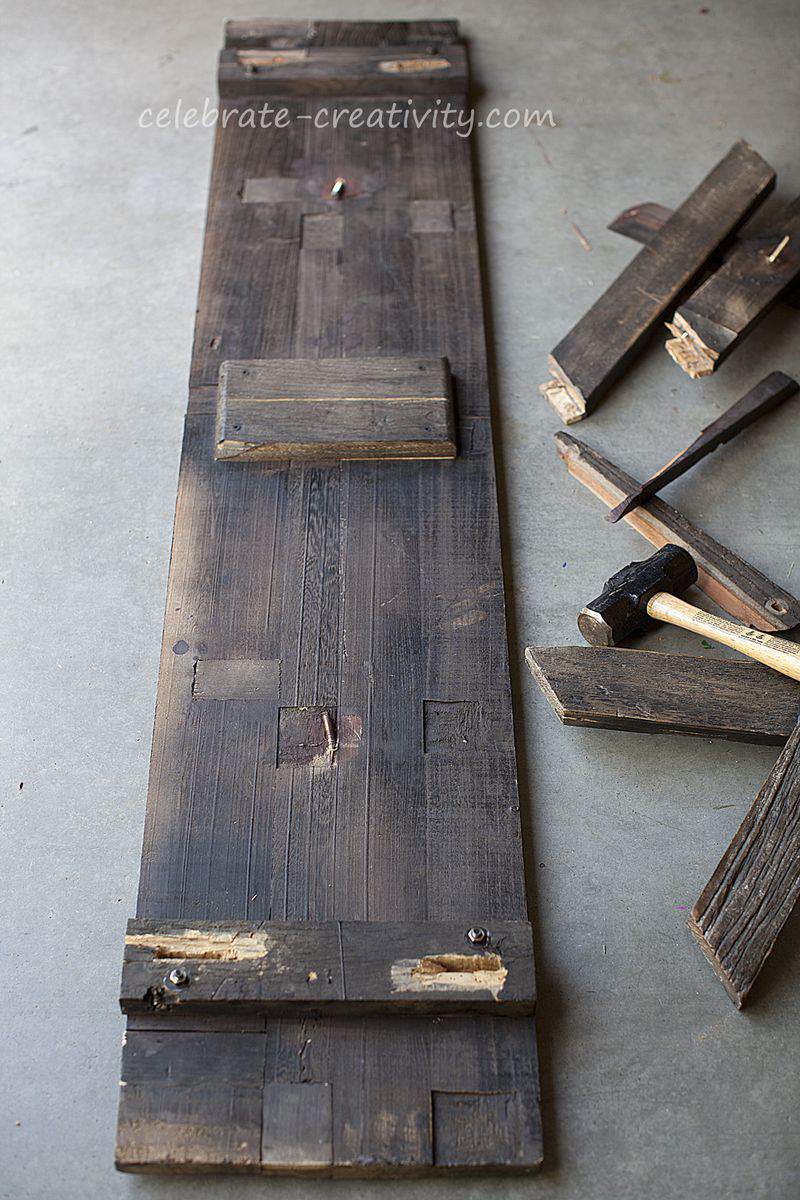
I used a leveler to make sure the underside support blocks were indeed aligned before securing the two boards together.
These support blocks will also act as handles as you’ll see further down in this post.
No matter how hard I tried, I could not remove the large bolts from the board so I did the next best thing.
I used a sledgehammer to just bend them over so they would not get in the way once the board was turned over.
A board this size can be a bit awkward to carry.
I just screwed in a few of the pieces from the criss-cross legs that I removed earlier which provide a little ridge-like handle for easy gripping.
Attach several brackets across the back to connect the two boards securely.
NOTE: Make sure you double-check the depth of the boards and then length of your screws. You don’t want screws so long that they will punch through the front of the boards.
Thoroughly wash the board with warm, soapy water and allow to dry completely.
After it was dry, I applied a small amount of food-safe mineral oil to condition and restore the luster of the wood.
Look at the board now.
Beautiful, huh?
If you’d like to see how I similarly transformed a picnic table for my photography purposes, be sure to visit my previous post, HERE.
This board is now ready to use as a photo backdrop.
Reveal as little or as much of the board as you like for added background color and texture as you like.
I’ve made a number of other photo prop boards out of simple lumber. You can see that tutorial HERE.
The underside handles allow me to easily move the board anywhere I want, inside or outside.
Sit the prop board on the floor for overhead shots (like the photo above), or rest it on TV tables for a bit of height and a different perspective (like the photos below).
As you can see, only a small amount of the very large board can be seen in this photo but sometimes, that’s all you need.
My new prop board adds a warm, rustic feel to the picture and I think picnic bench is the last thing that comes to mind when you look at this photo (at least, I hope so).
So next time, you’re out and about…. keep your eyes peeled for great-looking wood.
Even a old, beat up picnic bench has wonderful photographic possibilities. ♥
Thanks for stopping by.
WANT MORE CREATIVE INSPIRATION?
I’m linking this “Get the Shot” post to the following:
Beth at Home Stories A to Z
Trish and Bonnie at Uncommon Designs
Debbie at Confessions of a Plate Addict
Katie at Addicted 2 DIY
Lucy atCraftberry Bush
Kim at Savvy Southern Style

Great project…now I just need to find a picnic table to turn into a backdrop board:-D
That’s a fantastic idea Lisa — thanks for the inspiration!!!
What a great idea Lisa!!!…the wood is beautiful…I am going to have to get some of that butcher block conditioner to use on some of my old wood! Have a wonderful and safe holiday weekend!
This is amazing. I remember when all you could cook was boiled eggs, and you didn’t do that very well. Your go-to dish was Deviled Eggs and they weren’t that great. Now you’re doing an upcoming post on Focaccia bread? Your breads and cookies are enviable. The photography is beautiful. Please come to my house to cook and decorate.
~~Your twin sister
Thank you for sharing fantastic table. this is a very beneficial for build picnic table.
It’s fantastic table and looking so beautiful.
Hey great advice! What lens do you use?