Herb gardening is at the heart of many a small-scale, green thumb effort.
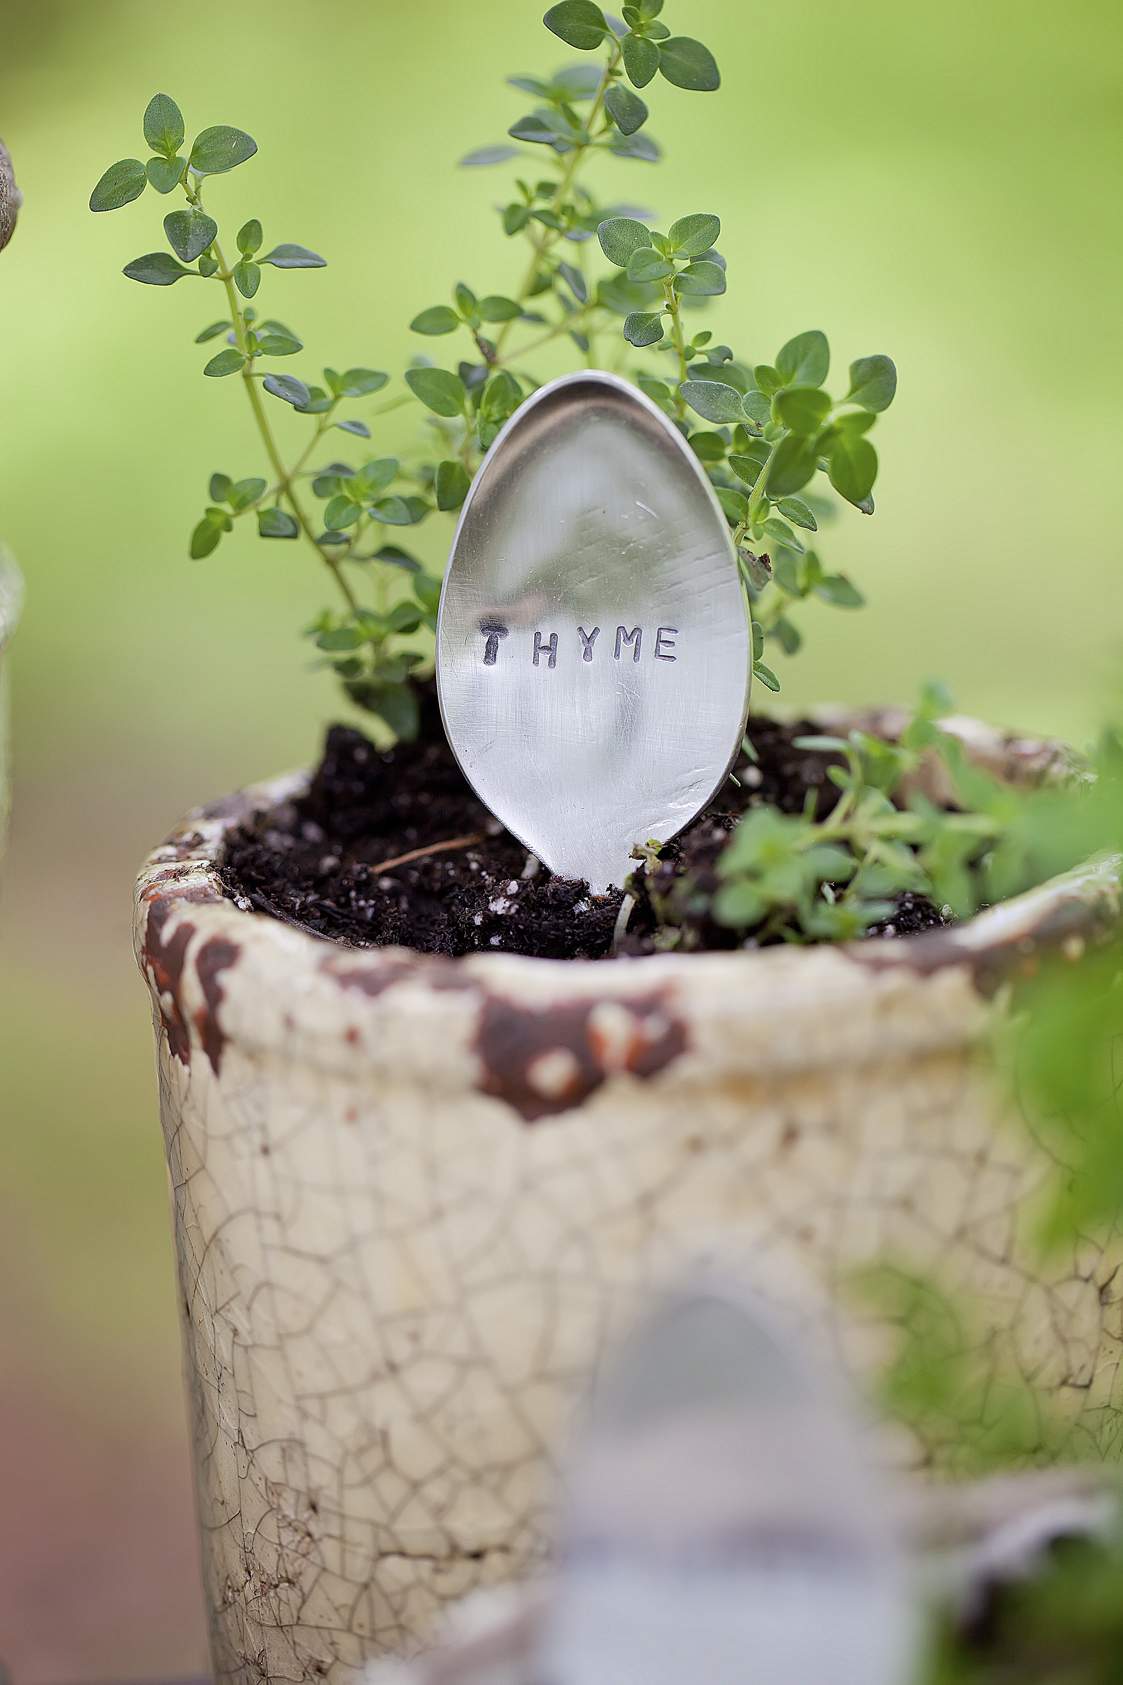
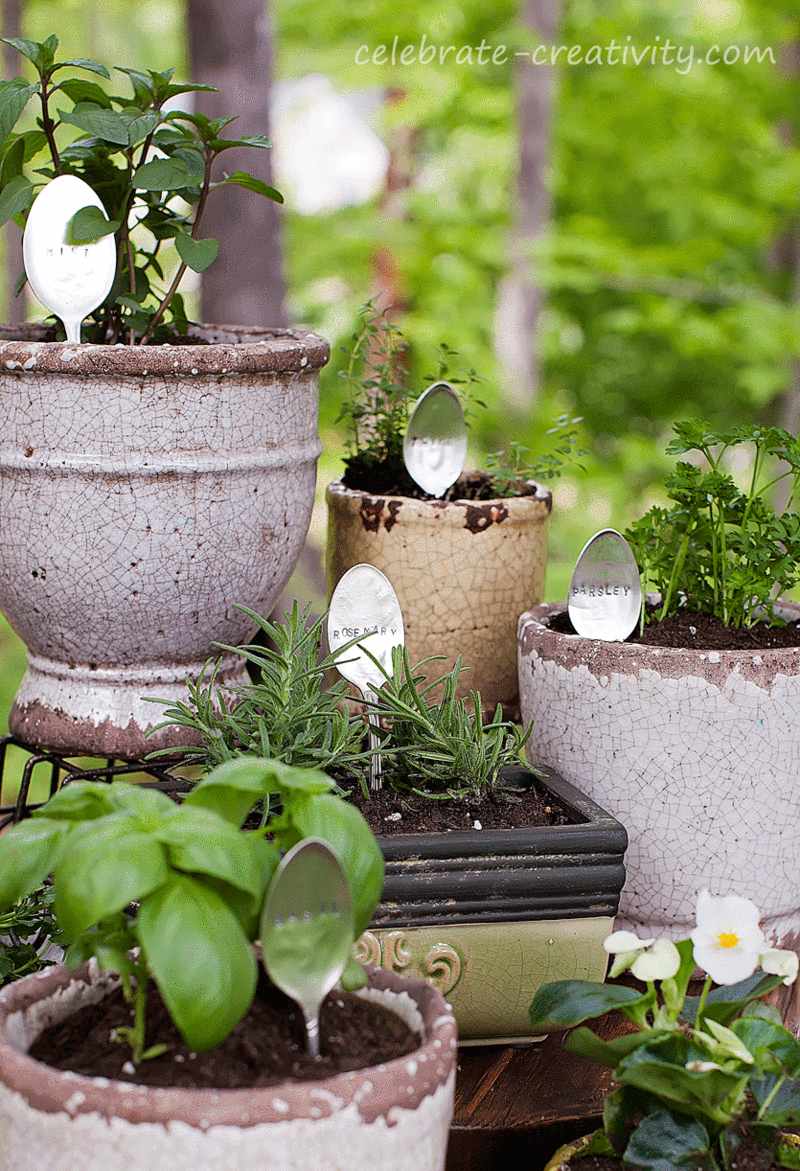
Making sure the Basil, Parsley and Thyme plants (among others) are clearly labeled has never been easier or more fun than with homemade spoon garden markers.
Use vintage spoons to create these delightful, handcrafted markers that are sure to make any herb garden shine.
Look how cute these markers look in these pots.
Throughout this post, I’ll show you just how easy these markers are to make.
You can use just about any spoon for this project.
I found most of these spoons at a local thrift shop at dirt-cheap prices.
You’ll only need a few tools to make these garden markers including an anvil (or any hard surface), a hammer or mallet, a ruler, a Sharpee marker, fine steel wool and an alphabet punch set.
You’ll also need a small cloth.
First step, is to flatten the spoon.
Cover the spoon with the cloth to prevent any unwanted dings or dents from the hammer.
I like using an anvil for this step because a good anvil doesn’t move an inch and keeps everything sturdy.
Bang the curve out of the neck of the spoon first and then move on to the rest of the spoon.
It won’t take too many hits to flatten out the spoon.
This is how the spoon should look once you’ve completely flattened it.
Rub the front and back of the spoon with the fine steel wool to help buff out any scratches or discolorations.
Flatten as many spoons as you need for your collection of markers and set aside for the next step.
If you don’t already have a set of metal letter stamps, it’s great to have a set in your tool stash.
The letters are available in a fun variety of fonts including script which looks really fancy.
Punches are also available in upper and lowercase letters.
NOTE: The metal punch size and font I used for this project =3mm (1/8″) Gothic Uppercase.
I purchased my set at a local jewelry store but you can also find the punch set here.
Draw a pencil line across the center of the spoon to provide a guide for the letter.
Use the marker to place a small dot on the center of the line. This center dot will mark the spot where you’ll put the letter that sits at the center of the name of the herb.
TIP: When spelling and punching letters out of order, it’s easy to get letters mixed up. I suggest writing even the simplest herb names out on a sheet of paper to refer to before punching the letter.
Also double (and triple) check the positioning of the letter stamp to make sure it’s not upside down and properly lined up before the impression is made. There’s nothing worse than realizing that you’ve stamped the letter “S” backwards on the spoon.
Use a ruler to evenly space additional dots to represent where the other letters in the herb name will go.
This step is really helpful. The first time I made these I did it free hand and the spacing of the letters was way off.
Hold the letter punch firmly in place against the spoon and give the top of the punch a good hit with the hammer to imprint the letter.
I always start at the center and work my way out on either side from the center letter.
Once the letters have been stamped, use the Sharpee marker to thoroughly color-in the imprinted letters.
Use the steel wool to lightly rub the surface of the spoons to remove the ink from the sharpee marker.
After rubbing the spoon with the steel wool, a small amount of the ink will remain embedded in the stamped letters which clearly identify whatever herbs you like.
I think a set of these spoon markers would make the most wonderful garden-themed gift.
Tie a set of the hand-stamped markers with a ribbon or raffia and gift the set along with herb seedlings or small herb plants to get the gardener in your life started in style with their own small crop.
Thanks for stopping by.
See you back here next time.♥

I’m linking this Garden Spoon Marker project to the following:


Once again, a wonderful idea. I had no idea metal letter stamps existed !!!! I’ll certainly will look for them here in Ottawa (Canada).
Merci Lisa!
Geneviève
Until now I did not know how much I need letter stamps!
I DO HOPE THAT THE STORE WILL DELIVER THE STAMP SET, WE DO NOT HAVE THE STORE.
This is one of the very best tutorials I have seen on stamping spoons…they are wonderful!! Your photography is exquisite! Love the spoon markers!
Lisa, this is great! Would you please tell us the size of the letter stamps? Thanks!
Thanks for joining us for Monday Funday! I featured you and your awesome project this week! Stop by to grab a feature button! xo-Cheryl http://www.thatswhatchesaid.net/2014/10-home-and-garden-features/
CAN U PLEASE GIVE ME AN IDEA WHERE TO BUY 1
Glad you like my garden spoon project. You can order the stamp set on Amazon. They have a ton of styles to choose from.
Thanks for stopping by.
Hello Lisa,
Do the spoons need to be silver or will any do? I help lead 3-5th graders in our elementary school Muddy Potters club. We need some inexpensive projects to sell in our annual Mother’s Day plant sale (our only fund raising.) These seem cost effective and look great!
Thank you for sharing your creativity.
Susan
Hi Susan, What a great idea.
I think you can use any kind of spoon.
I suggest you go to Goodwill or another thrift-type store and grab a handful.
You can find spoons for .25, .50, $1.00.
All prices and maybe if you let the store know you are doing them for a class project, you can get an even better deal.
You could sell small sets of three.
Also, many grocery stores sell small potted herbs that are already filled with leaves.
You could pick up a few of those and pair them with a single spoon that represents what’s in the pot.
Use some craft paper or packing paper paper to wrap the bottom of the plant. Use a piece of ribbon (or jute, which is very rustic), tie it around the pot and insert the spoon down behind the ribbon or jute.
Charge a little more for those but I’ll bet they would show well and sell well too.
Happy Spring and good luck with your fundraiser.