February is called the month of love and as we head toward Valentine’s Day, I’m sharing a project inspired by the city of love… Paris.
You’re going to love these Eiffel Tower cookies which are not only easy to make but also drop-dead gorgeous.
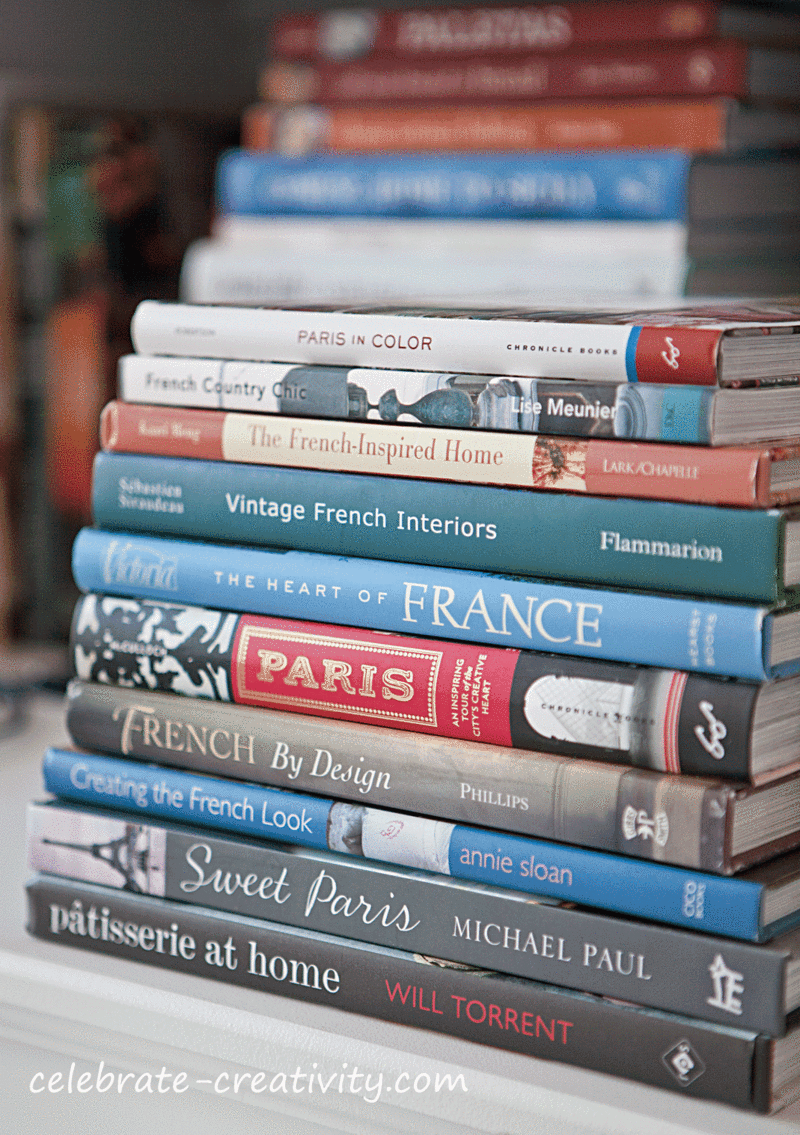
Before I take you to the top of the Eiffel Tower in sweet, sugar cookie style, allow me to share the inspiration behind this post.
I’ve never been to France but one day, I hope to.
Until then, I’ve had to settle for browsing my ever-growing collection of books on the subject.
OK, let’s move on to our Eiffel Tower visit.
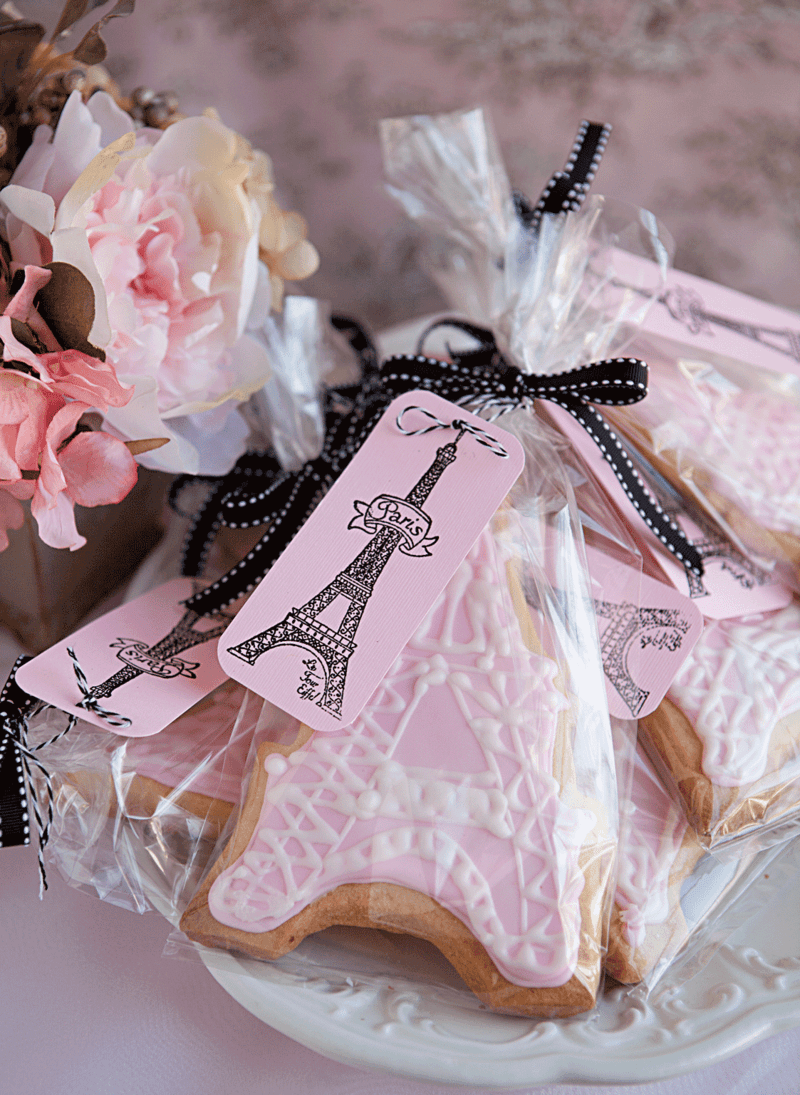
How cute are these?
One of the things that make this cookie project so much fun is working on those steel girder lines made of royal icing.
I’m still working on getting those lines perfectly straight. It takes practice.
Of course, when making an Eiffel Tower sugar cookie, you need an Eiffel Tower cookie cutter, right?
There are plenty of cutters available on-line but I found my copper cutter here.
Bake at 350-degrees and set cookies aside to cool completely.
You’ll need two batches of royal icing.The cookies are covered with royal icing which easy to make.
Tint icing the first batch with colored gel to get desired shade. Leave the second batch of icing white and set aside.
Put tinted icing into a piping bag and fit with a small tip.
I used Wilton tip #01 here.
Pipe icing around the outline of the cookie. Set aside for about an hour or until it has hardened.
This outline acts sort of like a fence to keep the main icing from rolling off the side of the cookie.
Once the outline is dry, it’s time to “flood” the cookie with more icing.
Flooding involves filling in the rest of the cookie within the outline with more icing.
I used a slightly larger piping tip for this.
Once the cookies have been flooded, set them all aside for several hours so they can harden.
In a perfect world, the point where my flooding and outline meet would be seamless and not noticable at all.
I’m still working on trying to get my icing flooding to look better.
Ah, now for more of the fun part.
You can create the steel girders in whatever pattern you like using lines, crosses and criss-crosses.
It’s important to use a small piping tip for this step too, or too much icing will be deposited and it may spread and obscure clean lines.
I found that this also takes some practice.
Once you’ve made your lines, set these cookies aside to harden.
You may be tempted to touch but don’t.
Definitely wait until they set.
Once the cookies have set completely (I let them harden overnight), you can serve them or package them up for gift giving.
Regular readers of this blog, already know I love to package up my homemade goodies.
I had an Eiffel Tower rubber stamp already in my stash so I decided to use it.
Other optional supplies include, ribbon, embossing powder, hot air gun and pink cardstock.
Drop each cookie in a goodie bag and use the twist tie to seal it to keep it fresh.
Then, add a pretty ribbon with a bow.
I think this black and white dotted ribbon fits in perfectly with the French theme.
I decided to emboss my tags with the Eiffel Tower image.
Embossing is very much like rubber stamping, only instead of ink, you uses embossing powder which is then heated to create a raised impression of the image on the card stock.
Embossing medium is the light adhesive that holds the powder in place and it’s available in a pad (just like an ink pad).
Tap the embossing medium on the stamp and then push the stamp into the card.
Sprinkle embossing powder over the stamped image. The powder sticks to the medium and then you heat the powder with a hot air gun and that’s how the raised image is created.
Cut out the image, add a strand of bakers twine and you’ll have adorable tags to go with your cookies.
If there was ever any question about the contents of the baggie, these tags definitely clear up the confusion.
Even with my crookied steel girder lines, there’s no question what these cookies represent.
These would not only make great Valentine’s Day treats but also could be baked for an afternoon tea party treat, a little girl’s birthday party or even a bridal shower just to name a few ideas.
Lots of possibilities for these Eiffel Tower cookies for sure. ♥
Thanks for stopping by.
See you back here next time.
I’m linking this Eiffel Tower Sugar Cookie post to the following:
Trish and Bonnie at Uncommon Designs
Barb at The Everyday Home
Robin at All Things Heart and Home
Kristen’s at Ella Claire
Beth over at Home Stories A to Z
Kim at Savvy Southern Style
Lucy at Craftberry Bush
Aimee at Twigg Studios


I bought an Eiffel Tower cookie cutter last month to use to make cookies this month for an Eiffel Tower themed birthday for my daughter! I love seeing how you did yours in pink and white, because those are the same colors I want to use. I have seen them done in black icing, but I am not a fan of the taste of black icing, plus the birthday girl love pink 🙂
Icing is very difficult for me, though–I always have trouble getting it to come out at all. It never wants to pipe for me. I will be trying again, though. I think I’ll try royal icing again (it has been years).
I was thinking of making a batch of chocolate cookies for the base on mine.
You did a beautiful job!
Very cute! I have a cookie recipe that doesn’t spread at all, and it would work great with this idea. These look terrific!
Oh Lisa! I adore these cookies! I am the worst at piping a straight line and am so impressed with how beautifully yours turned out!! And of course the packaging is très jolie!
Beautiful as always!!
Hugs,
Jennifer
I have not been reading too many blogs recently and just found yours again – realized how much I enjoy it!!! we are getting rewady to break ground on our home so I really enjoyed your Christmas pictures .. especially the staircase one – even though you were doing a breakdown!
Gorgeous as always….love everything you do…xo
These are so gorgeous! Thanks for sharing at Our Sunday Best Showcase!
Wonderful job on the cookies! I always thought you stamped the image on your tag with a stamp, then sprinkled embossing powder over the wet ink, shook the excess off and then heated the image. It sounds like you can skip the inking part. I know you can buy embossing powder in colors, did you use black then? Thank you for any help on this.
Love it! Thanks for sharing and I think you have inspired me to make some!
That’s great Nancy.
I’m so glad you’re inspired to make these.
Your cookie recipient will love them.
Please let me know how they turn out for you.
xoxo