The glorious colors of Fall are starting to fade in my neck of the woods as once-vibrant leaves are beginning to brown, fall to the ground and scatter in the wind.
While the leaves may be disappearing from the trees, they’re turning up elsewhere in a most delicious looking way.
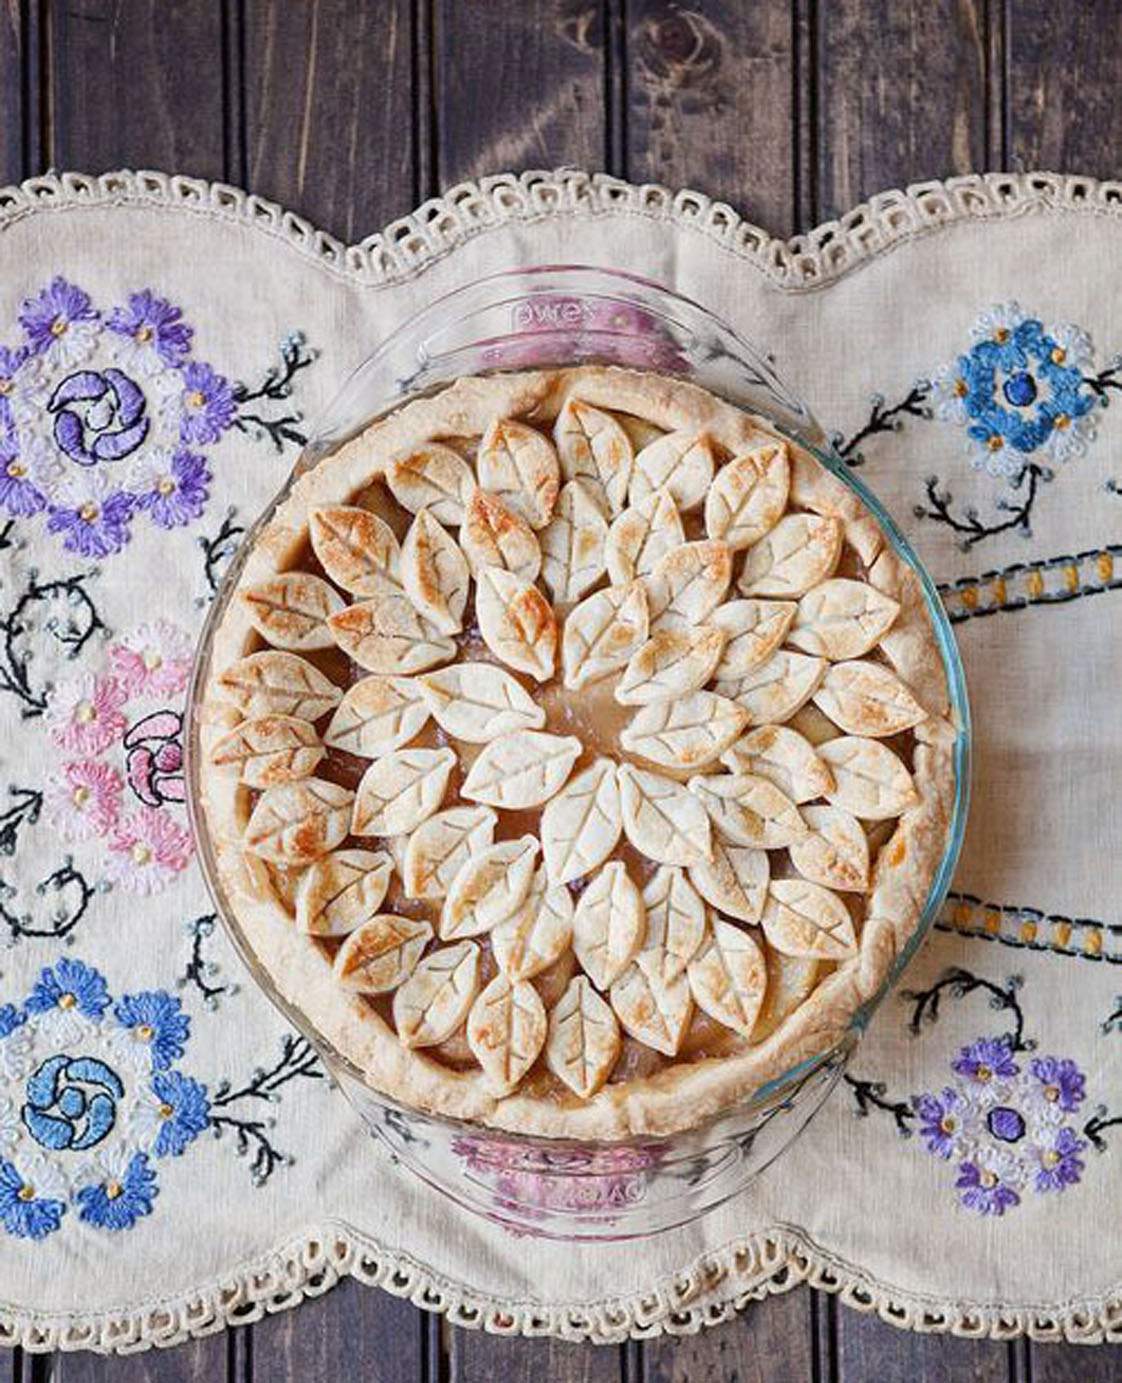
This leaf-shaped, apple pie is a sweet-tasting nod to the changing season and it’s as fun to make as it is fun to slice and serve.
To make the leaves, I used a pie-crust cutter from Williams Sonoma.
The cutters are available in several different leaf designs and sizes and the button-top, spring-action design allows you to imprint the dough with the leaf veining.
These spring-action cutters are also available in other fun seasonal and holiday shapes throughout the year.
SUPER EASY APPLE PIE RECIPE
I used two cans of apple pie filling and 2 boxes of pie crust mix from the grocery store.
Make the crust from one box, roll it out and then and press into a pie dish. Fill the dish with the pie filling.
Then, make the crust from box #2, roll it out and use it to cut the leaf shapes.
… then before lifting the cutter up out of the dough, push the spring-action button and the veins of the leaf are imprinted into the cut leaf.
You can create leaf-shaped pies with different looks depending on which leaf design you use.
We decided to mix up the pie presentations in my household after my daughter, Cameron decided to make her own version.
Use a pastry brush to apply a small amount of egg white onto the back of each leaf.
This will help the leaves adhere to each other as you stack them into the desired arrangement.
Now, there are a few ways you can stack your leaves.
Cameron’s stacked her leaves very close together for a more dense presentation.
Meanwhile, here’s our second pie in progress using a different cutter.
Lightly brush a bit of egg white across the top of the leaves individually or once all the leaves are placed on the pie before baking.
I decided to place my leaves a little farther apart than Cameron placed hers.
I think the wider spacing gives the finished pie a much more casual presentation.
In the end, either stacking technique will look good. Just position the leaves in a way that bests suits you.
NOTE: I’ve made this pie several times and I’ve also baked the leaves separately from the pie. One advantage of baking the leaves separately is that they tend to come out more uniform in color. Just place the leaf-shaped cuts on a piece of parchment paper, and bake at 350-degrees until light golden brown. Then, add the leaves to the already-baked pie by brushing a scant amount of apple filling to the back of each leaf and positioning the leaves on top of each other to suit you.
Here’s what the pie looks like right out of the oven.
I still like the way this looks even though many of the leaves are unevenly browned.
NOTE: If you want to ensure that all the leaves are the same baked color, you may want to opt for baking them separately like I mentioned earlier.
Can you imagine this on your holiday table this year?
Your guests will love this.
Oh, you may also want to put a few extra leaves aside to use as a garnish when you serve your slices.
I’ll take a few scattered leaves in the Fall anytime, whether they’re outside or around a dessert plate. ♥
I’m linking this LEAF-SHAPED APPLE PIE to the following:
ALSO, COMING IN DECEMBER


Leave a Reply