Velvet pumpkins are all the rage and if you’ve ever spotted a set on the shelf of a specialty retail shop, you know they can be a bit pricey too.
Well, you can make your own harvest of velvet pumpkins for a fraction of the price and have a blast creating them too.
I’ve featured this tutorial here before but I think this is one seasonal step-by-step that’s well worth repeating.
This is such an easy project, you may wonder why you never tackled these before.
The real pumpkin stems on these soft creations add a fun touch of realism similar to the effect created by my felted wool acorns.
You can find dried pumpkin stems on-line and even via a few Etsy shops.
NOTE: Avoid using fresh stems because they’ll decay over time and damage the fabric. Be sure to save you stems (and your friends’ and neighbor’s stems) this year for use next year. Later this month, I’ll share a post on how to dry stems for crafting.

You can use a circular guide to cut a large circle of fabric or you can just eyeball it.
The circle doesn’t have to be perfect so it’s totally OK, to jut cut if freehand if you prefer.
Double your thread and knot it on one end.
Use a doll-making needle to gather the edges of the circle all the way around.
Once the hand stitching is in place, gently pull the thread so that the fabric gathers into a small opening.
Keep the needle on the thread.
Stuff the pouch with the cotton filling or fiberfill.
The gathers will loosen during this step but just keep pulling the thread to narrow the hole opening after each handful of stuffing is inserted.
Once the pumpkin pouch is nice and firm with stuffing, gently pull the threads once again to close the opening as much as possible.
With one hand, hold the thread taut to keep the opening narrow. Use the other hand to carefully stitch the the area closed and pull all edges in together and closer to the center of the pumpkin.
Cover the bottom of a dried stem with hot glue and attach the stem to the top of the pumpkin.
Don’t use too much glue or it could seep out from under the stem and possibly show on top of the fabric.
Once the stem is in place and the glue is dry, carefully tug around the base to increase the pleats and also help conceal the edges of the dried stem.
Carefully squeeze the fabric to gently shift and smooth any lumpy areas.
Trust me when I say, the more you make the more you’ll want to make.
It’s easy to make a bundle because you can whip them up so quickly.
There are so many fun ways that these soft pumpkins can be displayed.
Consider filling a large basket with your harvest and use them as a table setting.
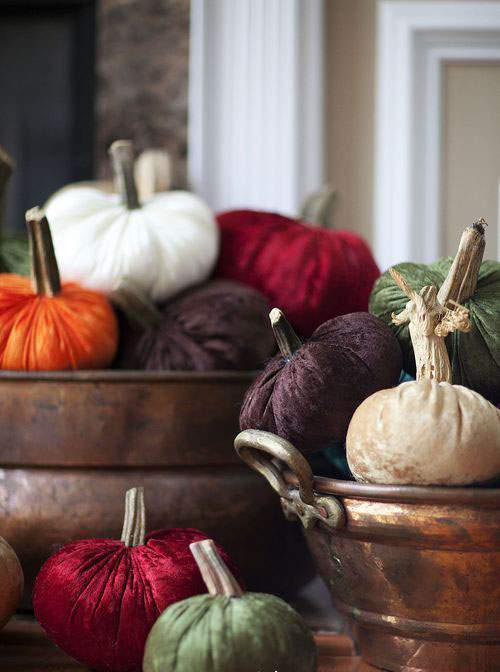
Or you could pile them up in gorgeous copper pots and place them strategically around your home for a wonderfully whimsical harvest display.
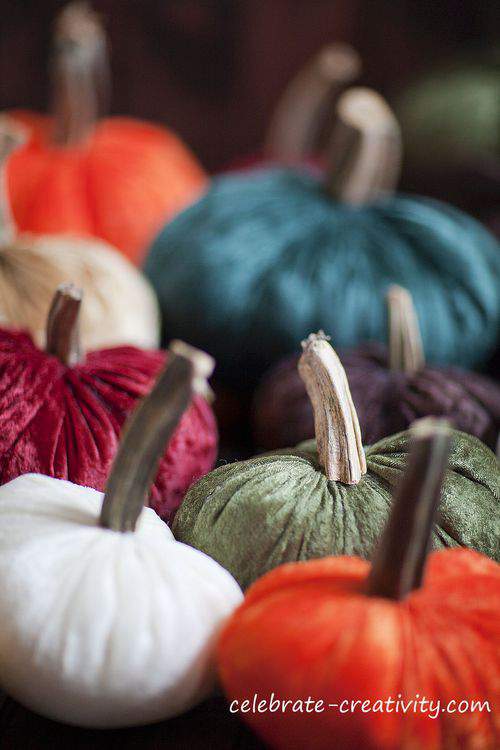
While I love the look of all the jewel tones, you could also make multiple pumpkins all in one color (white?) for a stunning monochromatic presentation.
So this year, don’t just carve your velvet pumpkins with knives and tools.
Consider making them instead.

As you can see, you don’t have to be a real farmer to produce a colorful, bumper pumpkin crop.
I hope you’re inspired to make your own velvet harvest that you’ll be able to enjoy all season long. ♥
WANT MORE INSPIRATION?
Ive linked this velvet pumpkin project to the following:
Trish and Bonnie’s linky party at Uncommon Designs
Beth at Home Stories A to Z
Kim at Savvy Southern Style
Jen at City Farmhouse
Lucy at Craftberry Bush


I think that yours are prettier than the ones I see in stores. Thanks for sharing this with us!
Love the lush colors, Lisa. Another great project. Merci. Gracias. Thank you.
I am taking this tutorial to my sewing group this week!…thanks so much…I have several of the Plush Pumpkins that I received as a gift…and love them!…I especially love how you placed them in those gorgeous copper pots…
I bought 2 last year at Hobby Lobby. This year I added teal to my fall color scheme and wanted one in that color. The only teal ones I could find were pricey. I went to Joann’s today after reading your post and had a teal one finished in less than an hour. I used a stem I cut off of a faux pumpkin because I couldn’t wait for a dried stem. I’m very happy with the result. Thanks for the tutorial.
I found you via Pinterest and these pumpkins are amazing. Keeping your tutorial.
Thanks!
Dana
https://chocolateandsunshine.com
These are the best pumpkins I’ve ever seen. Absolutely LOVE them. I’m not the least bit crafty but I’m actually going to attempt these. Thank you so much. Found you on Pieced Pastimes!
Lisa, I found your blog after searching how to make velvet pumpkins…love the blog. And today I went to a local church that has a pumpkin patch for the fall and they let me collect all of the stems that I wanted…I have a reusable shopping bag full (I would bet about 50+ for a small donation). So obviously, cannot wait until you talk about drying the stems….Thanks for sharing.
Lisa, thanks for posting your pumpkins! They are beautiful. and I will try velvet and “real” stems per your directions.
I so love your professionally delivered information…Your photographs are simply amazing Thank you so much…I am sharing them with everyone!!
Thank you Lisa, this is such a great tutorial. I love the Velvet pumpkins, but they can be a bit pricey if you want a whole basket full ( one is good, more is better!) I’m sure I have some antique French velvet fabric somewhere! Xo Lidy