T
his is one project that I not only love for its simplicity but also because I’m finally getting around to sharing it here on this blog.
For the last few years the details surrounding this pretty peach pillow have been patiently sitting inside my blog’s edit console (along with other draft posts) waiting to see the light of day.
Even though this peach pillow was finished, this project ended up marked in my UFO (UnFinished Objects) file and I forgot about it until recently.
I’m was happy to re-discover it and share it with you now.
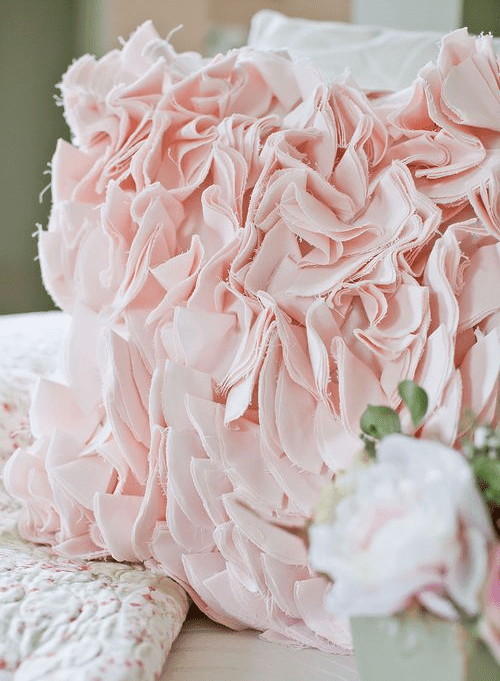
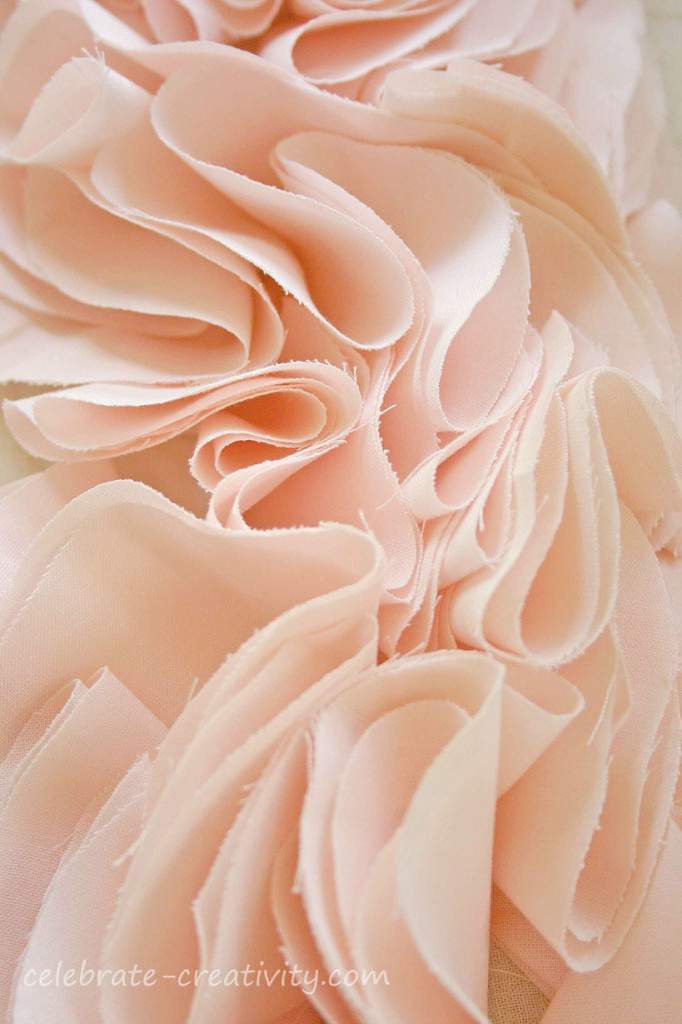
These ruffles in this peach pillow are light, fluffy and oh-so simple to make.
First, decide on what size pillow you’re going to make based on the size of the pillow form you plan to cover. Cut fabric to size (don’t forget to account for a seam allowance).
While I have ruffles on the front, the back of the pillow is a light-colored, linen-type fabric.
Next , use a water soluble marker to mark vertical lines down the fabric.
I marked my lines about one inch apart. The closer the lines, the denser the ruffles and the more fabric you’ll need to create them.
NOTE: I used a 24-inch pillow form and used 2-1/2 yards of fabric to make the ruffles.
OK, let’s talk about fabric for the ruffles.
To ensure the ruffles are super light, you’ll need a super light fabric. I used lightweight lining fabric.
(1.) Cut fabric circles @4-1/2 inches in diameter. (2.) Fold the circle in half. Do not iron. (3.) Fold the fabric circle again to create a quarter. (4.) Repeat. These folded quarters will create the ruffles for the pillow.
NOTE: I ended up using about 150-fabric circles for this project and I think it’s OK, that the edges remain raw. Who would have the time to finish off the edges of so many circles? So far, I haven’t had any issues with the fabric unraveling over time.
Pin the fabric quarters onto the marked sewing line, placing the point of the quarter just beyond the line. Repeat with additional fabric quarters placing each one about an inch apart.
Notice the sewing marking line is still slightly visible between each fabric piece.
You can place these fabric quarters closer for more density if like but a 1-inch distance worked fine for me.
Pin quarters down the entire line. Stitch through the tips of the fabric quarters following the marking line to guide you.
Remove the pins and pin the next row.
Repeat the steps on the next line and then next and so on.
Here’s what the peach pillow top looks like after about 6-7-marked lines have been filled with the fabric quarters.
See how it’s filling in?
I remember when I first started this pillow I couldn’t wait to see how it was going to come together so I started stitching both sides of the fabric.
Looks good so far on both ends.
Here’s another look at the how all the ruffles come together.
Every time I see this pillow I just want to run my hands through it.
Remember the lighter the fabric, the more airy the finished result.
Meanwhile, the back of this pillow was constructed using what I call a pocket flap technique.
As you can see, I also added an embroidered embellishment.
NOTE: I’ve made several other pillows over the years using this same pocket flap technique and you can see the step by step process in a few of my previous posts entitled Pitch Perfect Pillows and In Full Bloom.
Both previous posts feature detailed tutorials on constucting the back flap pockets, adding decorative piping and adding embroidered elements to pillows.
This small element of interest is totally optional but I think it’s a nice addition even though most people will never see it when the pillow is upright (unless you point it out).
Be sure to check out the previous posts I mentioned earlier to see how I’ve used machine embroidery on the back of my other homemade pillows.
NOTE: You can always add an embroidered element by hand but I hope this makes you want to get an embroidery machine. You won’t regret it and you’ll get a ton of use out of it.
So pretty, so feminine.
Imagine how lovely this will look sitting in bed or favorite chair.
Thanks for stopping by.
See you back here next time.♥
I’m sharing this Peach Pillow project at the following:


Super-duper pretty!
Lisa,
I love the pillow. The colour is very pretty and very effective. I look forward to your posts.
Thanks
Kelly
I love your pillow and look forward to making one! Thank you so much for sharing your talent.