F
or more than a decade now, I’ve been using an embroidery machine to embellish various projects.
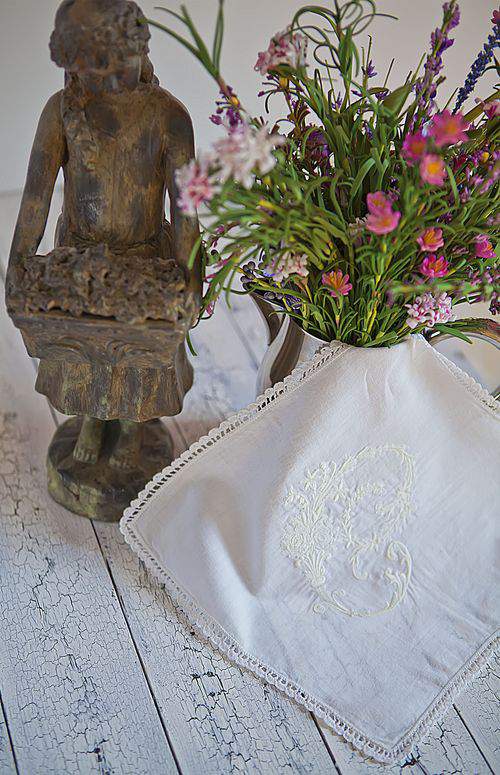
After all these years, it’s still one of the best investments I’ve ever made because I use it all the time to easily transform simple items into pretty, personalized gifts like this hanky with a monogram.
This monogrammed hanky is my latest embroidery effort.
If you recognize the Victorian letter style, it’s because I’ve featured this alphabet here before (more on that further down in this post).
I’ve used this alphabet several times and it always stitches out nicely and looks elegant on everything I put it on.
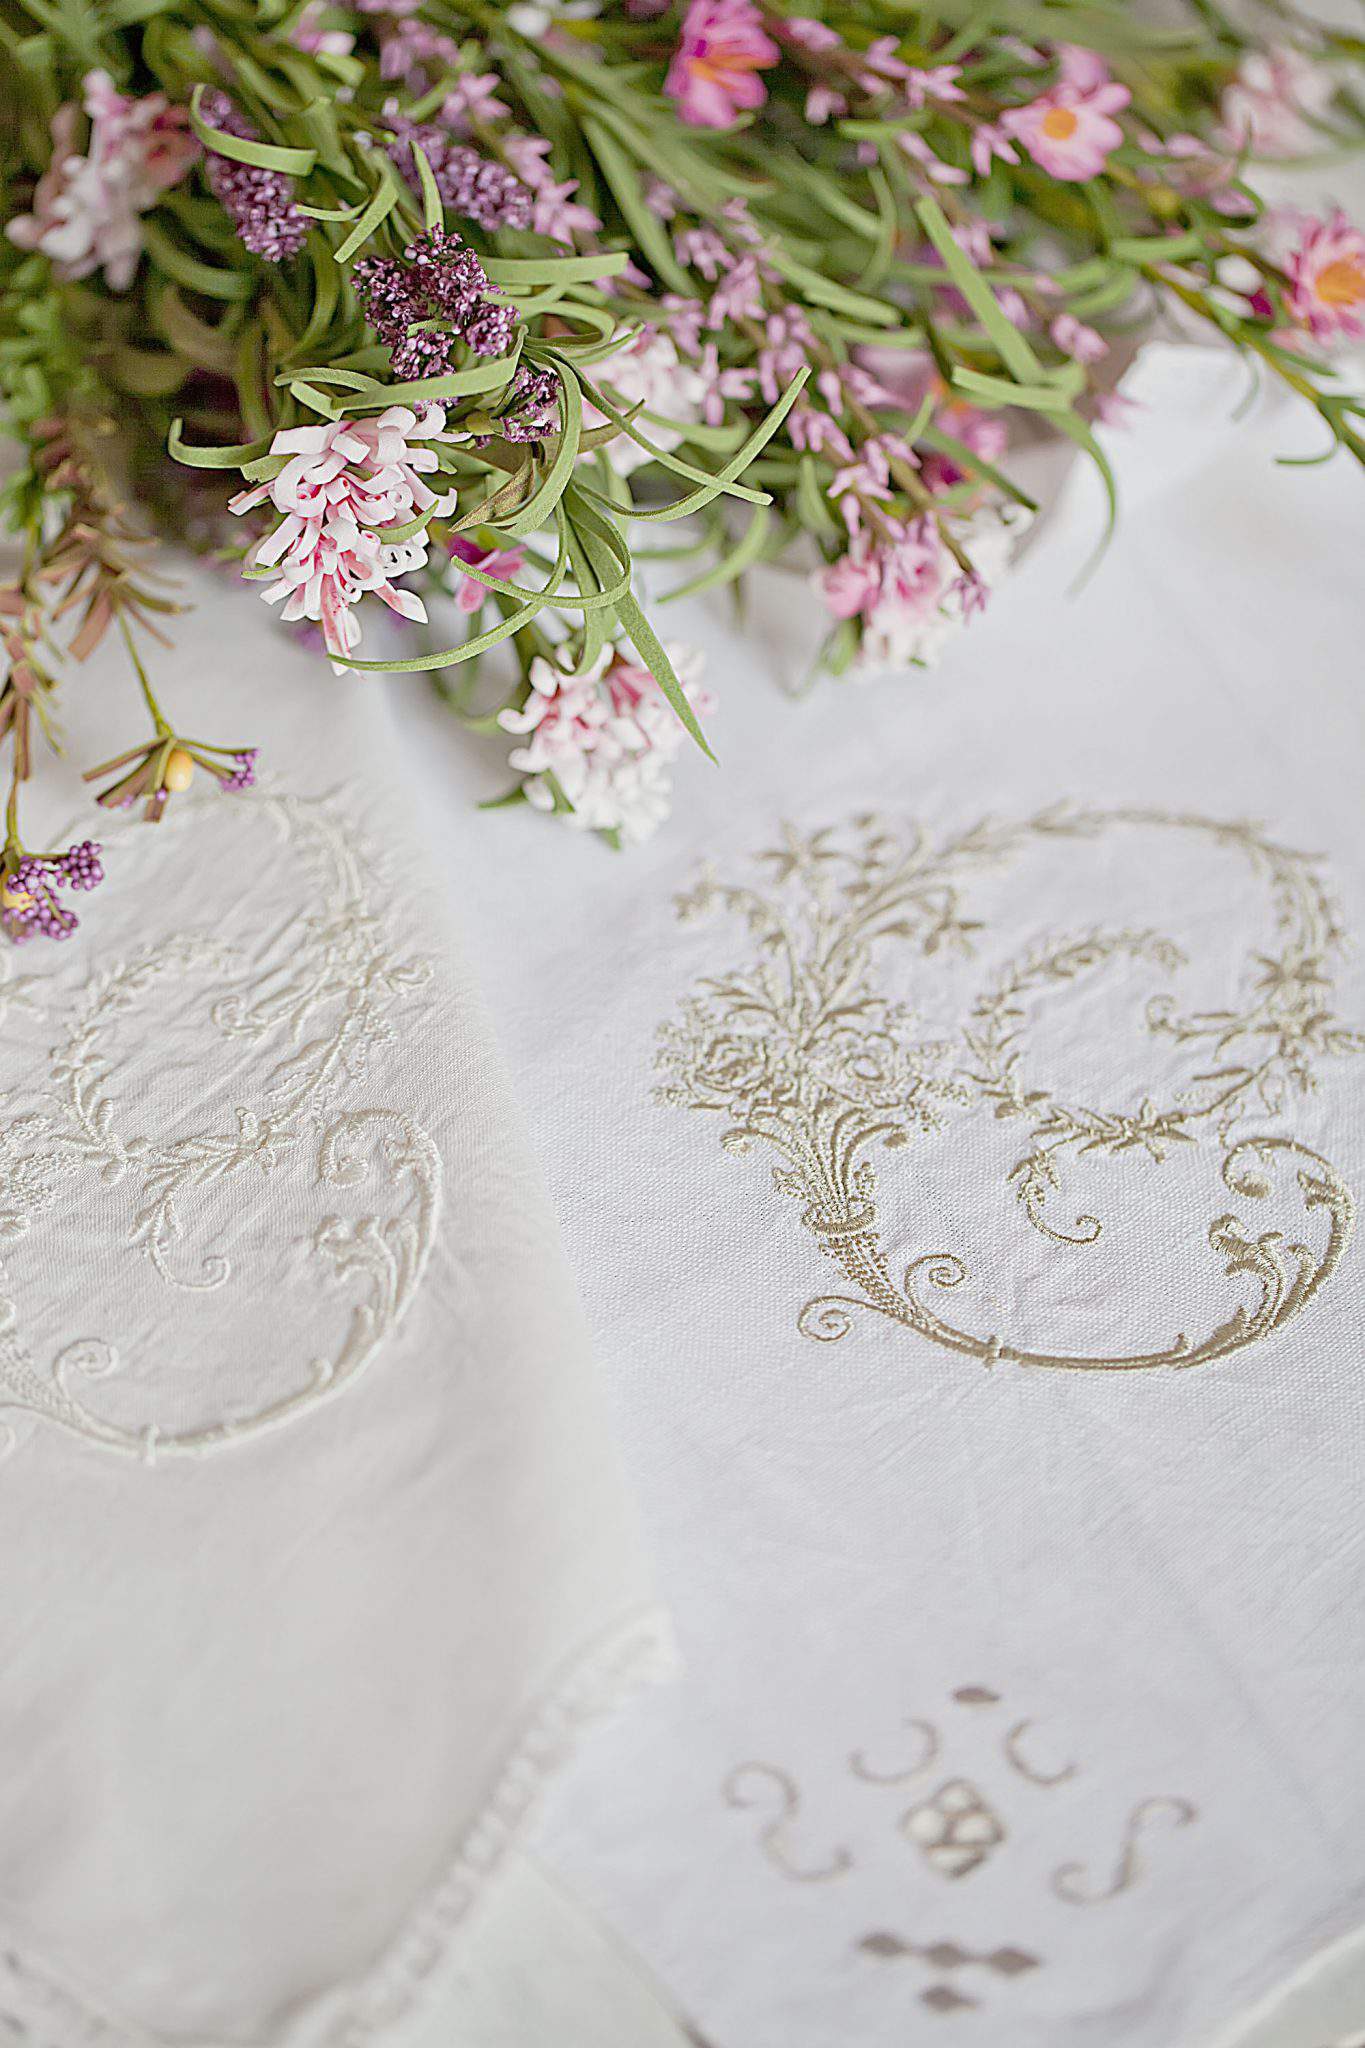
Here’s a look at the closeup of the monogram.
I love the soft, florals in the design which also includes delicate leaves and bouquet rings that swirl perfectly to make up the letter.

I was recently asked to embroider a hanky for a bride-to-be to carry on her wedding day.
She provided these off-white, dainty hankies and she trusted me to select the design.
I settled on this Victorian alphabet that you may recall seeing in my monogrammed napkins from last year. This is still one of my favorite embroidery/sewing projects.
Take a look at that original post to see how to actually make the napkins.
I think this Victorian alphabet is gorgeous and so elegant when stitched out.
In addition to uppercase letters, this design is also available in lowercase letters.

If stitching the embroidery design on a diagonal, it’s a good idea to fold the hanky points-to-point and iron lightly to help mark the center.

Use a water soluble pen to mark creases in the fabric.
This will serve as a guide line which is needed to accurately line up the fabric in the embroidery machine.
Since this hanky already had a some taupe colored cut-work embroidery on one end, I dug through my thread stash to find a matching color.
I couldn’t find an exact shade but I found one close enough.
Embroidery machines come with plastic grid templates to fit each hoop size.
The templates are used to help line-up the fabric, needle and water soluble marks so you know everything is positioned properly before you hit that start button.

In addition to using a sticky stabilizer to adhere the hanky onto the embroidery hoop, I also use a small sheet of water soluble stabilizer on top of my embroidery designs.
Stabilizer helps keep the fabric from shifting on the hoop as the design is being stitched out.
This is especially critical when using very thin fabric like the hanky material because even a slight shift can potentially throw off the design and force you to start all over with a new fabric.
Look closely and you can see the first few stitches of the design which appear right on top of the stabilizer sheet. Remember, the stabilizer will be washed out after the design is complete.
It doesn’t take long for the design to begin to take shape.

Embroidery machines are not as complicated to use as they may seem. A wealth of information is displayed on the machine’s screen to help guide and inform you throughout the stitching process.
Here you can see the dimensions of the project, the hoop size requirement, how long the project will take to complete, how many thread changes are involved as well as how many stitches have already been stitched out and how many more stitches are left to finish.

If you don’t already have an embroidery machine, seeing how the design reveals will make you want to get one.
This is such a beautiful process and it’s always amazing to watch the design stitch out and almost appear out of nowhere.

Once the design is stitched out, gently wash the fabric in warm water to dissolve the stabilizer and hang dry.
It may feel a bit stiff at first but the fabric will soften again after drying.
Once dry, press gently with a cool iron.
Here’s a closer look at the finished hanky.

I ended up embroidering ivory and taupe hankies so the bride-to-be could have a choice in terms of color.
You really can’t go wrong with this alphabet regardless of the thread color.
I think both designs turned out beautifully, fit for any wedding day.
I’m pleased to say the happy bride agrees. ♥


That is such a pretty alphabet. Thank you for sharing it again on your hanky project. Such a special keepsake for the brides wedding.
Very pretty. Nice job w/the photography and styling. How did you get the wrinkles out? What are your ironing techniques?
Simply stunning!!!!
What a pretty hanky! My daughter is getting married this summer (and she is also a “C” monogram). Maybe I can sneak in a new embroidery machine into the cost of the wedding! ..lol Thanks for the lovely inspiration.
Absolutely beautiful!
Beautiful!! These are a treasure indeed…beautiful memories that’ll be treasured for life.
Wow, it looks so difficult and you made it look so easy. I´d always loved to sew and embroider, I would re-do my whole closet… Anyhow, I love to see that there are still so many people who share their handcrafting skills. And you are a great photographer, too! Hope you are enjoying BYW!!
Where can I buy the Victorian letter patterns , for machine embroidery
Hi Renee, if you search online for “Victorian Whitework Embroidery”, you will find multiple sources for this design.
It’s a lovely pattern and every letter I’ve ever used, really stitches out beautifully.
Good luck with your project.