

When it comes to crafts, I’m definitely the go-to gal in my circle of friends. It’s a fun position to be in because many of the projects I help with also end up getting shared on this blog for all of you to enjoy.
Recently, my friend Suzie asked me to monogram a baby blanket as a gift for a friend of hers.
Throughout this post, I’ll walk you through this embroidery project and I’ll also show you how to pump up the “too cute for words” factor to make a gift gift for baby even more adorable.
I used two embroidery designs for this project which also includes a sweet-looking way to package the blanket for gift giving. Regular readers of this blog know I’m really into “packaging” and you’ll see what I mean further down in this post.
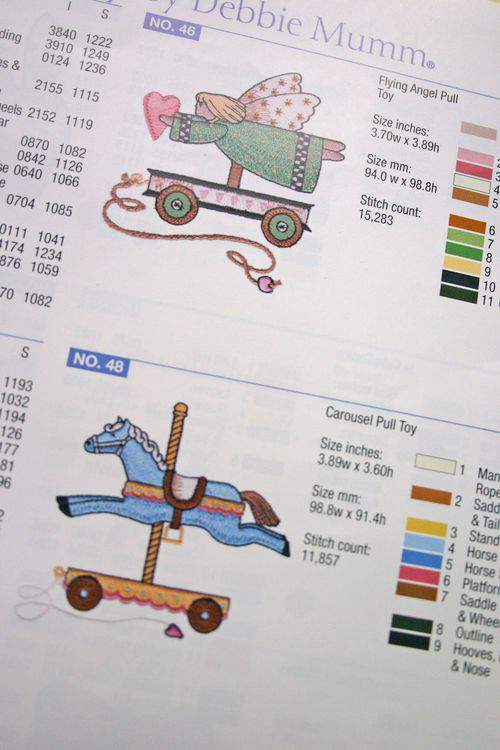
By the way, these embroidery designs are from a collection by designer Debbie Mumm called Oh, Baby.
Whenever you are machine embroidering blankets, towels or in this case a Velour-type fabric, you should use water soluble stabilizer which helps to hold puffy fabrics firmly in place so that the fabric loops don’t get in the way and embroidery can be evenly stitched out.
Place the water soluble stabilizer (which looks and feels like lightweight transparent tissue paper) on top of the fabric and machine stitch right over it. I also have a peel-away stabilizer below the project.
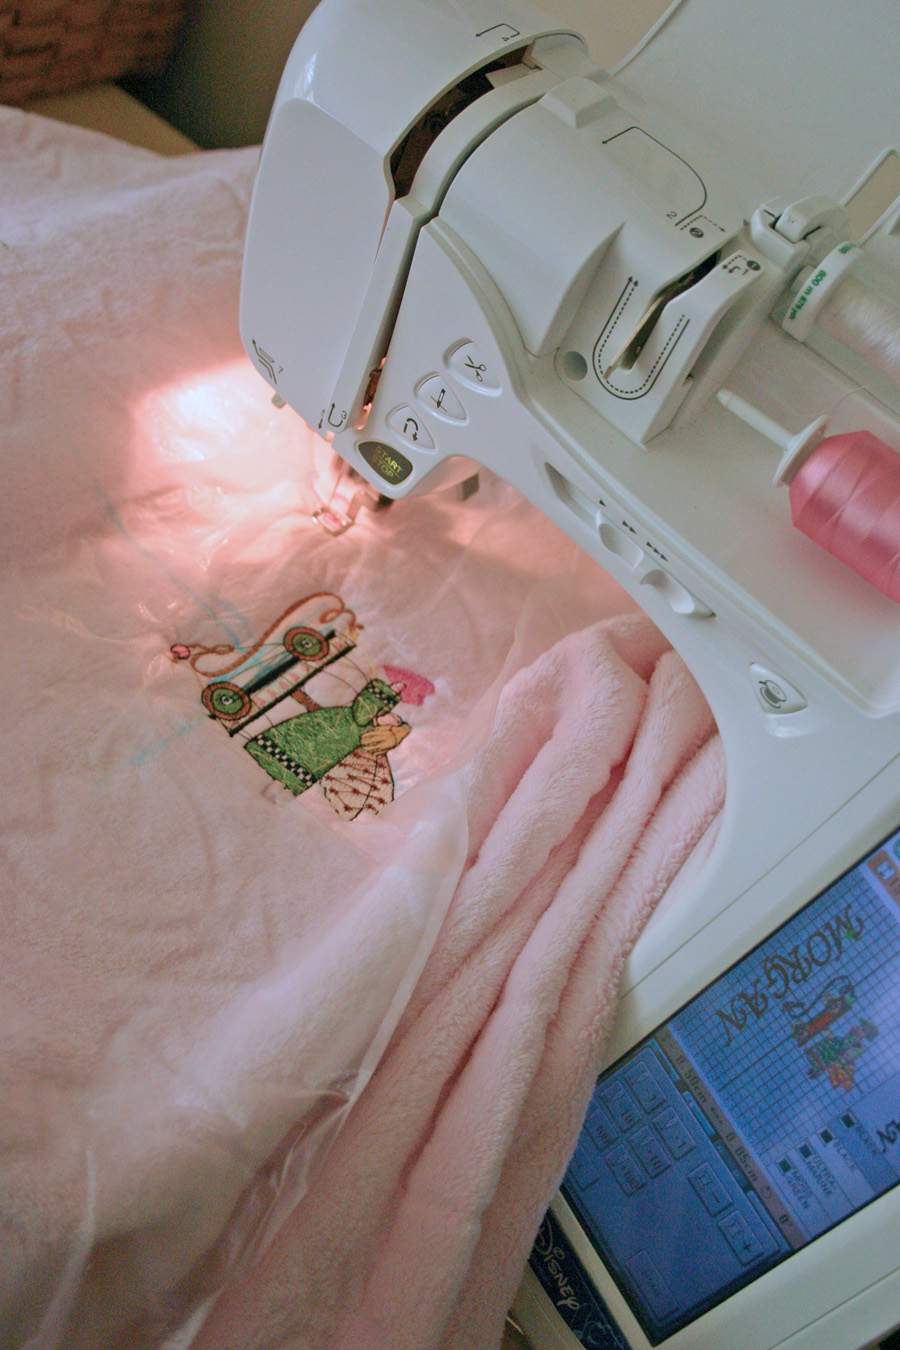
Once the design stitches out, you’ll be able to gently tear most of the stabilizer away from the project depending on the the thickness of the brand.
Those blue markings were made with a water soluble marker and also wash out easily.

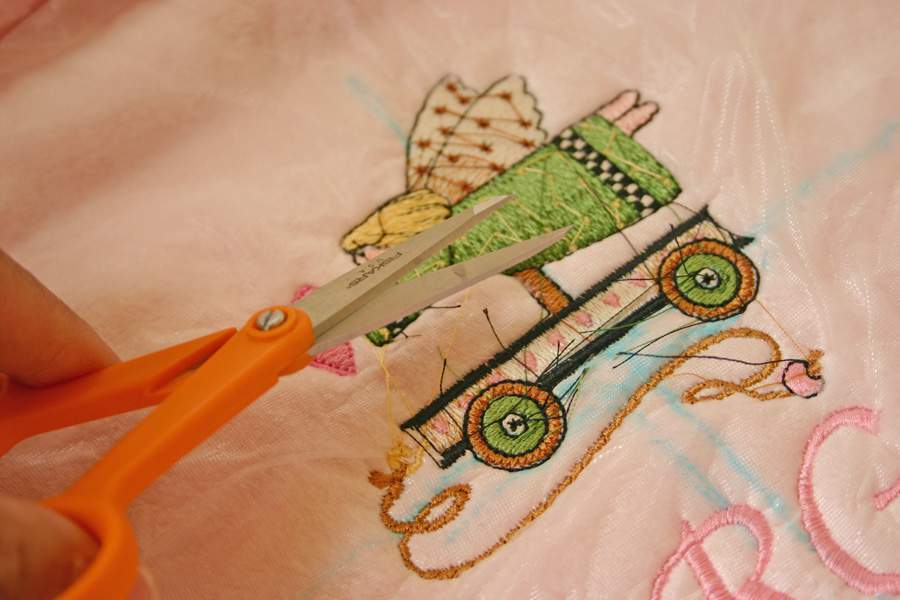
Because of the multiple number of thread colors in this design there are loads of “jump” threads that have to be trimmed.
These are the the long threads that are created when the machine moves from one area of the design to the other as the design is being stitched out.

Because my embroidery machine is about 8-years old, I have to cut these threads by hand. However, the newer embroidery machine models have automatic jump-cut capability and will cut each thread before it jumps to the next area of the design.
That feature in newer models is a wonderful time saver but it’s quite pricey too, so for now I’ll just stick with the machine I have.
Here’s a look at what the back of the project looks like.
That white material is peel-away, sticky-stabilizer that I used on the bottom of the project. This also helps hold the fabric in place on the embroidery hoop as the project is being stitched out.
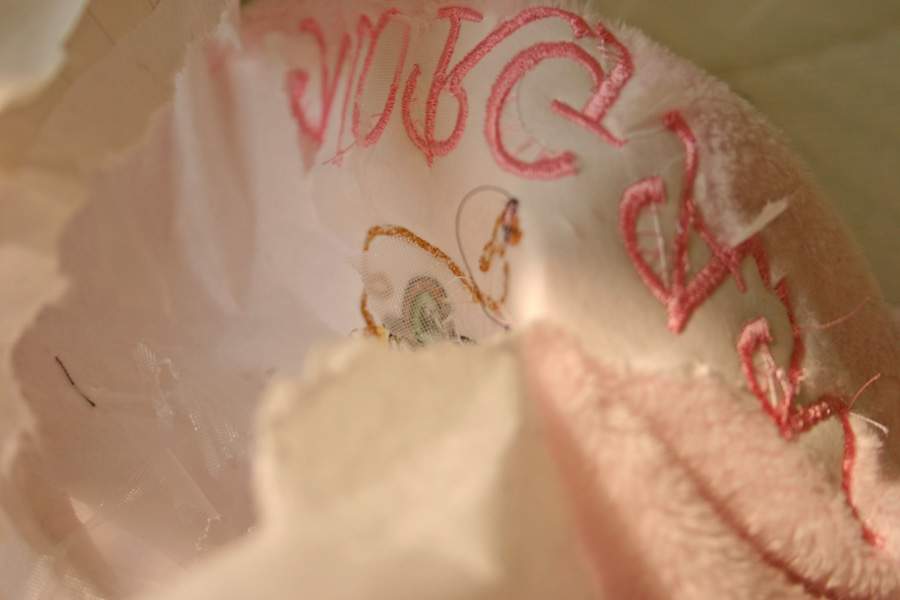
You wouldn’t want this white stabilizer on the front of the project which is why I used the water soluble material on the topside. After you cut the loose threads from the design, rinse the project in warm water to remove the soluble stabilizer.
Even though the water soluble stabilizer is only attached to the embroidered design, I recommend you wash the entire blanket to avoid creating any unwanted color disparity in the finished project after it’s dry.

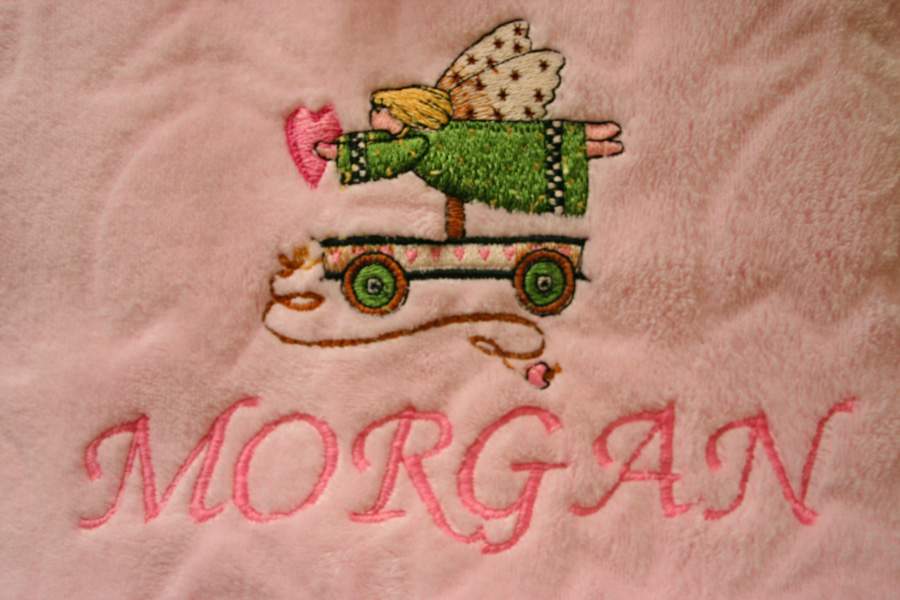
Here’s a look at the finished embroidery design with all loose stitches cut, all stabilizer and blue guidelines washed out.
The project is rinsed and completely dry and almost ready for gift giving.
Now for the sweet packaging idea. Cut two pieces of cotton fabric about 1/4-inch larger than the size of the folded blanket. Make sure you cut the fabric @1/4-inch larger all the way around. Lightweight cotton, linen and muslin will all work well for this.
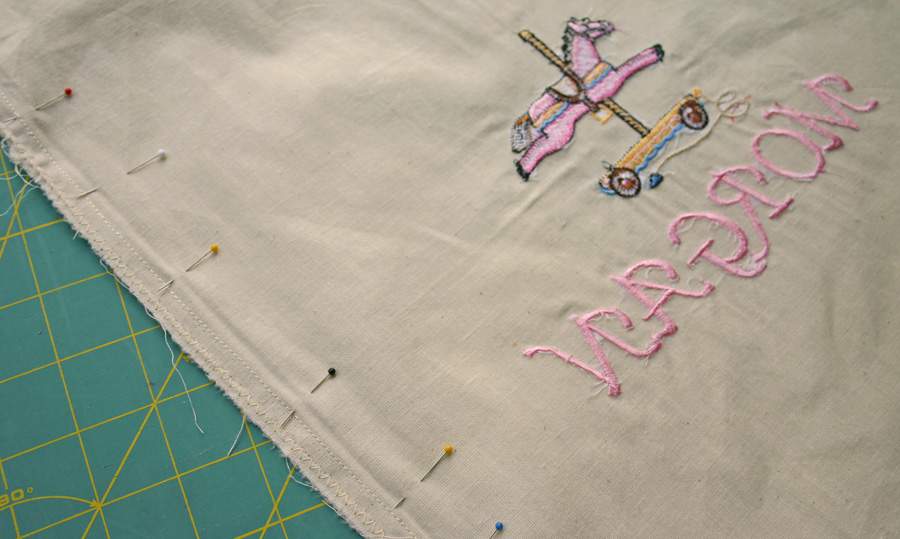
Embroider a design and the gift recipient’s name on the center of one piece of the cut fabric.

Pin together right sides of the fabric pieces and stitch 1/4-inch on both sides and the across the bottom.
Option: If you don’t have a Serger (I don’t) you can also add a zig-zag stitch close to the edge of the fabric beyond the seam line to prevent fraying and for a much cleaner, professionally-finished look.
Turn the the bag inside out.
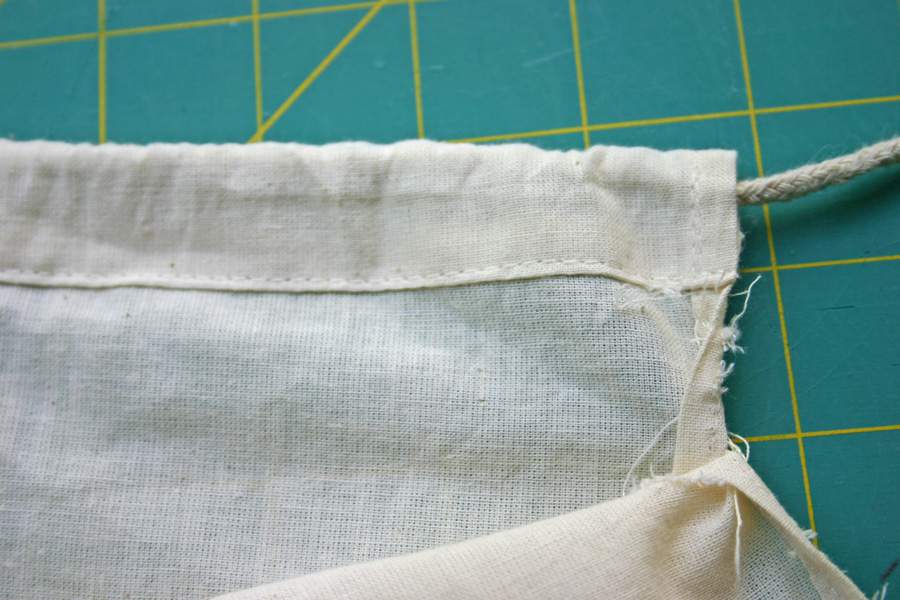
Then, turn down the top edge of the bag over bout 3/4-inch. Stitch along the lower edge to create a casing.
Leave @ 1-inch portion of one side seam open as shown in the photo below.
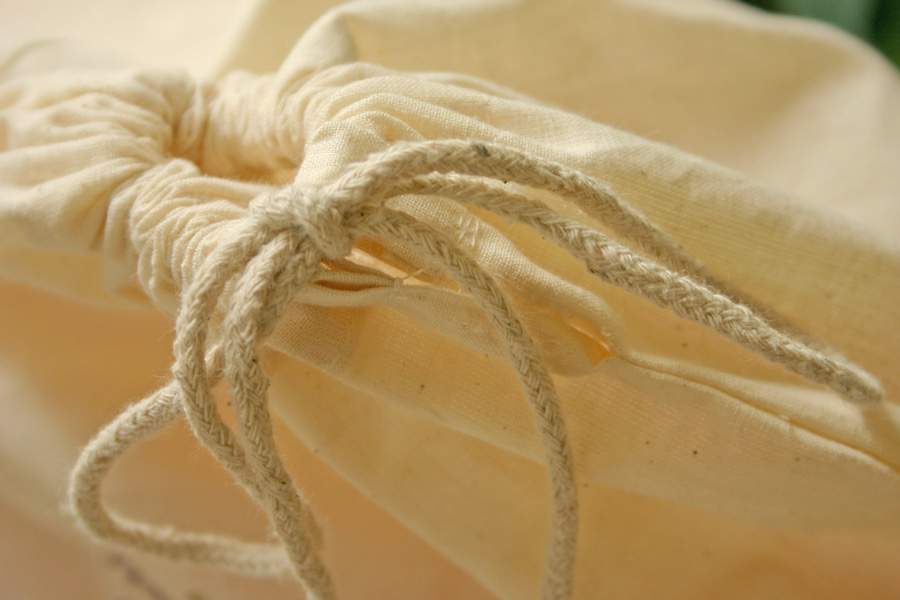
You can slip a piece of pretty ribbon into the casing or a piece of jute, soft rope or cording.
For this project, I prefer the causal look of small cording because I think it looks great against the cotton fabric. If you opt for cording, don’t forget to tie a knot on each end.
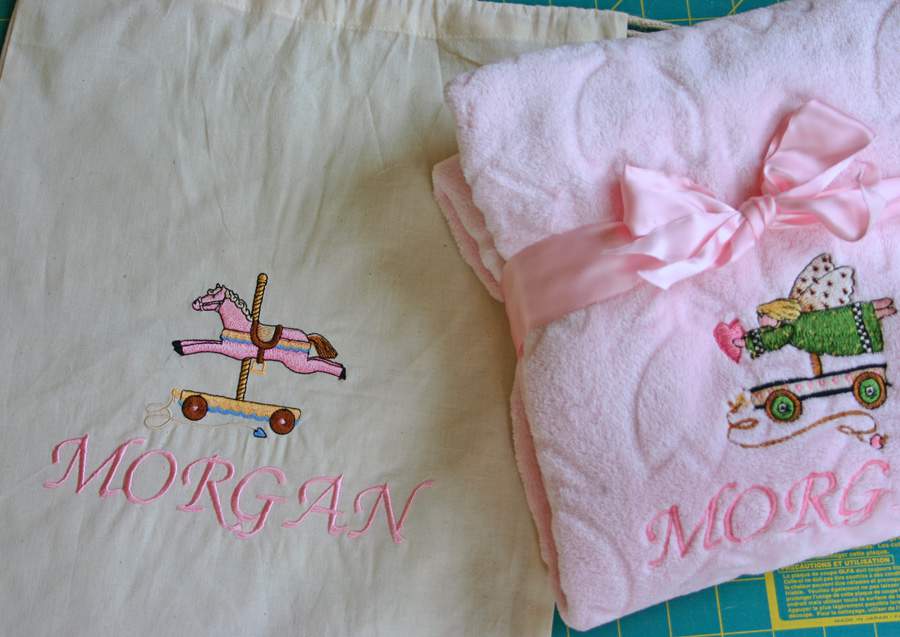
Fold the blanket to match the size of the finished drawstring bag. For another nice touch, add a pretty pink satin ribbon to the monogrammed blanket.

Here’s a look at the finished bag and blanket side by side. I think the addition of a gift bag really elevates this gift into the “sweetly unique” category.
REMINDER: If you don’t have access to an embroidery machine you can always hand embroider the front of the drawstring bag. You can also adhere store-bought appliques to the bag if you don’t have time to hand embroider the project.
Besides creating a cute package for the gift to reside, a personalized bag like this can also be used for other things down the road.
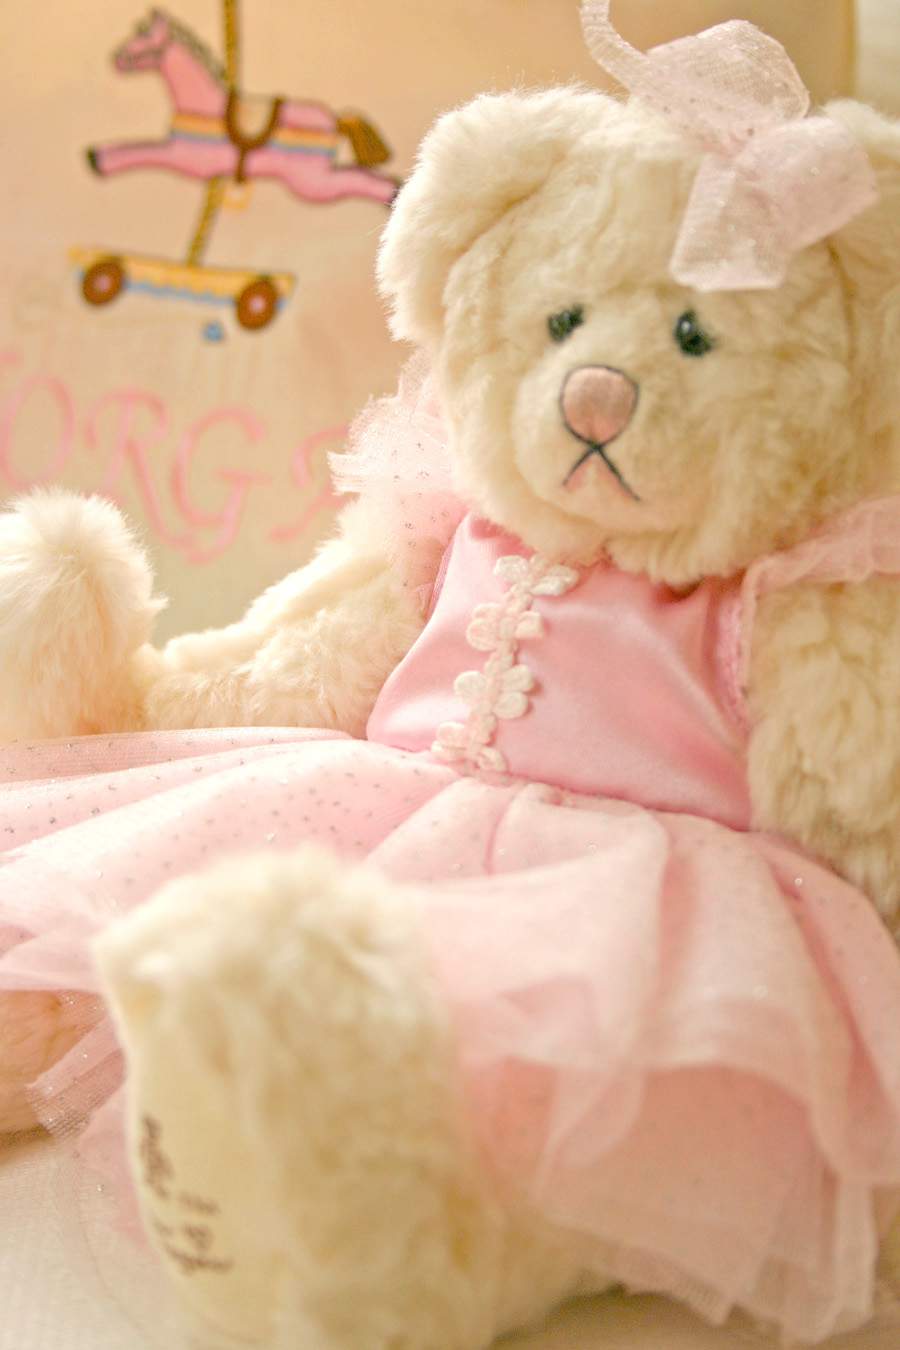
As the baby gets older, the drawstring bag will be great for carrying favorite toys or cute little stuffed bears dressed in pink frocks.
Note: The stuffed bear in the photo below actually belongs to me and is not part of this gift set. I’ve always wondered why this little bear is frowning when there’s so much to smile about. Perhaps today, she doesn’t like being used as a mere blog prop.
Don’t forget you can always personalize the bag and fill it with something other than a blanket for an equally great gift.
Consider making a monogrammed drawstring bag and filling it with newborn baby clothes and onesies, or baby toiletries or first reader books.
You get the idea.
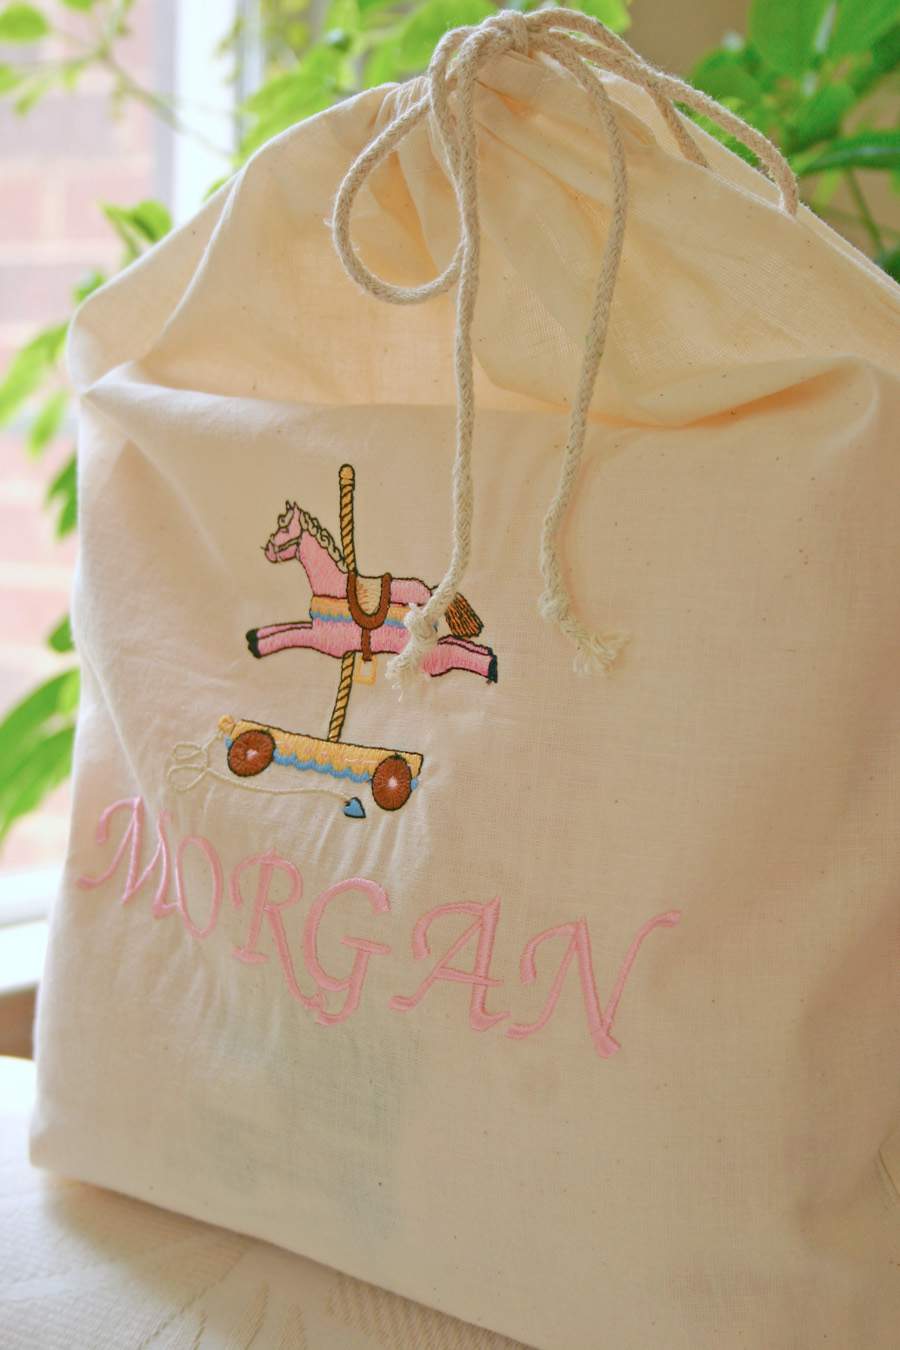
All done. Blanket is personalized, topped with a ribbon, packaged in a special reusable bag and ready to go as a gift for baby.
I love it when a project comes together like this especially since the bag was an afterthought. I think the end result looks as if it could have come from a small boutique instead of my attic workspace.
Sweetly unique and irresistible, don’t you think? ♥
I just finished a gift baby bib. I hand cross-stitched the design and baby’s name. A monogrammed tote bag as the gift wrap is a nice idea. By using waste canvas, any fabric can be hand cross-stitched. Thanks for the tutorial. Regards, Nana Banana
OH OH OH OH OH OH OH!!! This is such a cute idea!!!! With all the babies that are about to come in the family, this will come in handy!!!! lol
I am two baby gifts behind. Your idea is right on time!
Very, very cute Lisa. I love my embroidery machine and your idea to embroider the velour is a great one!
Awwweee. That almost makes me want another baby….. ummm NEVERMIND! ha ha ..
What a beautiful gift!!
How cute is that?! What a great idea!
Beautiful work! Your work is always so precise and I love that. It’s one thing to love the art of crafting but to always have an eye for detail is a plus.
That is sooooo cute!
That is sooooo cute!
what an amazing gift.
just beautiful!
LOVE this project, Lisa. Beautifully executed, as always. And it doesn’t help that I just LOVE pink, too! (Among my friends, I’m the ‘crafty’ one, too!)
Beautiful as always Lisa! I love that design. My sister in law is having a baby in October. Can’t wait to use it. Yeah, I already bought it. HEE HEE
Beautiful gift and tutorial, as usual! I so wish an embroidery machine was in my budget!!!
With all your lovely tutorials, maybe I need to start saving for one 😉
It’s a very nice gift.
Definitely sweet and irresistible! Love your blog!
Goodness Lisa do you ever sleep? This blog is going to be my new fave…so many cute things to try! And your kiddos are adorable too! I’ve been dying to make an updated version of Raggedy Ann, yours gives me the inspiration! Hope you’re going to The Creative Connection!
This is adorable!
Fantastic! Well done!
This is such a very nice and cute gift for baby. It looks very beautiful. You can also knit baby names on the clothes or toys clothes.
This is a very nice gift. Thanks for giving me an idea.
It is too difficult to select a gift for baby, I think toys are best but in this blog post you have shared a really amazing gift idea.
This is a best gift for sweet baby. It is reusable bag so every one can use it without any fear. I just love this adorable gift suggestion.
In this blog post i found so many exclusive and various ideas about the selecting gifts for baby, it is very difficult task for me to choose gift for kids, but now i am relaxed because of your suggestions.
This is such a very nice and cute gift for baby. Every work i really appreciate. I am so am so impressed by that.
I love above that baby gifts, Every thing looking beautiful and wonderful. Thanks for sharing best baby gift ideas.
Over here you have shared really a great pictures i like all the pictures, it is unique and best so thanks for the sharing these all with us.
This is a great creativity share here. This is such a very nice and cute gift for baby. This is cute package for the gift to reside. Everything is perfect.
The bag looks cute.How awesome it is!