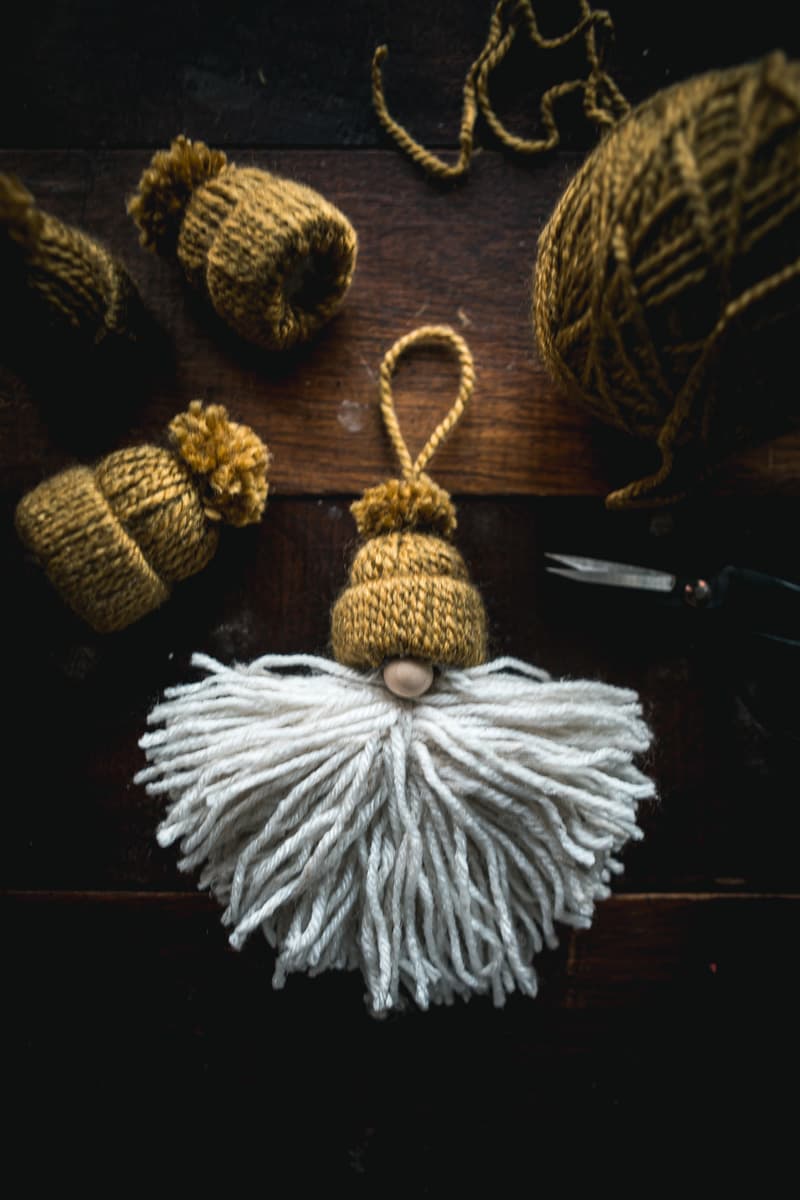
For the longest time, I couldn’t decide if this sweet face was the look of a Santa, an Elf or a Gnome.
Ultimately, I settled on a Gnome.
Throughout this post, I’ll share how easy it is to make this adorable woodland gnome ornament for your holiday tree.
You won’t be able to stop at making just one.

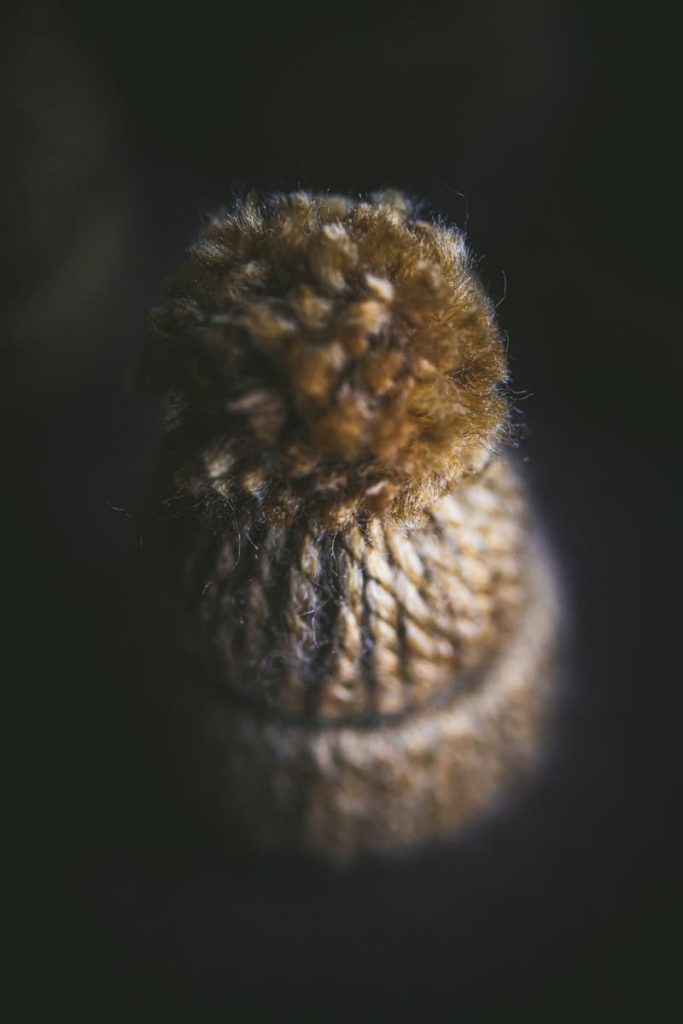
At the heart of this Woodland Gnome ornament is the cute little knit hat.
Don’t worry, you don’t have to know how to knit to make it.
Also, you’ll only need handful of supplies to create the hats and the gnome.
Oh, this would also be a fun and easy weekend craft for kiddos.

You’ll need a few cardboard rolls (like the ones from the inside of paper towels or the cardboard tubes from inside a box of plastic wrap.
Cut the cardboard tubing into small rings about half an inch in width.
Grab a skein of yarn in your favorite or festive color as well as a skein of white yarn.

You’ll also need a handful of 1/2″ wood balls (found at most crafts stores) and a hot glue gun and a handful of cotton balls.
A long needle (typically for sculpted doll work) would also be useful.

Cut the colored yarn into 8-inch strands. About 20 strands should do it.
Fold a strand in half and loop the two cut ends into the loop and pull to secure it around the cardboard ring.
Keep adding strands all the way around the cardboard until the ring is completely covered.

Once the cardboard ring is covered it will look like the image above.
Gently tug on the strands to make sure all are tight and secure.

Turn all the loose ends inward and up through the center of the ring.
All the ends that were hanging down from the cutout, will now be stretched upward from the center.

Stuff a cotton ball or two into the opening in the ring.
Perhaps you can already spot the makings of the knit hat.
It makes sense now, doesn’t it?

Take one of the string strands and tie it tightly around the top of the hat just about where the cotton ball ends.
The higher you tie the strand around the hat at this point, the taller the hat will be.
I tie it about midway, as you can see.

Trim the upper portion of the stands to create the look of a pom-pom on top.
Gently fluff the pom-pom a bit to separate the strands.
Continue to trim as needed to create your desired shape.

You could actually stop right here and create a collection of hat ornaments.
Use a long needlepoint needle to loop a strand of matching yarn up through the center of the hat to create a knit hat ornament.
Or you could attach several hats on a single strand and create a holiday garland made up of multiple knit hats.
How cute would that be?
But we’re here to make Woodland Gnomes so let’s move on to that next step.

Let’s create the beard for our Woodland Gnome.
Cut a piece of cardboard that measured about 6-1/4 inches by 4-inches.
My beards ultimately measured about 3-1/4 inch long (once they’re folded over). The full length of the string will be about 6-1/2, but once the yarn is tied at the center, the length of the beard will be about 3-1/4 inches.
Wrap the yarn about 25-30 times for a nice and thick beard.
You could also use a pom-pom maker for this step but the beard will be far more round that way.
This way, you get a more elongated beard.

Carefully, slide the wrapped yarn of thee cardboard and lay it flat on a surface.
Take a stand of the white yarn and tie it in the center yarn.
Pull it tight and tie it off in a knot.
Cut the loops on either side.

Shake and fluff the newly-created beard a bit.
This will help all the strands fall and blend together.
You may want to trim the sides to shape the beard to your liking.

Now, comes the fun part of assembling the pieces.
Grab your hot glue gun and attach the beard to the hat.
Glue a wood ball to the hat making sure that the ball is partially covered by the hat.

Add a loop through the center of the hat to create a way to hang your new Woodland Gnome ornament.
I think it’s absolutely darling on my Christmas tree which is already filled with many other woodland creatures including vintage elves, ceramic Santas and feathered friends.
This woodland gnome is a welcome addition.

These Woodland Gnomes were so much fun to make and I love how thy look all lined up together.
They look great on my tree which also includes other woodland figures like birds, vintage elves, wooden Santas and more.
Also, I’ve made other soft ornaments for my Christmas tree over the years which you can see HERE and HERE.

I hope you give these Woodland Gnome Ornaments a try.
Of course, you can give yours a red hat and call it a Woodland Santa or a green hat and call it a Woodland Elf.
Either way I hope you enjoy making them.
Happy Holidays.♥

So cute, Lisa! Thank you for sharing this adorable ornament. I look forward to trying this one!
Barbara
I’m glad you like it Barbara.
Please let me know if you make them.
I’d love to hear how yours turn out (and what color hat you select-lol)
Have a wonderful holiday.
xoxo
Adorable! I have to try to make one (or more) of these. They would make a cute gift, too!
Thanks, Tammie.
They would indeed be cute gifts and adorable gift box toppers too.
Happy holidays to you.
xoxo
Oh, I love this! I have been wanting an excuse to make one of those little hats and I really love what you have done. I see an ornament project in the near future with my kiddos! Thanks!
I’m so glad you like these, Erika.
I think you’ll enjoy making them too.
You can wrap the cardboard rings while watching a movie.
Let me know how yours turn out for you.
Happy holidays, xoxo
These little guys are adorable. Thanks for sharing – can’t wait to warm up my glue gun…so cute!
Thanks, Linda.
You’re going to have so much fun making these.
Have a wonderful holiday season, xoxo
Made 4 of them. Had some problems getting my glue gun to work, so did it a little different, I threaded a large eye needle with a long piece of doubled yarn, and ran it through the hat and out the Top, used the length for a hanger to hang on the tree. And it worked really well and the beard isn’t going anywhere. Still don’t know what the problem with my glue gun was, but just used craft glue for the nose. Really a cute craft. Thanks so much
So cute! So the wooden ball at first I thought was larger and the hat fit around the ball a bit and the beard was glued to the ball..then add a nose but after re-reading…the wood ball is tiny..a nose size and the hat and beard yarns are glued first then glue the wood tiny nose on. Wish I knew what size that wooden ball was actually though or saw the supplies together on the table so I could judge the sizes better…still so cute!
Lisa I have a gnome obsession and I need to make these this year! I just pinned your DIY. I hope you will come visit my weekly link party and link up for a chance to be featured because I would love to share these! https://www.ourtinynest.com/2022/10/05/wednesday-link-party/
Hi Nicolle, so glad you love these little elves as much as I do.
They’re so easy to make and fun to use as ornaments or even holiday gift toppers or tags.
I’ll definitely check into your next link party. Let me know what day your next one is LIVE.
Thanks for popping by and enjoy your week.
xoxo
I’m going to have ladies over for coffee and we will make these adorable gnomes. Did I miss the length of the cardboard used for wrapping the beard? I’m gonna start collecting everything I need. So cute!!!
Oh, I’m so glad you’re going to give them a try, Diane.
I used a piece of cardboard that measured about 6-1/4 inches by 4-inches.
My beards measure about 3-1/4 inch long (once they’re folded over). Remember, when you remove the yarn from the cardboard, you will only cut one end and then, tie the yarn at the center.
The full length of the string will be about 6-1/2, but once the yarn is tied at the center, the length of the beard will be about 3-1/4 inches.
Give yourself a tad extra length, if you like for desired trimming.
Use a longer piece of cardboard, if you want a much longer beard.
Thanks so much for the question because now, I’ll go back and check my text to make this step is more clear.
Glad you like this project. Happy holidays to you.
xoxo
What size wooden bead did you use? Jennifer
Hi Jennifer, so glad you’re interested in these adorable elves.
I used 1/2″ wood balls for the noses.
Of course, you could go with a smaller size but I think the nose would be lost in all the yarn.
Half an inch is a great size that is in good proportion with the rest of the elf.
Good luck.
xoxo
Thanks Lisa! I’ve made one and it will be the first of many!!!