Have you ever seen those tiny, assorted glass bottles and vases tinted in shades of blue, green or pink?
I’ve always thought that tinted glass had a sweet, feminine vintage presentation.
Actually, it’s a translucent effect that is pretty easy to create.
Throughout this post, I’ll walk you through the simple steps involved in hand-tinting clear glass.

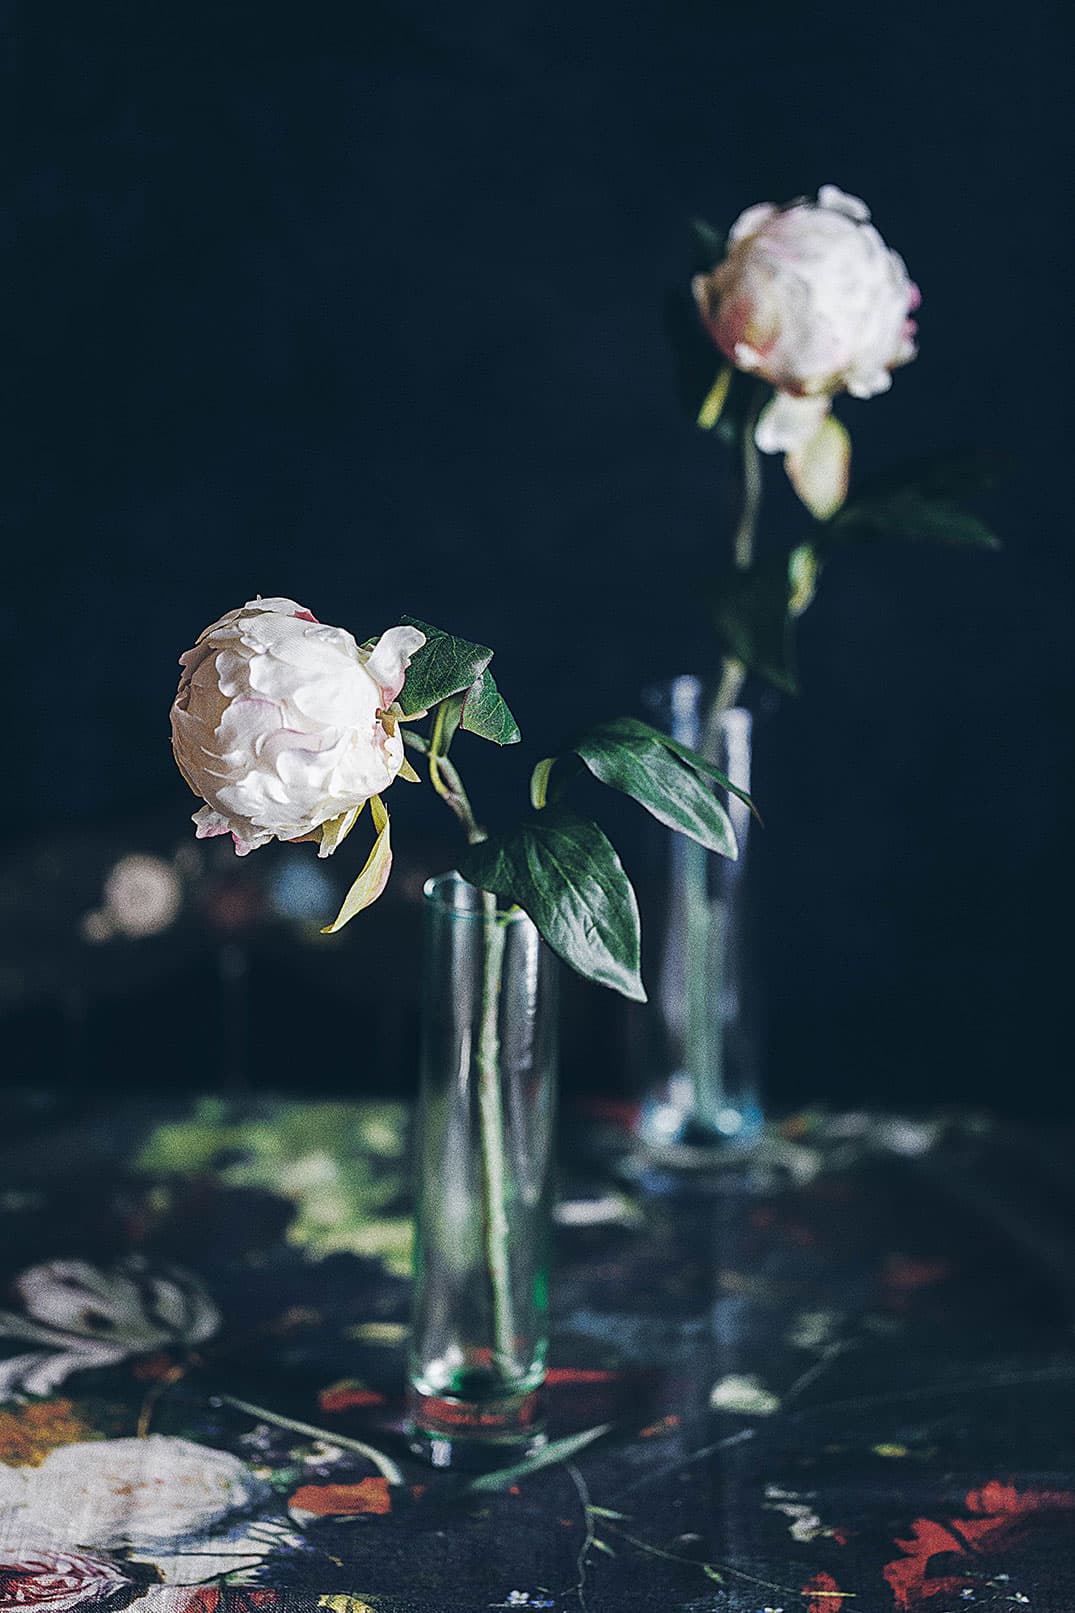
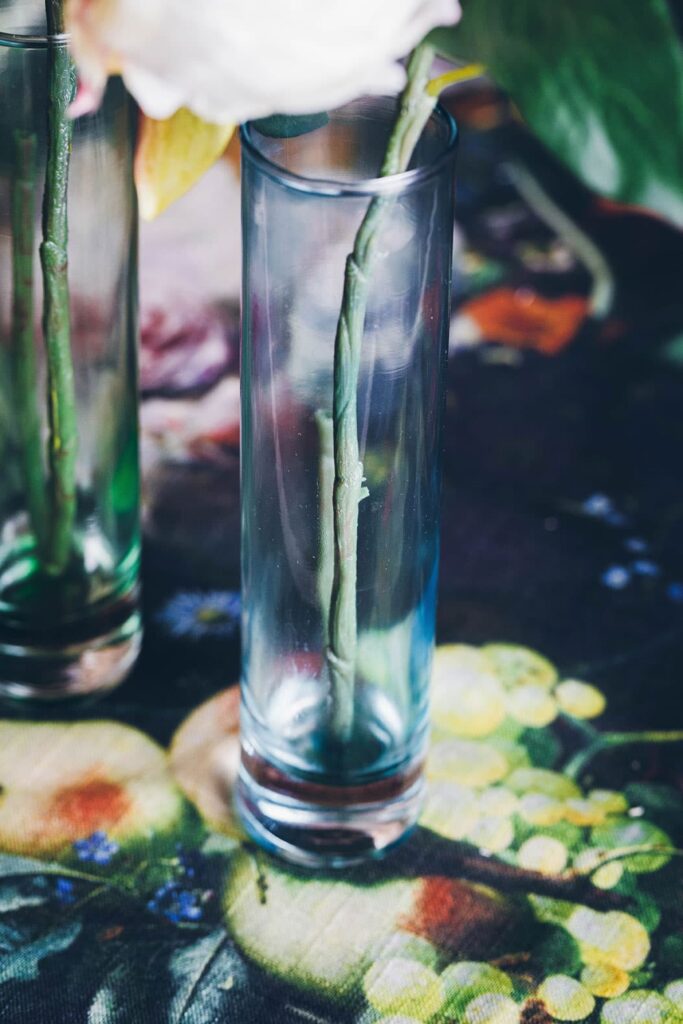
The blue and green hue on these tube glass vases is subtle and soft.
If I’ve already piqued your interest in hand tinting glass, mission accomplished.
And you’ll only need a handful of supplies.

Assorted bottles are the main ingredient.
The more assorted sizes and shapes you use, the better.
You can also find glass bottles at flea markets, antique stores and also via online sources like Etsy and Ebay.
After you get your hands on some great glass, the first thing to do is to clean it up really well and remove any sticky labeling or debris.

In addition to the glass bottles, you’ll also need some Mod Podge and liquid food coloring as well as a small plastic cup for mixing.
Pour about a 1/4-cup of Mod Podge into your cup or container and then add about 6-8 drops of a single food coloring to the glue.
You’ll want the color to be fairly vibrant, even though it will ultimately fade into a more translucent shade.
Throughout this post, I’m going to refer to this food coloring and Mod Podge mixture as, paint.

Once the color is mixed thoroughly, carefully pour the paint into the bottle or jar.
Tilt the bottle in multiple directions so that the color covers every part of the glass.
You may need to tilt and cover more than once to ensure all the clear glass is touched by the color.

Once you’re sure the glass is totally covered, turn it upside down and onto a sheet of parchment paper or paper towels on a baking tray.
If you still have quite a bit of paint mixture in the jar, empty the contents back into your original container to use on the next piece of glass.
Set the tray aside in a place where it can remain undisturbed.

While upside down the wet color is going to slowly drip out of the glass.
You will likely have to replace the paper towel or parchment paper as the color will pool around the glass rim.
If too much liquid color pools, it will end up getting sticky and chunky around the rim.
So you’ll want to make sure the rim stays pretty clear of excess paint.

Once most of the excess paint has drained off the glass, set the tray aside so that the bottles can drain overnight.
In the morning, the glass will already look somewhat translucent since most of the color will have drained.
You’ll end up with a scant amount of color on the inside of the bottle or jar.

Now, it’s safe to seal the color.
Preheat your oven to 175° degrees.
Place the tray with the glass on a lower level shelf and heat for about an hour.
When you remove the glass from the oven, allow the bottles to cool completely before use.

Tint some assorted pieces and fill them with small twigs with buds, single peonies or even various wildflower stems.
There are lots of ways you could incorporate this tinted glass into your home decor.
Consider placing a trio of floral-filled glass on a bathroom sink, a kitchen garden window or on a dresser next to a jewelry stand.
You get the idea.

On another note, how gorgeous is this tea towel/backdrop?
Yes, this is a tea towel.
Even with its moody tone (which I love), I still think this Old World Masters floral print is lush and vibrant in its coloring.
My two pink, faux peonies on the side almost blend right into the print, don’t they?
If you love this look as much as I do, I’ve linked the source for the tea towel and the artificial peonies at the end of this post.

Finally, let me say that I hope each and every one of you reading this is safe, sound and well.
These are tough times indeed and I truly hope this hand-tinting clear glass tutorial provides a welcome diversion and respite from all the crazy going on in the world right now.
Try your hand at tinting your own glass and let me know how it turns out for you.

Thanks so much for popping by.
See you back here next time.
Stay safe and be well.♥

Thank you for this tutorial. Expressing our inner creative selves boosts our sense of well-being. Giving in to despair depresses our immune systems making us more vulnerable to sickness. Strive to stay healthy physically, mentally, emotionally.
Right now, I am making miniature furniture for my dollhouse. It helps to keep me grounded. Love and best wishes to all. Nana Banana
Thanks, Mom.
xoxo
absolutely beautiful!
Thanks so much, Stephanie.
Happy weekend to you.
Stay safe in your neck of the woods.
xoxo
HI!
I have 2 questions:
1. You say to “Preheat your oven to 175° degrees. Place the tray with the glass on a lower level shelf and heat for about an hour.” Isn’t safer to put the glass in a cold oven then heat it up so the glass won’t break?
2. Can this technique work on the outside of the glass instead on the inside?
Thank you!
Hi Christine
I’ve tinted glass jars several times and I’ve always preheated the oven first.
The 175 -degrees is such a low temperature, I’ve never worried about the glass exploding on me.
If you have concerns, I suppose you could put the glass in first, but I’ve just never done it that way.
Also, I’ve never tried this technique on the outside of the glass.
I’m sure there are probably some tutorials online for different approaches that may involve painting the outside of the glass.
Good luck with your project and happy new year.
xoxo