Depending on what part of the country you live in, this is the time of year when many people are more than ready for Mother Nature to heat things up a bit.
Spring is still weeks away but if you’re getting single digits in your neck of the woods, I’ve got an easy project that will definitely warm you up.
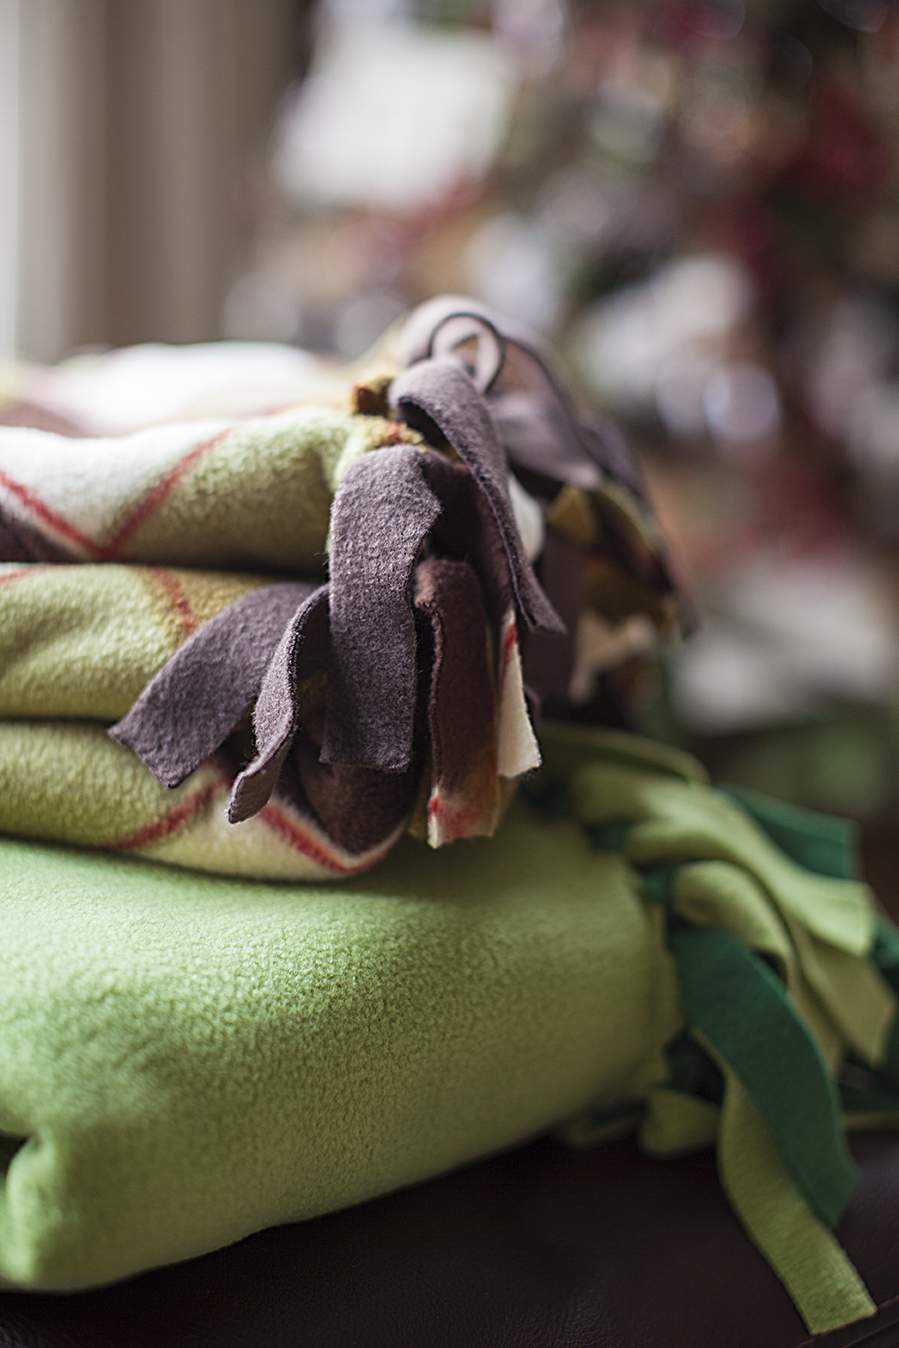
This NO-SEW FLEECE THROW requires absolutely no needle and thread, stitching or sewing machine and best of all… you can make it… in about 1 hour.
This project starts with the fabric.
I’ve tried other types of fabric using this simple technique but really…. fleece works best because of it’s self-healing nature after being cut.
Cottons, linens and other woven fabrics tend to fray along a cut edge but fleece pretty much holds its shape after being cut and that makes it an ideal choice.
Remove the selvage from the edge of the fabric.
The selvage prevents the fabric from unraveling while on the bolt. It runs the length of the raw edge and typically has the imprint of the store name and color dots.
It should always be removed before you start any fabric project.
Fleece come in a variety of widths and of course you can get as many yards as you like.
I kept it simple and small with 1-1/2 yards of 45″ wide fabric for each color. If you want a larger throw, just use longer and wider cuts of fleece.
Iron the fleece and then position both pieces of fleece together with WRONG side together.
Make sure the two pieces of fabric line up together. You may need to trim a little depending on how accurately your pieces were cut at the store.
Once the two pieces of fabric are lined up, cut a 6″x 6″ square from each corner.
TIP: Place standard 6-inch napkins on each corner of the fabric as a cutting guide. After cutting the square-shape from each corner, the two pieces of fabric will resemble a shallow American Red Cross shape.
Pin the two pieces of fabric together in random places around the fabric to prevent the fleece from slipping or sliding while you cut the fringe.
Start at one corner and cut 1-inch strips along the edge that measure 6″ long.
Continue using 6″ x 6″ napkins to create a cutting guide.
I used a yardstick to help keep the fringe lying flat, while cutting the strips.
Here’s another diagram to show you where to cut the strips to create the fringe.
I think it’s better to move your body around the fabric to cut the fringe, rather than moving the fabric around.
Just cut the strips on all four sides and you’re almost done.
Don’t forget, you’ll be cutting through two fabric thicknesses so make sure you have a sharp pair of scissors.
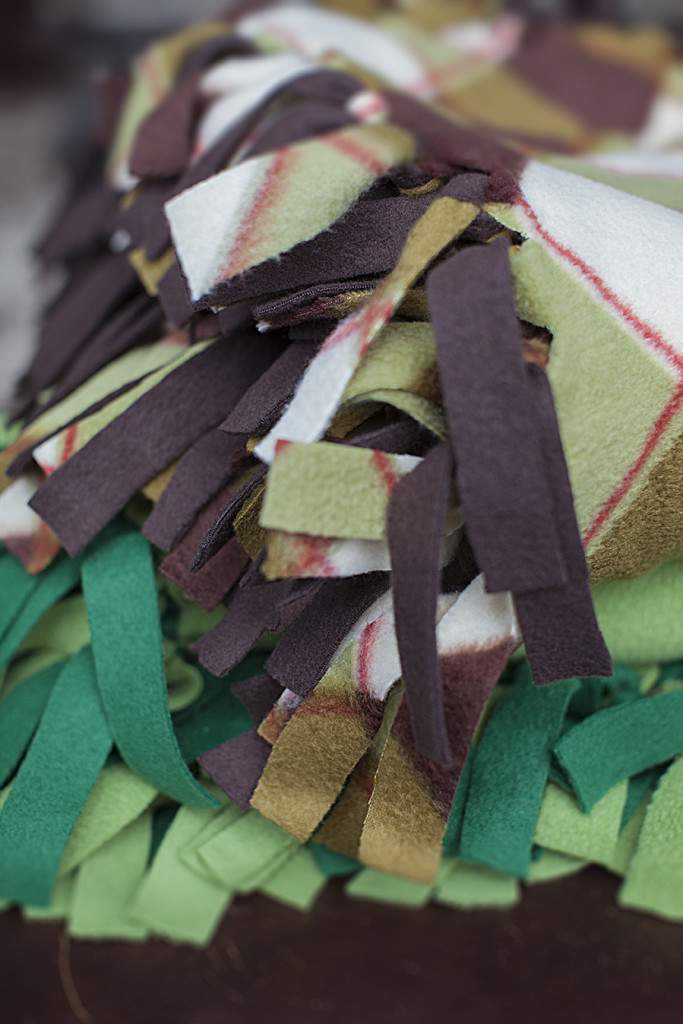
Once all the fringe has been cut, all you have to do is tie the lower fabric strips with the match strips of the fabric on the top.
Continue to tie the fringe together all the way around until all strips on all sides have been tied.
If you’d like to make an even thicker, warmer throw-just add an extra layer of fleece to the mix.
If you do that, you’ll still have to keep all three layers lined up and you’ll be cutting through three layers of fabric instead of two when you cut the fringe.
Whether you go with a two-layer throw or a three-layer project, your gift recipients will love cuddling up with it.
I made the two-tone green throw for my daughter, Cameron and my son, Jordy got the argyle and brown one.
Can you tell he loves it?
Jordy is growing up fast, isn’t he?
Perfect for keeping toes toasty.
Make a few of these easy, no-sew fleece throws for your loved ones to keep theirs toasty too.
Thanks for stopping by.
See you back here next time. ♥


I love your fleece colors!! It is such an amazing fabric and I’ve been wanting to make more things out of it — just haven’t had a chance. You are inspiring me to get some fleece. Fleece blankets make great baby shower gifts or make lap blankets for older people. I’m sure they’d be greatly appreciated. Great instructions. Sending hugs!!
Thanks Marisa. Yes, get your 40% coupon and run to JoAnne’s-lol. Fleece is so easy to work with and you can whip up this throw blanket in under an hour. Promise.