Is it me or did we jump right into Christmas around blog-land? Looking around, it kind of feels like I’m already behind the holiday 8-ball. Well, I guess I better get my you-know-what in gear.
I still have (the often overlooked) Thanksgiving on my mind. Maybe you do too.
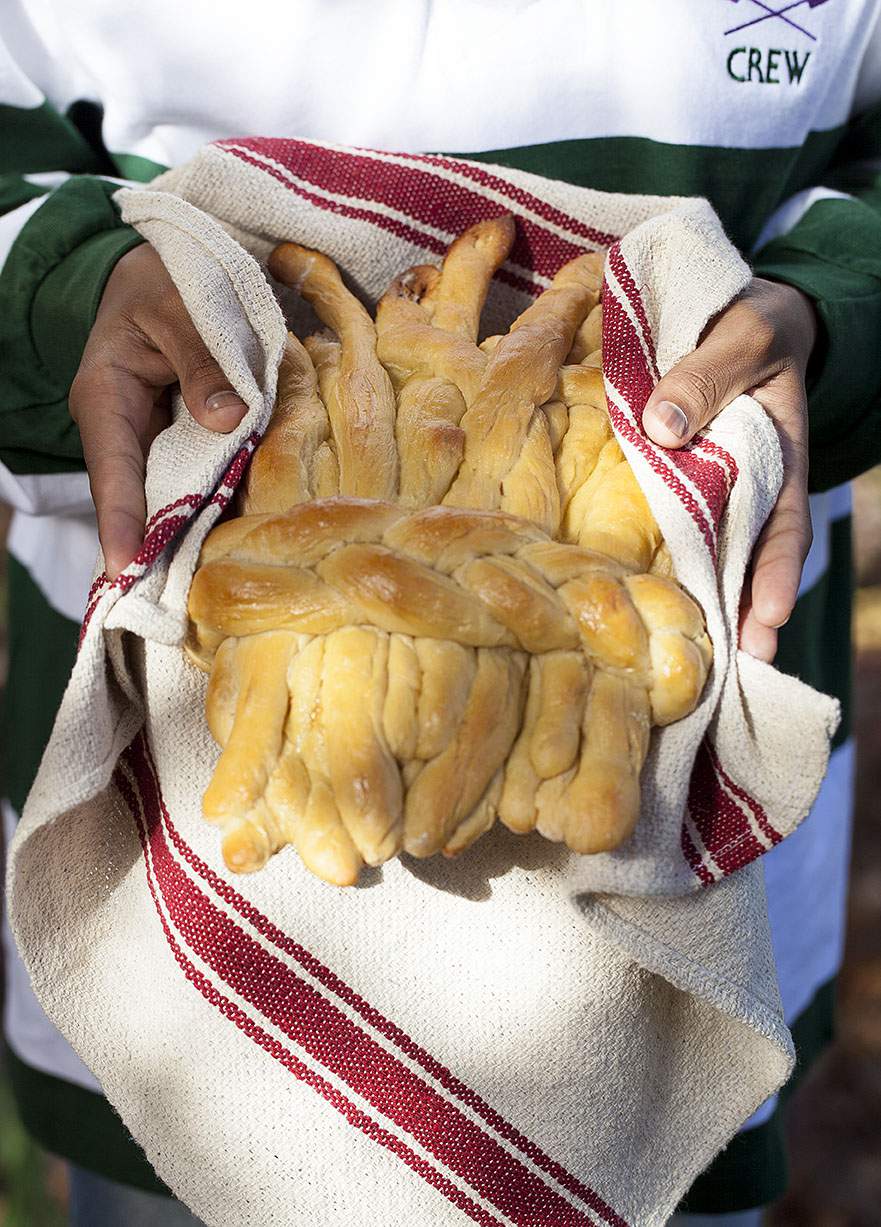
For a most unexpected and delicious addition to your Thanksgiving dinner table, consider breaking bread this year in the shape of a wheat sheaf.
The stalks of this bread loaf are supposed to resemble a bundle of wheat after it’s been harvested and bound.
If you search online, you’ll see loads of wheat sheaf-shaped breads which range from simple to intricate designs molded from dough.
They’re pretty cool looking.
Start with a favorite bread dough recipe and allow to rise.
I ended up using a recipe from the latest Martha Stewart’s magazine which also features a wheat sheaf this month.
I’ve included the recipe further down in this post.
After the dough has risen, separate it into several smaller balls.
Roll the dough into rods and begin to arrange your sheaf loaf onto parchment paper.
Depending on how fast your can roll your stalks, this step could take about 30-40 minutes.
Keep some flour nearby for hand-dusting because the dough can be a little sticky.
Continue to roll out the rods to about 12-15 inches long.
Drape the rods over each other to create the look of a sheaf and just keep building to create the desired effect.
Once the rods have been put into place, dip your thumb into the flour and then press down on the tip of the rod to slightly flatten it to create the beginning of a leaf-shape.
Then, gently pinch the tip of this flattened area to create a pointy leaf tip.
Use a pastry brush to remove any excess flour from the tips.
Then, then use a smooth knife to score the tips to resemble leaf veins.
Once you’ve layered the stalks, roll three more pieces of dough and gently braid the them.
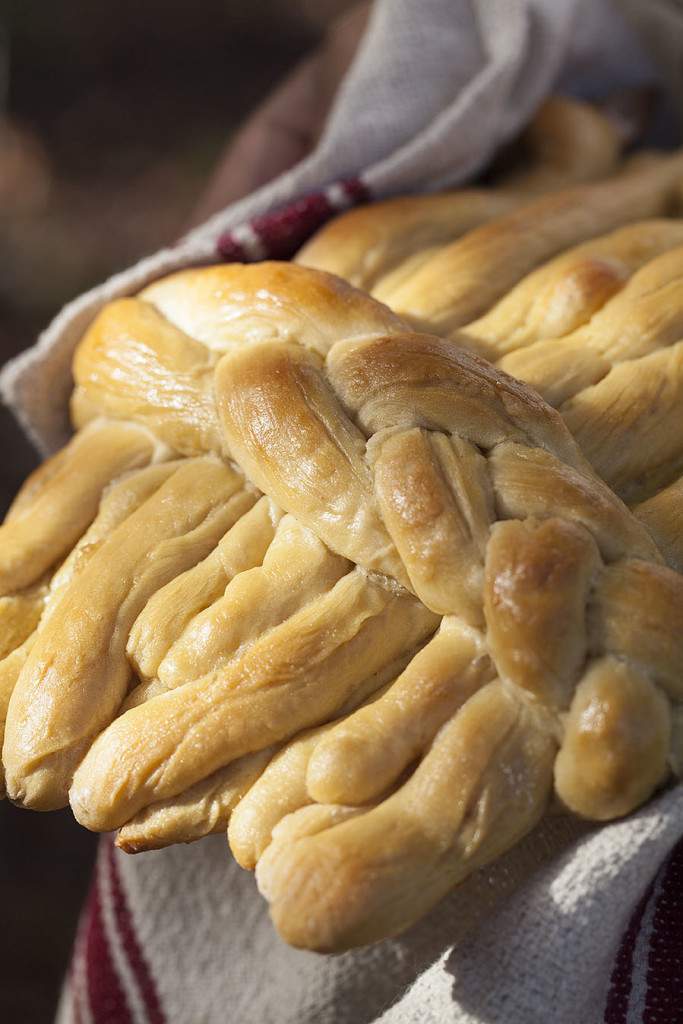
Position the braided dough over the middle of the sheaf and gently press the sides under the dough on either side of the stalks.
Once the sheaf has been created, cover with a tea-towel and allow to rise for about 30-minutes.
OK, here’s what my wheat sheaf looks after rising.
Just before you pop it into the oven, brush the entire sheaf with a beaten egg.
Bake for about 18-minutes or until golden brown.
OK, I’ll admit my stalks are a little short here but you get the idea, right?
Rolling the perfect stalks may take a tad bit of practice but I know when I make this again next week… my sheaf is going to look even better.
The recipe for this is below.


- 1 1/4 teaspoons active dry yeast
- 1/4 cup warm water
- 1 tablespoon of barley-malt syrup check natural food stores
- 2-1/2 cups all-purpose flour
- 1-1/2 teaspoons coarse salt
- Two-thirds cup of buttermilk
- 1/2 stick unsalted butter melted and cooled
- Sprinkle yeast over warm water. Let stand for about 5 minutes, until foamy. Whisk in 2 teaspoons of malt syrup. Stir in flour, coarse salt, buttermilk and 3 tablespoons until well-combined. Transfer dough to a lightly floured work surface. Dust hands with flour and knead dough until smooth and elastic. Shape dough into a ball.
- Transfer dough ball to a butter-brushed bowl, cover and allow to rise for about 1 hour.
- Divide the dough into half a dozen balls. Roll about 20-24 pieces into ropes measuring @12-15 inches long.
- Dip thumb into flour and then press thumb into top of rope to create leaf shape. You may need to pinch the tip to give it a point.
- Use the tip of a knife to score leaf veins into the leaf tip.
- Arrange the ropes into a sheaf on a piece of parchment paper. Overlap the leaves, fan out and bend the leaves.
- Roll remaining pieces of rope into a rope and carefully braid the pieces.
- Drape the braid over the sheaf. Cover the dough and allow to rise for about 20-minutes.
- Brush with a beaten egg.
- Bake in a 400-degree oven for 15-18 minutes or until golden brown.
Traditional rolls are great but consider this unexpected choice for Thanksgiving bread this year.
If you want your kids to get in the kitchen, this is the kind of edible creation that youngsters may really enjoy digging their hands into.
Oh, one word of warning.
If you have a young helper lending a hand holding your bread while you snap photos… be careful.
Turn your back and they just may help themselves.
Jordy! Not yet.
Thanks for stopping by.
See you back here next time. ♥


Leave a Reply