It’s finally spring and everywhere you look, nature is starting to bloom. This is such a beautiful time of year, isn’t it?
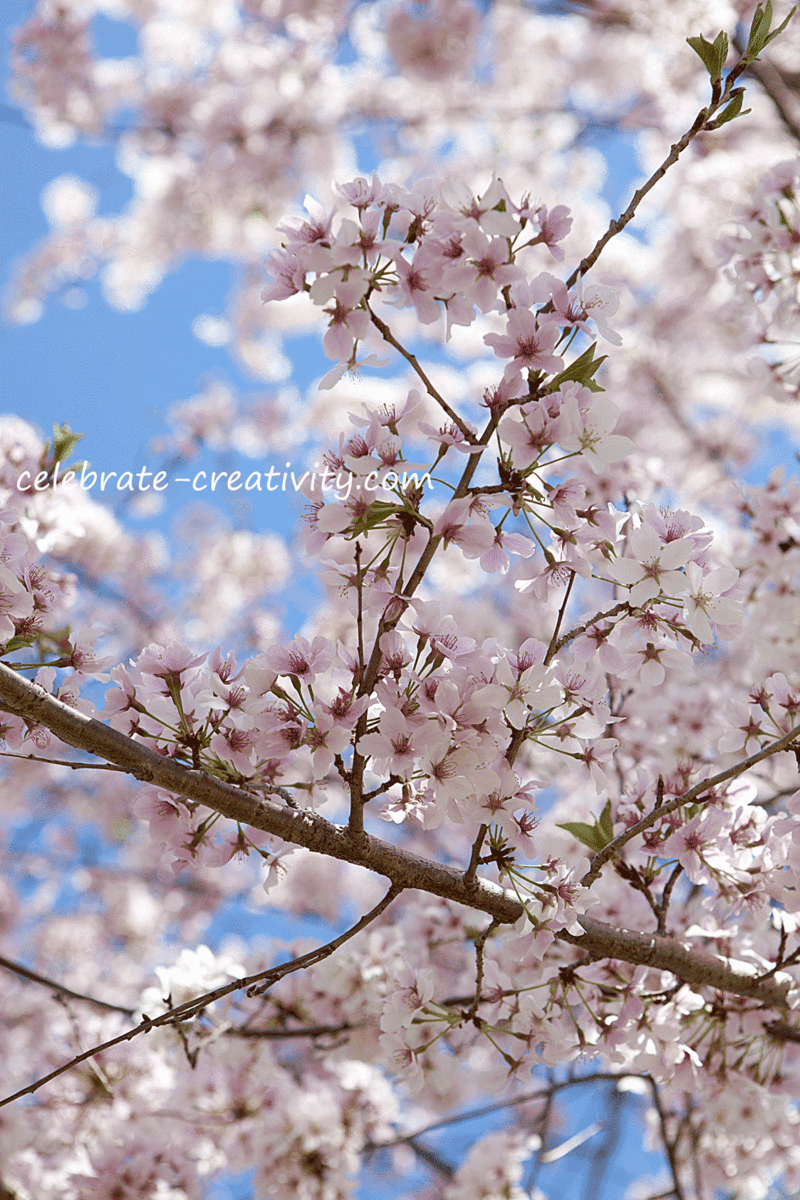
Aren’t these trees gorgeous?
These trees are the inspiration behind today’s cherry blossom ball project.
Every year, I look forward to seeing this row of cherry trees come alive.
These trees line the entrance of my neighborhood and as pretty as they are, they only last a few fleeting days before they’re all gone.
For the last several years, my son, Jordy has accompanied me every spring as I snap photos of these pretty blooms.
He’s always practicing his own photography too and he loves to compare his shots of these cherry blossom trees with my photos.
Regular readers of this blog will notice that Jordy is growing up fast.
With cherry blossoms in mind, I thought I’d revisit a project that I featured here a while back.
This decorative cherry blossom ball is super easy to make and the perfect indoor, rainy day project for those April showers ahead.
You’ll only need a handful of supplies including a Styrofoam ball, artificial flowers with leaves, a hot glue gun and about 1-foot of satin ribbon.
Check your local crafts stores for artificial flowers on sale because you’ll need plenty.
First, measure the ribbon to desired loop/hanging size and cut.
Cut the artificial blooms from the branch making sure to leave a small amount of stem.
Don’t snip the stem too close to the petal because you’ll need the stem to stick into the Styrofoam ball.
You’ll need to make a small impression into the Styrofoam ball and you can use a dowel (or un-sharpened pencil) to carve the hole. Don’t punch the hole too deep, about an inch depth will do just fine.
Drop some hot glue into the hole and stuff the two ends of the ribbon into the hole. Add a tad more glue to secure and allow to dry.
Hot glue the artificial leaves around the base of the ribbon and then add a small amount of hot glue to the bottom of each petal stem.
Push the stems into the Styrofoam ball. The closer the petals are positioned the more full the ball will be.
Don’t be tempted to skip using glue on each stem.
Even though the stem may feel secure without the glue, you don’t want to risk the flower falling out over time.
For an extra special touch, you can also add a slight scent to this floral ball.
However, I suggest you not spray anything directly onto the petals at close range because it may stain the fabric petals.
Instead, spray a small amount of your favorite cologne into the air and hold the ball under the faint, falling droplets.
These scented, floral balls would make a lovely gift and an even more fun party accessory.
Use clear twine or thread to hang them from the ceiling or a light fixture inside or hang assorted colored floral ball from tree branches to spruce up your next outdoor gathering.
Next time you look upon a cherry blossom tree in full bloom, just remember… with this blossom ball project, you can make your own.
I guarantee, your blooms will last much longer.
See you back here next time. ♥

Thanks for stopping by. I’m linking this Cherry Blossom Ball tutorial to the following:


Lisa,
Your are such an inspiration! Your pictures are so beautiful, they make feel like I ‘m there sharing the moment. Love your crafts!
Your photos are truly lovely and your flower ball is beautiful. How do you think it would work as a wreath?
Very pretty. These would be beautiful decorations at a spring wedding.
BEAUTIFUL!!!!!
Really nice tutorial to guide those of us who plan to try this project. Thanks. Nana Banana
Lisa those picture are beautiful and Jurdy looks like a man child now. I miss you so much I just mention you name to a client to day even. Lise I have been making home made soap. It very pretty I will post to face book. It is goats mike soap. I happy a little of your creative rubbed off on me before you left. Love always Connie.
Lisa,
You are more than amazing! Your flower balls is magnificent! Thank you for sharing, it’s really inspiring!
Just started following you and I have to admit you’re one awesome lady!!
Thanks so much Alma. I hope you stop by again and find a few projects to try yourself. Happy day.