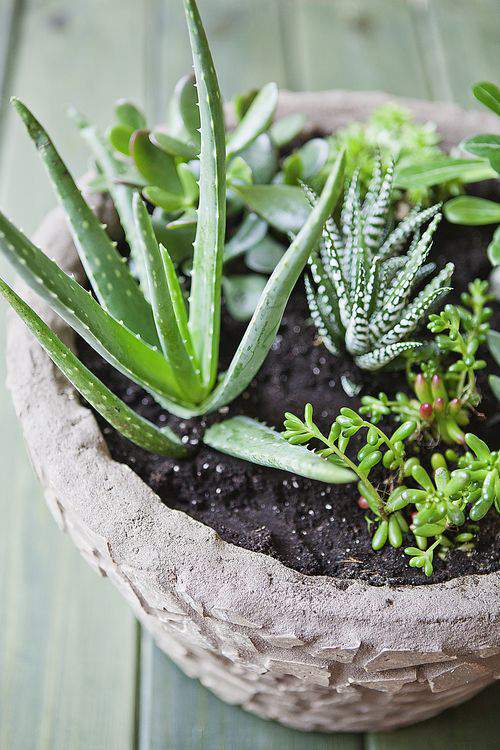
I f you saw my how to create a succulent garden post last week, then you no doubt spotted the large mosaic pot I used to house all my pretty plants.
This week, I'm going to show you how to make a mosaic tile container just like it.
It's easy, you can do it and you'll love it.
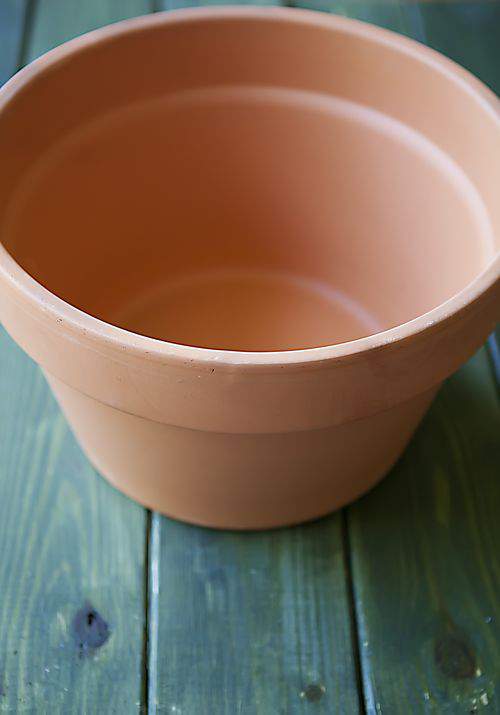
You'll need a good pot to start out with.
Plastic pots won't work but terra cotta pots are a decent choice for this type of project.
Choose your pot size based on what you plan to put in it.
Mine measures 13-inches in diameter and only cost me $7 at a local garden shop.
You won't need too many other supplies.
Grab a hammer, goggles and plastic gloves.
You'll also need some tile adhesive.
There are loads on the market but I like Liquid Nails because it comes in an easy-to-handle tube and is water soluble for easy cleanup. I love easy cleanup.
As for your tile selection, you can use just about anything that strikes your eye. There are so many colorful tile options out there.
I found these tiles on a clearance table at my local hardware store for less than $2 per stack.
Several tiles were already cracked or chipped (thus, clearance table) which was OK, since I planned to break them up anyway.
TIP: Check clearance tables first because that's where you'll typically find damaged tiles at a wonderfully reduced price. This is also where you may find unique pieces that can be used as accents for your mosaic project.
I love this kind of tumbled marble, rustic appearance and I think the pits give the tile that much more character.
These pits will eventually get filled with grout but the small pockets will still help add variation to the look of the finished project.
I decided to use pre-mixed grout because I didn't need a large amount and I also didn't feel like dealing with the mess that is often associated with mixing powdered grout.
You want the mosaic pieces to be highly visible and really pop so make sure you select a grout color that contrasts well with the tile.

To create the mosaic pieces, put a few pieces of the tile in a see-through bag and use the hammer to break them into assorted sizes and shapes.
Repeat as needed to get the necessary number of pieces to cover the pot.
IMPORTANT SAFETY NOTE: Even though the tile is inside a plastic bag, you should still wear protective goggles. I've seen shards of tile unexpectedly break through a plastic bag and fly through the air. Clearly dangerous.
Also, small children may be curious about this step but always keep them away from the area while breaking tile.
You can crack your tiles into large or small pieces but just try to keep them fairly consistent for a uniform application.
Apply a small dab of adhesive directly from the tube to the back of each piece of tile and carefully position it onto the terra cotta pot.
Press firmly for a few seconds and then repeat, making sure to keep the broken tiles evenly spaced as best you can.
As you apply the tiles, some pieces may slowly slide out of place.
No problem. Just gently push it back into position and hold for a few seconds to make sure it's secure.
You may want to keep your plant placement in mind as you apply your tile pieces.
For example, I knew I was going to plant my succulents a few inches below the rim, so I decided to add a layer of tile along the inside of the pot for added appeal.
Once you've covered the pot with tiles, allow the pieces to dry and set overnight.
Once you start grouting you don't want any shifting of the tile so you need a good 12-14 hours drying time before you begin any grouting.
Scoop up a small amount of the pre-mixed grout and start to fill the spaces around the tile pieces.
Apply the grout slowly because more than likely you'll run across a few jagged, tile edges and they are definitely sharp.
I avoided any minor finger injuries this time around but I still ended up snagging and ripping several pair of these thin rubber gloves due to the sharp tile edges.
Be careful.
After the grout has been applied, use a wet sponge to gently rub over the surface to clean the tiles.
Don't oversoak the sponge because the grout is also still moist during this step and you don't want to wash away the grout while cleaning.
You may still have some errant grout on the tile surface even afte the project is dry.
Simply scrape it away with a soft plastic spoon or knife and then use a wet cloth to shine up the tile pieces.
Ta-da!
This is definitely a weekend-long project but it's simple and I think you'll love the finished result.
I will say the addition of grout and tile made this pot incredibly heavy, now weighing-in at a hefty 54-pounds.
This won't be going on my glass-topped patio table like I orginally planned but I'm sure I'll find another suitable location.
It's a good idea to also apply a tile sealant to help preserve your new mosaic.
Meanwhile, here's a final look at my new garden pot pot which is now home to my thriving succulent plants.
Imagine how nice yours will look when you put your own creative spin on a mosaic tile container.
I've seen some amazing mosaic tile projects in books and around the Internet and I'm looking forward to trying my hand at more intricate mosaic work down the road. Stay tuned.
So, have you ever created a mosaic project? If so, what did you make?
If not, I hope you're inspired to give it a try.
DON'T FORGET TO VOTE FOR MY BLOG
You can still vote for CELEBRATE CREATIVITY IN ALL ITS FORMS in the "Lifestyle" category. Click this link
If you have the time (and interest) drop by the Country Living magazine website and scroll down to the LIFESTYLE category and cast your vote for my blog.
You can vote every day from now through September 17th.
I'm keeping my fingers crossed on this end.
Thanks so much, I really appreciate your support and your vote.
ALSO, COMING UP ON FRIDAY
Cool off with a delicious cup of Lemon Sorbet.
Just because the temps are cooling down outside, that doesn't mean you have to kiss your love of frozen treats goodbye.
This sorbet is yummy any time of year and this recipe has the perfect combination of "lemony" sweet and tart.
Pop by this blog again on Friday (8/7) for the latest edition of my bi-weekly column, THE FRIDAY FOODIE.
See you then. ♥


Great tutorial and less expensive than purchasing one too. I sure hope you win, I’ve been casting my vote. I also think people can vote more than one time a day. Hope you had a great holiday weekend.
What a nice periodic information on the tiles flooring with extra beneficial use has been covered in this blog by the tile adhesive manufacturers in India. Really very thankful for this posting.
Great information.I’ll do it.
Hi Lisa
I’m just starting to do mosaic
Your pot design gives me an idea how to make one .
Cheers Tracey from Australia
Greetings, Tracey.
So happy to inspire you from so far away.
Good luck with your mosaic pot. Please do let me know how it turns out for you.
Have a lovely week and thanks for popping by from “Down Under”.
I love how creative you are! I love that you mentioned the clearance table, I may have never thought of that. My granddaughter even suggested painting the pieces. Thank you for all of your hard work at making this tutorial as easy as possible by not being ‘stingy with the details’.
My pleasure, Cindie.
I’m thrilled you like this project. Good luck on yours.
Happy day to you.
Another great place to get tile is the Restore if there is one in your community.
Thanks, Barbara.
I’ve never heard of that resource before but I’m definitely going to look into it.
Take care and have a wonderful weekend.
I really got a lot out of your post. I’ve been making mosaic pots as Christmas gifts and its been trial and error. My glass tiles don’t want to adhere well and its hard to get all the grout off plate shard tiles. But your post explain everything quite simply and I am off to get more done with some of your advice. Thank you.
That’s great, Lynda.
I’m glad the post is helpful to you.
Good luck with your upcoming mosaic projects too.
Happy weekend.
This turned out beautifully!! I must give this mosaic technique a try.
Thanks so much. You’ll enjoy this project too.
Look for pretty and inexpensive plates at your local thrift shop.
There are also tons of books online with ideas on all kinds of other mosaic tile projects.
Good luck.
I love how creative you are! What nice periodic information on the tiles flooring with extra beneficial use has been covered in this blog
Thanks for sharing this mosaic pot tutorial… I’m in the process of making one myself! Broken terracotta pots, stuck together … a once broken, fixed then broken again Turkish wall clock and I’m hoping to achieve a satisfactory piece!
I learnt a lot from you! Thanks
Your mosaic pieces sound like they’re really beautiful.
I’d love to see your finished piece.
Drop me an email when you finish making it.
Happy Spring.