H
alloween is right around the corner and that means you can soon start looking for costumes, holiday decor, trick-or-treat candy and scary movie marathons on cable TV.
With a few classic movie characters in mind, I thought it would be fun to share a few easy-to-make Halloween goodies and treats that were inspired by famous (and spooky) faces from the silver screen.
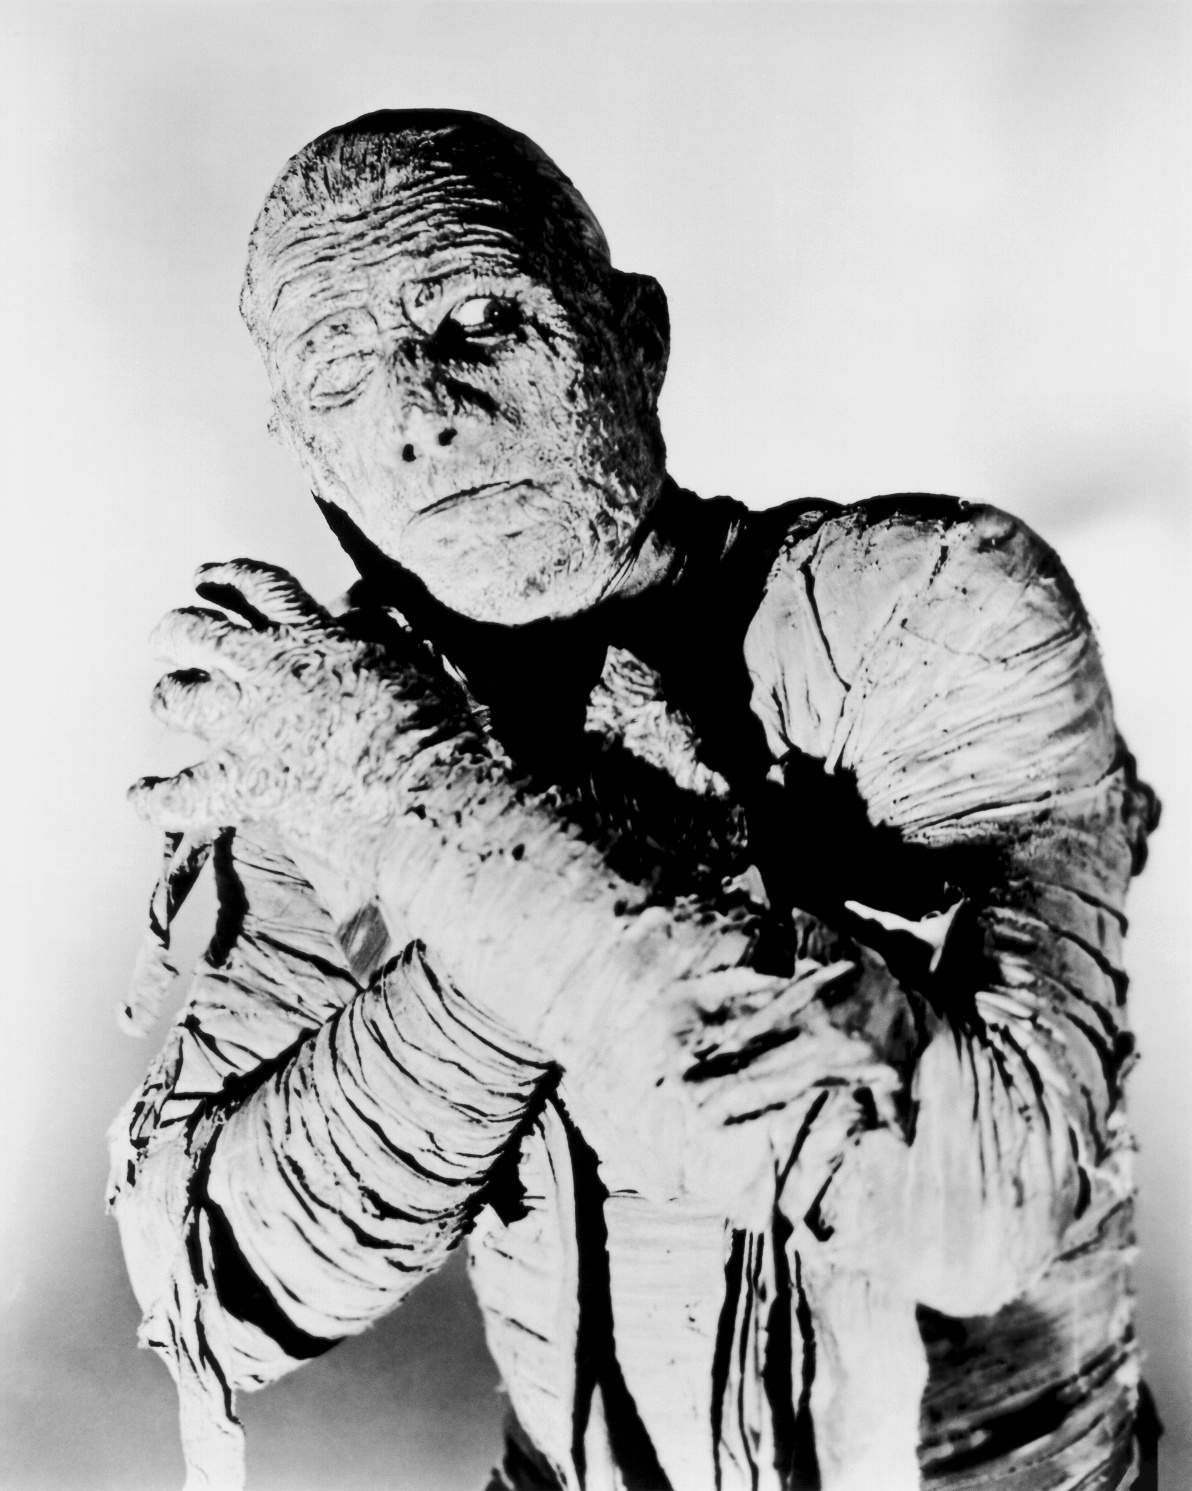
Let’s start with THE MUMMY.
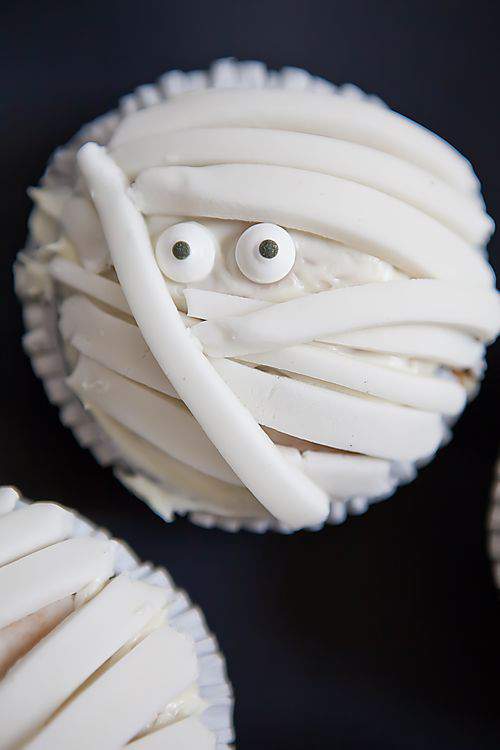
You could call the sweet treats in the photo below YUMMY MUMMIES.
While these particular mummies may not be as scary as the movie version, you may still hear a tiny gasp from those ready to take a bite out of one.
The Yummy Mummies are simple cupcakes topped with fondant strips arranged to look like bandages.
After making a set of cupcakes you’ll need to prepare the fondant. While fondant is easy to work with, it actually tastes pretty awful. I personally think fondant is inedible unless it’s flavored.
Assorted flavors and extracts are sold in the same area as the fondant in most crafts stores and you can just knead-in a favorite flavor before rolling it out.
After rolling the fondant into a thin layer, use a knife or pizza wheel to cut it into 1/4-inch strips.
The more cupcakes you have to cover, the more strips you’ll need.
Young volunteers will be eager to help with the yummy mummy bandage construction, especially if you promise they can eat a cupcake when they’re done.
Even mummies need eyes. Could these candy-coated peepers be any cuter?
I thought I was going to have to construct my own googly eyes out of fondant but I was pleased to find these pre-made eyeballs in the baking aisle at my local crafts store.
I love projects like this that give Cameron and Jordy a chance to have fun in the kitchen, getting their hands messy by making something new.

Cameron loves to demonstrate her individual creativity so she decided to add a bit of color to her mummy cake.
Here’s a look at her finished creation.
Cameron insisted that while “mummies are white at first, after a few years in a crypt they’re more greenish like mine”.
Now I can’t argue with that.

Cover each cupcake with a layer of white icing and then arrange the fondant strips across the front so that they look like bandages. Carefully trim the edges of each strip to fit the cupcake.
Make sure you leave an open bandaged area for the eyes. Mix up the placement of the eyeballs so each cupcake looks a little different.
Here’s a look at some of our finished Yummy Mummy cakes.
I think the varied placement of the eyes gives each one its own personality.
OK, on to the movie character Caspar.
He was friendly, but a ghost nonetheless.
Let’s call this platter of pretzel-like goodies, BOO BREAD.

It’s ghoulishly delicious and takes no time at all to pop in the oven.
To make these bread snacks, start with pre-made, thin crust pizza dough.
Spread the dough and then use a knife to carefully cut out a ghost shape complete with eyes and wide-open mouth.

Vary the cutting technique to produce different faces but do try to cut the shapes about the same size so they’ll bake evenly.
These shapes also remind me of the character in the movie Scream.
Watch your Boo Bread as it’s baking because the baking time may vary depending on the size of the shapes you cut.
Bake bread until golden brown. While still slightly warm, brush a light coat of olive oil on each one and then sprinkle a bit of sea salt on top.
Boo Bread can be dipped in melted cheese or eaten as is.
Either way they’re a fun, delicious twist on pizza dough and perfect for the impending spooky season.
My final inspiration comes from the Wicked Witch of the West featured in the classic movie, The Wizard of Oz.
You’ll recall the witch was never without her powerful broomstick and Dorothy’s efforts to get her hands on the broom was a major plot line.
Take a look at these BROOM BAGS.
They’re adorable, perfectly-themed and most importantly, they’re filled with trick-or-treat sweets.
I first spotted the brooms in the latest Martha Stewart Halloween magazine which features how-to instructions for these candy-filled brooms along with loads of other great ideas for Halloween goodies projects and recipes.
You can make your own brooms from scratch or you can opt for the complete kit which can be found at Michael’s crafts store.
If you opt for the kit, you’ll find two small, lunch bags enclosed that have been cut into strips.
The top of the first bag is cut about halfway down the bag and the second bag is cut into strips that run the length of the bag.
Fill the first bag with favorite candies and then place it right inside bag number two.
Once all the bags have been filled, insert the small branch (which is included in the kit) inside the center of the first bag.
Then pull all the strips together and tie into place at the top of the bag with the enclosed black thread.
This is such a clever creation.
They’re so cute all lined up like those brooms from the Sorcerer’s Apprentice. I wouldn’t put these too close to buckets of water if I were you.
If you’re making the candy-filled brooms as party favors or for a handful of special recipients, consider adding a small personalized touch.
I think you can see Jordy is pretty happy his name is on one of these.
All the treats featured in this post are easy, fun and you can whip them out in less than an hour.
Here’s hoping these ghoulish goodies help make your Fright Night a Tasty Night. ♥


Well I don’t do Halloween but these are just adorable – great projects, Lisa! And your helpers are awesome!
What a fun post Lisa — makes me wish I still had little boys at home. I especially love those mummy cupcakes. I’m glad you clarified about flavoring the fondant — I’ve only ever tasted it once and didn’t like it, so I’m glad to know there’s a solution to help the taste!
You are the most talented person I know.
Cute cupcakes. Must be nice to have all the “help.” :-}
Adorable!!! Wish our Grand kids were closer.
Lisa, I am not sure which has been most cleverly crafted, your post or your treats. Love the Boo Bread idea- it looks super simple!
http://mel-designs.typepad.com/my-blog/2010/10/halloween-outdoor-decorating-ideas.html
Wow these are so so fun….the cupcakes and the broom bags are too adorable, you’ve done a great job. Thanks for sharing these:D I am not into Halloween myself but I think now I just may have to make one of those bags for my 9 year old neice:D Be well and have a great day.
Great sharing!!One of my friends toldl me about this site and I see it’s really good!!!
Nice sharing… keep it up.
Love all the goodies! I made a giant mummy cake a few years ago for the school carnival. Maybe cupcakes for my family this year?
What a fun blog post, thanks for sharing! I just love your mummy cup cakes!