I
think it's safe to say that most people reading this are OK with scenes like this being behind us. As much I love experiencing every season, it's great to say goodbye to cold days and hello to much warmer ones.
I snapped this winter scene last month, after an unexpected snowfall.
What a difference three weeks can make when it comes to Mother Nature.
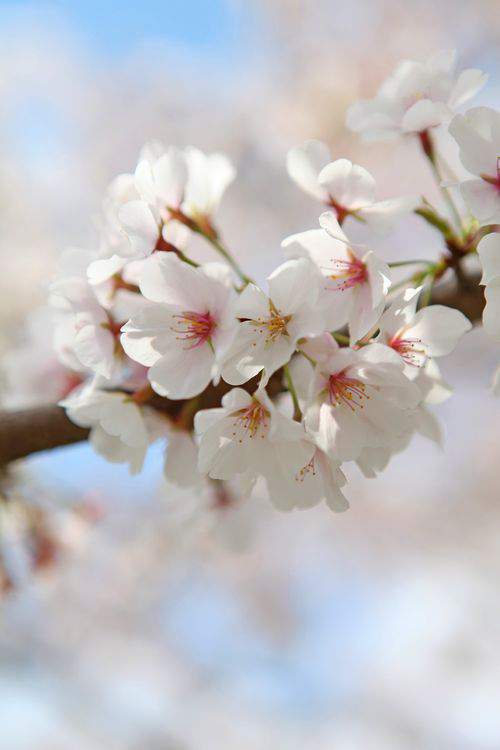
Here's a shot at what the same view looked like about a week ago with the Cherry Blossom trees finally in full, beautiful bloom in my neighborhood.

Too bad these pretty, ball-shaped blooms only last a short time. They're typically in bloom just long enough to provide a dash of color and then they're gone.
We're lucky if they stick around for more than one week of full color.

This year, my trusty assistant accompanied me on this photo shoot and opted to snap his own pictures for practice and posterity.

I may have a budding photographer on my hands because most of Jordy's shots were actually pretty good.
Meanwhile, these cherry blossoms inspired me to update an old project with a fresh, new look for this budding season.

Regular readers of this blog may recall my holiday kissing ball project from several years ago.
With the new season in mind, allow me to share a new version in the form of a Spring floral ball.

You'll only need a handful of supplies including a Styrofoam ball, artificial flowers with leaves, a hot glue gun and about 1-foot of satin ribbon.

Cut the artificial blooms from the branch making sure to leave a small amount of stem.
You'll need a little bit of that stem to stick directly into the Styrofoam to ensure a more secure hold.

Use a dowel (or un-sharpened pencil) to carve a small hole into the Styrofoam ball.
You'll only need to create an opening about an inch deep.

Determine the length of the ribbon loop and trim to size.
Drop a small amount of hot glue down into the hole in the styrofoam. Use the dowel or a pencil to shove the two ends of the ribbon down into the Styrofoam.
Give the base of the ribbon a bit of a twist to give the ribbon a V-shape at the bottom. Add a small amount of hot glue around the ribbon base for a more secure hold.

Now, you can begin adhering the artificial blooms the Styrofoam.
First, add a few green leaves around the base of the ribbon insert before you start attaching the pink petals.

Add a small amount of glue to the short flower stem and push the flower into the Styrofoam so that the bottom of the flower is flush with the Styrofoam.
NOTE: Don't be tempted to skip using glue on each stem because even though the flower may initially feel secure when pushed into the styrofoam, it will not stay in place without the glue.
Build layer upon layer until you work your way completely around the ball. Attach the petals as close together as possible for more fullness.

For an extra special touch, you can also add a slight scent to this floral ball. However, I suggest you not spray anything directly onto the petals at close range because it may stain the fabric petals.
Instead, spray a small amount of your favorite cologne into the air and hold the ball under the faint, falling droplets.

Imagine using these floral balls as party favors, baby or wedding shower decor, as flower girl bouquets or even as a fun, take-home project at a girl's birthday party (make sure youngsters are old enough to confidently handle a hot glue gun).
Of course, you can also use a floral ball to add a splash of color to your workspace.

When I'm working at my desk, it's nice to look up from my computer at this pretty splash of pink petals.
It almost makes me want to paint the walls pink too but I'll have to give that a lot more thought.

By the way, these Styrofoam balls come in a variety of sizes including jumbo.
Have an outdoor event coming up? Consider making multiple floral balls in different sizes. Then, suspend the floral balls in trees using clear twine for a great looking presentation.

While the beauty of Cherry Blossoms can come and go within the span of a week, the blossoms on this spring floral ball are just as lovely as the tree… and definitely far less fleeting.
See you back here next week with a new post. ♥


Beautiful pictures!!! Love the project!
Love it. Love it. Love it. Lisa, will you show us your creative space/office? From the picture you have on this post, it looks really pretty and I want to see more. (Thanks)
What a great idea. My granddaughter is coming to stay with me for a week and she always seems so bored. I think this time we will have a project and a gift she can take home to Mom. Thank you
This is so pretty! What a great project! And those cherry trees look heavenly. Here, everything bloomed early and then it got cool, so we’ve been enjoying all the flowering trees for a few weeks. It *almost* makes up for missing the warmer temperatures.
love your office space where did you find the preety big memo board? just wondering?