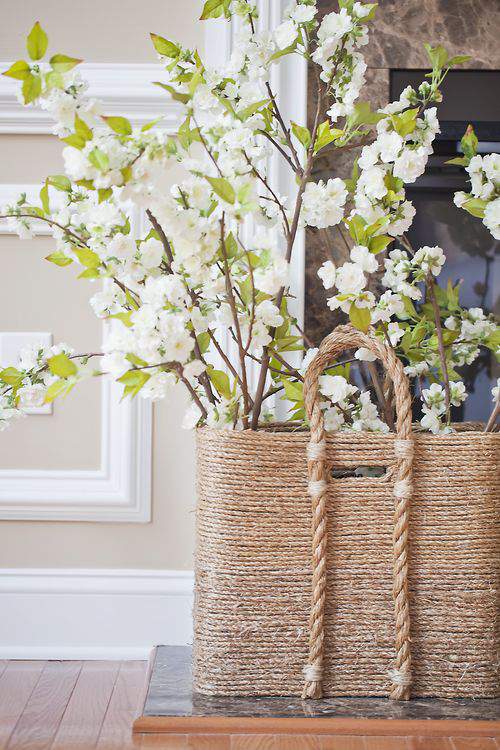
I love the natural look and texture of a fine Beachcomber basket. If you have the same appreciation for this style of versatile basket, you're going to enjoy this post.
Beachcomber baskets are not only roomy and good for storage, they can also be easily incorporated into home decor.
As you'll see throughout this post, beachcomber basket look-alikes are also quite simple to make yourself.
Before I walk you through the steps I used to create this basket, allow me to share the inspiration behind this project. If you're a Pottery Barn fan (I am a big one), you've no doubt seen the gorgeous beachcomber baskets they keep in stock.
While I love almost all the baskets in this store, I don't always love the PB prices which can range from $69-$199.
Using the PB baskets as inspiration, it occured to me that I might be able to replicate the look of these lovely baskets using a few supplies.
Here's what I grabbed for this project: one container ($9 from Michaels), hot glue gun and glue sticks (I already had them) and some 1/4-inch manila or sisel rope ($5 per 50 feet).
In addition to the 1/4-inch manila, I also picked up one yard of 1-inch rope to use for the handles ($2).
I also already had a roll of jute on hand which is a thinner burlap-style rope and costs about $4 per roll at most home improvement stores.

First, remove any embellishments (like ribbons and bows) from the container.
No need to remove the patterned, vinyl paper in this case since it isn't loose and is already flush with the container.
Apply a line of hot glue to the bottom edge of the container and place the sisel directly over it.
The hot glue dries fairly quickly so only apply as much glue as you think you can cover with rope as quickly.
Take your time laying down the glue around the container, applying the rope and briefly holding in place until the rope feels like its firmly in place.
This really isn't very time consuming at all and you'll finish wrapping a container before you know it.

Keep laying the hot glue and placing the rope all the way around the container.
If you're container has a handle opening like this, trim the rope around the opening.
Don't worry about the raw ends of the rope, this area will be covered with a rope handle in just a bit.

My 11 year old son snapped the above photo. It's a little blurry but I'll make a good photographer out of him yet.
Because the interior space of this container is so narrow, I decided not to line the inside with rope.
Instead, I opted to just conceal the black and white polka dot pattern located in the upper portion of the container.
NOTE: The type of item being covered will determine whether you also cover the interior and/or the bottom with rope.

Apply the rope to the inside in the same way the rope was applied to the outside of the container.
I took the interior rope down to the top of the handle openings, about 3-inches deep.

Time now to put the jute to good use.
I love the look and texture of jute and I think it's a good supply to keep in your stash.
You can always find a million uses for this type of string, from wrapping gifts and tags to hanging handmade banners.
The handle is created out of one large piece of rope on both sides of the container.
Measure the large rope to determine how long you want the handles to be and then tie the smaller jute around the bottom portion of both raw ends.
I also tied off upper sections of the larger rope at the point where they would come in contact with the opening in the container.
This is really just a decorative effect which adds a little more interest to the basket.

Line up the rope handles so that the position of the jute ties match up on both sides of the handle.
Apply a thick line of hot glue from the top of the container, along the edge of the opening, down to the bottom of the container.
Quickly lay the rope handle over the glue before it dries completely. Hold in place until the rope sticks.

Here's a look at how one of the handles looks on the new basket.
Repeat the same technique to attach the handle to the other side.
Make sure both handles are the same length before you glue them in place.
NOTE: I wouldn't count on using these new handles to lift heavy items because these lengths of rope are only hot glued in place. When lifting heavy contents, rely on the original handle openings or lift the basket from the bottom.
In this case, a small amount of polka dot material was still visible but it's an easy enough fix.
Simply cut a small piece of 1/4" rope and glue into position to conceal any areas that need additional coverage.

This newly created beachcomber basket can serve a multitude of purposes throughout the home.
How about using it to hold a stack of favorite magazines?

Or perhaps it's best used to store sample wallpapers, rolled fabrics, interfacing for sewing and other crafting supplies.
The storage options are endless. I'd say whatever you use the beachcomber basket for, it will look fabulous.

Of course, you can always use the basket as home decor to store decorative florals.
By the way, this same rope technique can be used to cover a host of other items. Consider covering small bowls, circular trash cans, wooden cartons, etc.
So, that's a look at my version of a beachcomber, Pottery Barn-inspired basket.
I like the way it turned out and even more, I love that I was able to make it for only a fraction of the PB cost.
You can too.
COMING UP THIS FRIDAY
They're sweet, crunchy light, wafers dipped in chocolate with a sprinkle of nuts and you're going to want to gobble them up.
Coming up on Friday (7/27) stop by for the latest, delicious edition of my new bi-weekly column, THE FRIDAY FOODIE.
Pizzelles are as elegant as they are beautiful.
Make them for your next dessert tray or special event or bag them up with a bow for a special gift.
Hope you pop by this blog again later this week for THE FRIDAY FOODIE featuring my "Perfectly Pretty Pizzelles".
I'll see you then. ♥


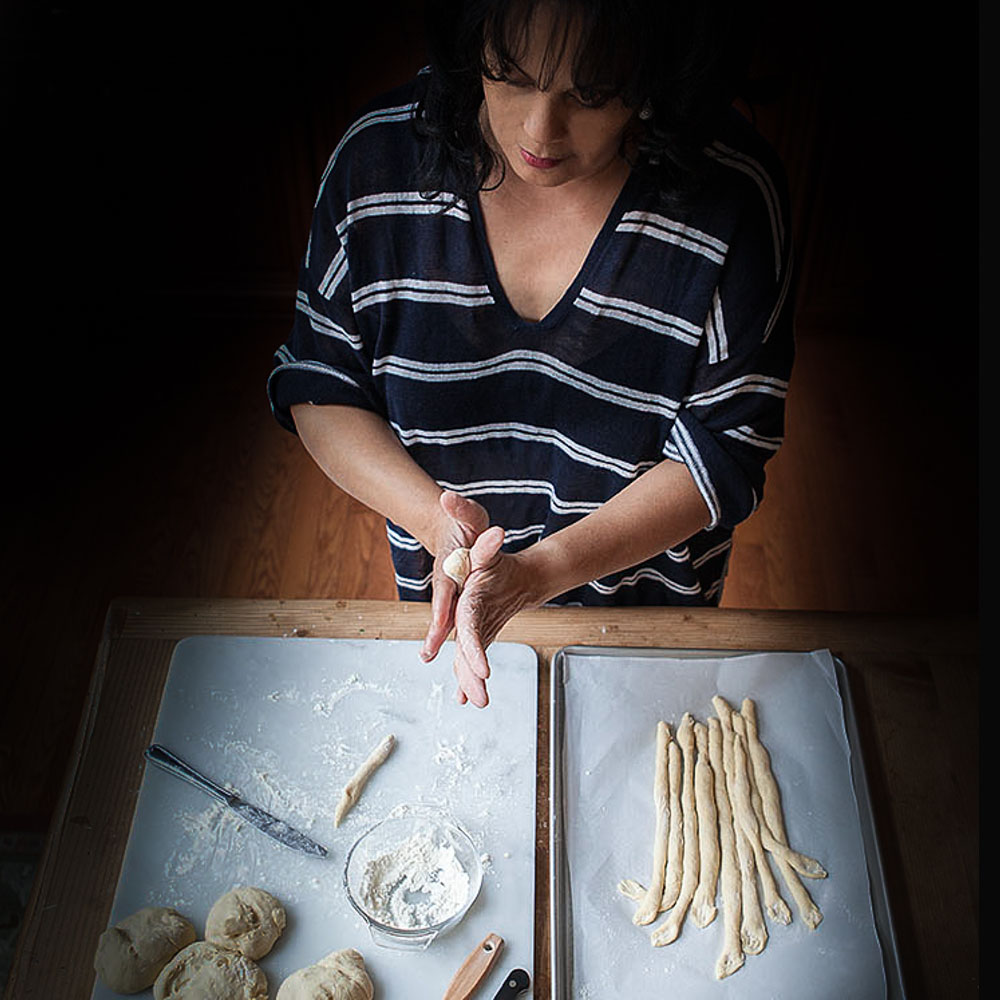
It’s official – you are amazing! What a great project. And I can craft well but I don’t look nearly as pretty as you do when I’m doing it. It was fun to see you “in” the post instead of just behind the camera.
Simply stunning!!!!
What a great project! Thanks for sharing the tutorial. I may give this one a shot.
Very, very cool Lisa! What a fun project — thanks for sharing your techinique!
I like this very much. This is a good time to start making Christmas and other holiday gifts. I think it is a bad idea to wait until after Thanksgiving to start the crafts projects intended as presents. Nice job, Lisa (and Jordan, too). Love, Nana Banana
Why didn’t I think of that? I’m so glad you did! Great idea.
What a great idea!! I agree, those totes are always so expensive considering the materials that are used. That looks so simple, even I could do it! Thanks!
Genius! Hello, $15? I love this!!! You did a beautiful job. Take THAT, Pottery Barn! Haha. 🙂 I found your blog at Not Just a Housewife.
Wow, this is gorgeous and a great way to reinvent old items at home!
I adore you, Lisa! This is beautiful!!!
How would you do this if you are planning on only using the basket as the form?
Absolutely brilliant! Thanks so much for the inspiration! Congrats on being featured on “Knock Off”!
~ Ashley
Thanks so much for sharing your talent with this amazing tutorial 🙂 http://felting.craftgossip.com/2014/07/01/handcrafted-beachcomber-basket/
Wow, I was just about to donate a container because I didn’t like the look of it. I’m so going to do this! Pinning! Thank you for sharing! 🙂
I love this idea, but my question is what is the name/brand of the paint color on the wall in the background of this picture? I love it. My hardwood floors appear to be about the same color as yours in this pic. This neutral color looks great with them, plus the white trim. Thanks!
Hi Rhonda, thanks so much. The wall color is called Lenox Tan by Benjamin Moore (HC-44). It is perfectly neutral and goes with just about everything. Good luck with your painting project and happy holidays.
Lovely job you are really talented I would have never thought of using this basket for the beachcomber one I will visit you again
Thanks, Ellen.
I’m so glad you like it.
The beachcomber basket is a fun weekend project.
Have a lovely day.
where would i find these florals? love!
Hi Angel, thanks for stopping by.
I found these lovely floral stems from Pottery Barn.
I picked them up a few years ago so, they may not have these exact ones. However, PB typically keeps similar ones on stock.
Good luck. I hope you’re able to find the ones you want.
I love baskets of so many styles and shapes, sizes but they can be quite pricey so is fantastic to find way to fashion my own, excellent tutorial, thanks so much.
Usually when I buy baskets I get them at Michaels or Hobby Lobby in their 1/2 price sales.
How clever of you to find way around high priced basket.
Happy Spring and wonderful Easter
Thanks so much, Jane.
Yes, these baskets were fun and fairly simple to make.
Happy weekend to you.