It’s grillin’ season, baby. And despite the hot temps outside, we’re still firing up the grill in my neck of the woods.
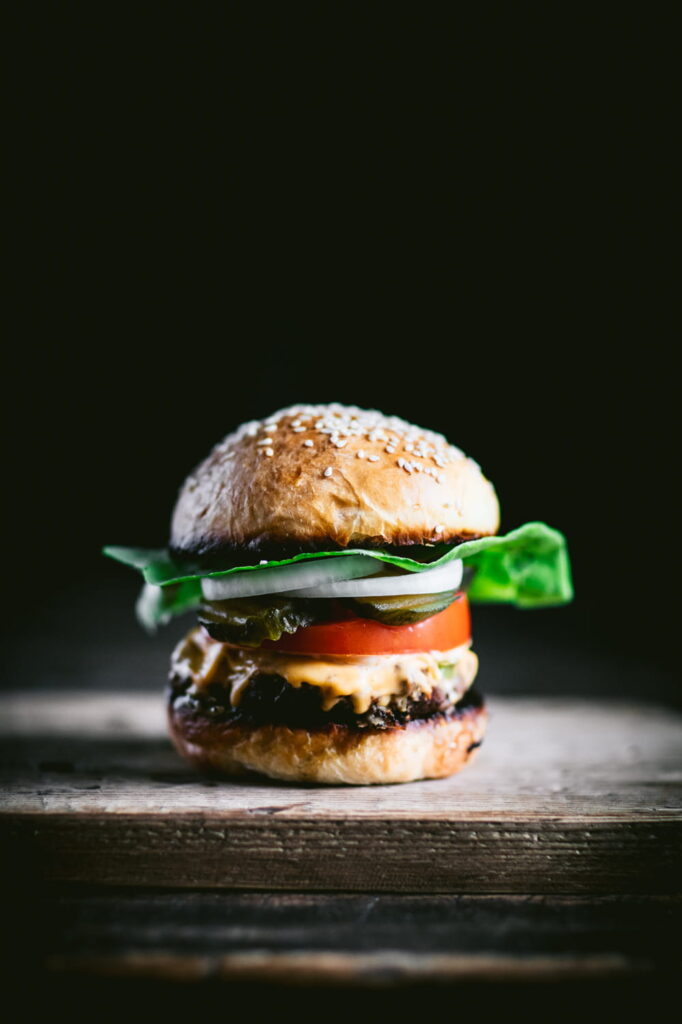
Now, how great does this burger look. Don’t you just want to take a bite right out of it?
Today’s post is all about the burger bun at the heart of this savory looking combo.
And if you’ve never made your own burger buns before, after reading this post, I think you’ll be inspired to give it a try.

This is actually the first time I ever made burger buns and I’m thrilled with how these turned out.
Freshly baked with just a handful of ingredients, these burger buns have a rich, buttery flavor and a soft, pillowy texture that elevates any grilled burger.
These are good.

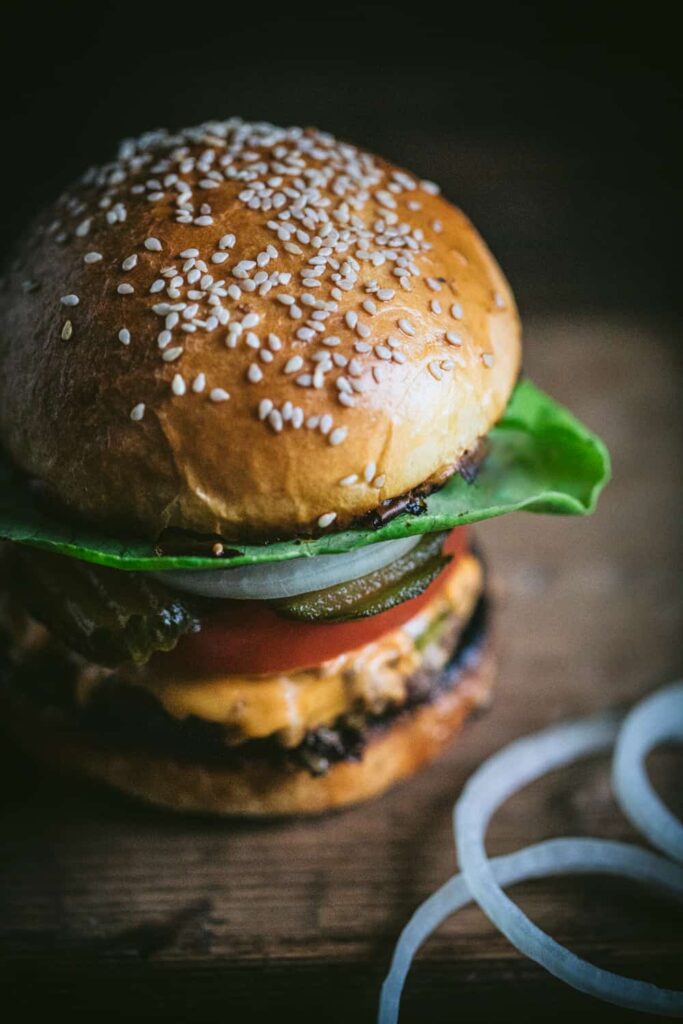
Sesame seeds sprinkled atop a homemade bun add a touch of visual appeal and elegance. And their delicate, nutty aroma and subtle crunch enhance the flavor and the presentation.
The seeds’ golden hue contrasts beautifully with the bun’s soft, golden-brown surface, creating a bakery-fresh look that’s both inviting and appetizing.

I wouldn’t say that this recipe is necessarily labor-intensive but if you’ve ever made your own bread, you already know that generally, there are multiple steps. And if you’ve never made your own bread, don’t be deterred by a few extra paces.
For example, this recipe requires two proofing periods, but that only adds to the soft, chewy interior of the baked bun. It’s worth it.
No need for starter or anything like that. You can make these and eat them all in the same day.
And look at how pretty and silky that dough looks. Smooth as a baby’s bum-lol. I love when dough looks this polished.

After molding the dough balls, I used two different baking methods, which produced equally tasty but differently-shaped burger buns.
- MUFFIN RINGS These rings can be used for a variety of recipes including, English muffins and tarts, crumpets and of course, burger buns. Rings produce a bun that is definitely higher than a traditional bun. You can find these rings in various sizes online, and I’ve linked the ones I used HERE.
- BURGER PAN This is a super versatile pan that can be used for much more than burger buns, including muffin tops, mini pizzas and frittatas just to name a few. This pan has 6 cavities to make six buns at a time. You can find the pan that I used HERE.
I have a side by side look of the buns baked from each method, a bit further down in this post.

More and more, I’ve been trying to make many of the things I typically buy at the store.
And homemade burger buns offer such a delightful difference from store-bought varieties, that are not only preservative and additive-free, but also far more flavorful, plump and attractive.
Plus, I gotta say, they’re fun to make and serve. I don’t think I’ll every go back to store-bought burger buns again.

I continue to work on my food-on-the-move videography, and I’ve included my latest Food in Motion video below for your viewing pleasure.
You can watch the video fullscreen within this post, or you can click and watch it over on You Tube. If you opt to watch this video on YouTube, please consider subscribing to my channel, as I’m trying to grow my audience on that platform too.
Thanks so much for the support and enjoy the video.
Food in Motion
Have you ever picked up a package of burger buns that were flat, smooshed and lack any flavor? These buns are just the opposite.
While there are a ton of enticing burger bun recipes online and elsewhere, the recipe I used is by retired baker, John Kirkwood. He has a wonderful collection of inspiring bread and dessert recipes on his YouTube channel. And I encourage to check it out.
To see the burger bun recipe I used in this post, just click HERE.

Meanwhile, here’s a look at how the buns turned out using the 3.15-inch muffin rings versus the bun pan with 4-inch wells.
In the above photo, the bun on the left side was made using the burger pan. The bun pan produces a wider, shorter bun that is more along the lines of what traditional buns look like. I like this bun for larger burgers.
The bun on the right side was produced by the rings and has a rounder, more plump and slightly taller profile. I think it also has a slightly fancier look, which could be used for gourmet slider buns.
Both bun shapes taste the same, and which method you use just depends on your personal preference.

Also, I buttered the flat side of the baked bun and and briefly placed on them on the grill for a little extra crisp to go along with all these delicious burger fixin’s.
Oh, and while I’m talking about fixin’s, you may be able to help settle a debate going on in my household about proper garnish placement.
Does the lettuce go under the top bun above the burger/fixin’s or on top of the bottom bun below the burger?
Based on this image, you can see which way I lean, but my kids and hubby disagree.
What do you think?
Thanks for weighing in and double thanks for popping by for a visit.

Leave a Reply