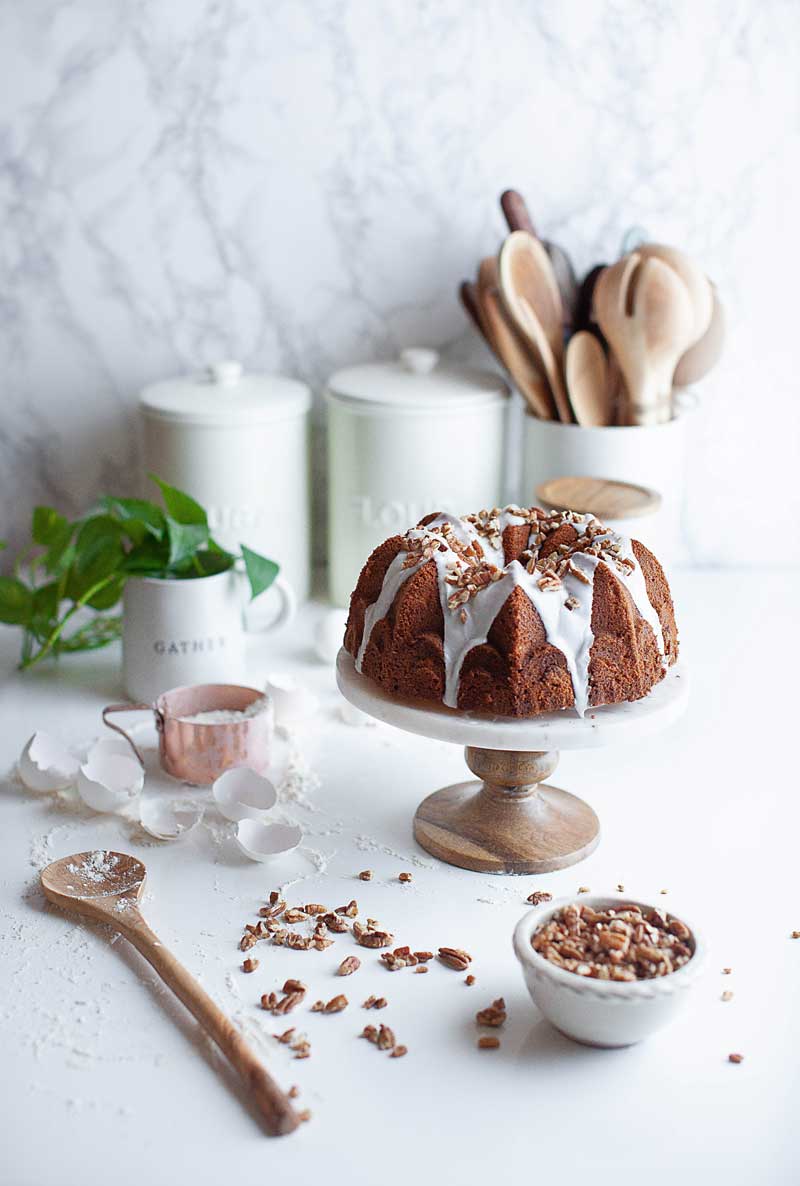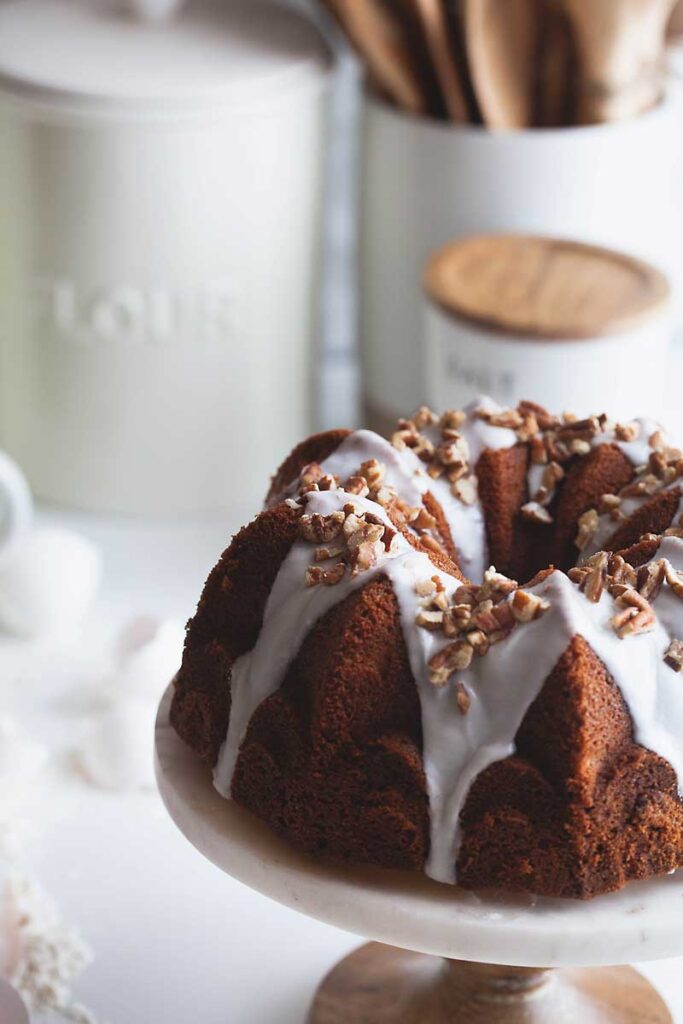
Who doesn’t love a beautiful Bundt cake?
They’re such easy and attractive desserts.
Now, as delicious as this cake looks, it also has an interesting backstory that I’d like to share with you.
Yes, cakes can have a backstory.

A few weeks ago, Oster brand contacted me about partnering with them to promote their new Hand Mixer with Heat Soft Technology.
I was exited about the collaboration and I eventually settled on making chocolate chip cookies to use in my photo shoot.
You may be wondering what chocolate chip cookies have to do with a Bundt cake… but I’m getting to that.

The styling for the photo shoot was entirely up to me.
However, there were two requirements.
- The exclusive product had to be visible (of course)
- The product needed to be shot in a kitchen atmosphere.
OK, that’s simple enough, right?

Pecan-Filled Bundt Cake
Ingredients
- 1 package Butter Golden Cake Mix (18.25 ounces)
- 2 teaspoons ground cinnamon
- 2 tablespoons brown sugar
- 1 cup chopped pecans
- 1 cup sour cream
- 1/3 cup vegetable oil
- 1/4 cup white sugar
- 1/4 cup water
- 4 eggs
- 2 cups powdered confectioners sugar
- 2 tablespoons milk
- 1 teaspoon lemon juice
- 1/2 teaspoon vanilla extract
Instructions
- Combine 2 tablespoons of the cake mix, cinnamon, brown sugar and pecans and set aside for the filling.
- In a large bowl, beat cake mix, sour cream, oil, water, eggs and white sugar until thoroughly combined.
- Pour 2/3 of the batter into a greased and floured Bundt pan.
- Sprinkle the cinnamon sugar and pecan mixture over the top of the batter to create the delicious center.
- Spread the remaining batter evenly over the nut mixture.
- Bake at 375 degrees for 50-55 minutes or until a long toothpick comes out clean.
- Cool in pan for 25 minutes before carefully removing from pan.
- To make the glaze, combine confectioners’ sugar, milk, lemon juice and vanilla extract. Combine to desired consistency. If too watery, add more confectioners sugar. If too thick add more milk.
- Drizzle over cooled Bundt cake.
- Top cake with chopped pecans immediately after drizzling the cake with icing so, the nuts will stick.
Notes
Well, the photo below was my first attempt at the project and I have to say, I wasn’t happy with it at all.
This just didn’t work… not to mention, my chocolate chip cookies looked more like oatmeal cookies.
I didn’t think the cookies or dark kitchen setting made the hand mixer shine in any way.
The only thing I really liked about the picture was the sprinkled flour, the broken egg shells and the stick of butter that I positioned off to the side.

Everything else about this shot, just did not work and much of that had to do with the fact that I really don’t get great natural light in my kitchen.
Then, it occurred to me that I could re-create the look of a kitchen with just a few simple backdrops that I already had on hand.
So, I moved everything into my dining room which not only has much better natural light but it’s also where I take most of my food photos anyway.
That’s when I also decided to switch the cookies for a pretty Bundt cake.

How about this setup?
If the kitchen location doesn’t work… just move the “kitchen”.
So, here’s my makeshift kitchen which you can also recreate if you need to for some reason.
The base board is an $8 dollar white-board from Home Depot and the marble backdrop is a piece of foam core board ($3 at Michael’s Crafts) that I covered with marble contact paper (which you can find on Amazon).

Here’s the final photo.
With this setup, the hand mixer looks so much better…. and so does the dessert.
This was also a good reminder that if I don’t love the photo (especially if shooting for a brand partnership) it’s unlikely anyone else will love it either.
It was totally worth recreating the appearance of a kitchen because I ended up getting a shot that I felt really good about.

Here’s another view of my setup which illustrates how I now get my overhead shots.
My sweet hubby gave me a “C-stand” for Christmas which I absolutely love and recommend.
The stand has a horizontal arm that you can attach your camera to, in order to get really good overhead shots (up to 10.5 feet high).

I used to have to put my food on the floor and straddle it to get a decent overhead shot.
That approach always just killed my back but with my new C-stand there’s no more need to bend over like that.
You can find my C-stand HERE and you’ll need this ADAPTER for it as well as a tripod quick release attachment to go with whatever type of tripod you have.
I have a Manfrotto tripod and the quick release plate I purchased to go with this C-stand can be found HERE.

Meanwhile, I can’t wrap up this post without giving you a closer look at the inside of this beautiful Bundt.
It has a wonderful pecan and cinnamon-filled center.
Every slice gets a bit of this delicious nutty mixture.

As you can see, it’s oh-so pretty when you slice it.
Just look at all that interior goodness.
I think the center makes this cake even more special and a little bit fancy too.
Imagine what your dessert guests will say when you hand them a slice of this.

Thanks for stopping by.
I’ll see you back here next time.
Have a wonderfully creative and delicious week.♥

YAY!! No tripod feet showing on your overhead! And your final shot is wonderful! Love it. And I know what you mean about light. Our new house has light but not the “right kind”. You are so clever — I’ve got two of the faux marble foam core boards. I have issues trying to get them to stay up with falling on the food. Psst! I want to whisper something. I like the dark shot in the kitchen. I know it’s not what the sponsor would want but that’s about what our kitchen looks like. It would be perfect for a rustic farm shot. Anyway — you did fantastic. Sending huge hugs!! ❤️
Thanks so much, sweet Marisa.
FYI, I prop my boards up using a high-back chair most of the time.
Also, I updated the post to include info and photo of the C-stand I mentioned to you a few weeks ago.
Yeah, I know what you mean about the dark kitchen shot. But you’re right about what the client would prefer too.
Have a great week and I’ll see you over on IG.
xoxo
I would love to try making this but having trouble finding butter cake mix. What brand did you use and where can I find this?
I think you’ll love this cake, Ellen.
I’ve always found the Duncan Hines “Butter Golden”Cake mix at Walmart and Kroger.
The addition of sour cream really helps to make the cake texture soft and delicious.
Let me know when you make it. I’d love to know how it turns out for you.
I always love your food photography, you make everything look so delicious! So it was fun to get a behind the scene look at how you achieve it. This bundt cake looks yummy and the recipe is easy to follow. I have a new pan that’s just been waiting for a cake like this💕
Thanks, Loryl.
I’m glad you enjoy my photography.
I think you’ll really love this cake too.
Please let me know how you like it.
Happy day to you.
Hi Lisa, just discovered your blog and I love it. Great photography and styling, I’m into that too.
Greetings, Cristina
Thanks so much for popping by. I’m so glad you have found some things you like.
If you get stuck on anything or have any questions about any of my recipes or projects, just drop me an email and I’ll help you out.
Have a wonderful week.
I wondered if you were using The Studio from Replica Surfaces. I just started using it and love it for moving to those perfect lighting spots. The cake looks amazing.
Hi Carol, this is one of my favorite Bundt cakes.
I actually made the two backdrops out of simple white boards (from Michael’s crafts) and marble patterned wallpaper from Target.
Super easy to make and it’s easy to clean if I spill anything on it.
I’m always on the lookout for various surfaces. I’ll definitely check out Replica Surfaces too.
Happy holidays to you and thanks so much for popping by for a visit.