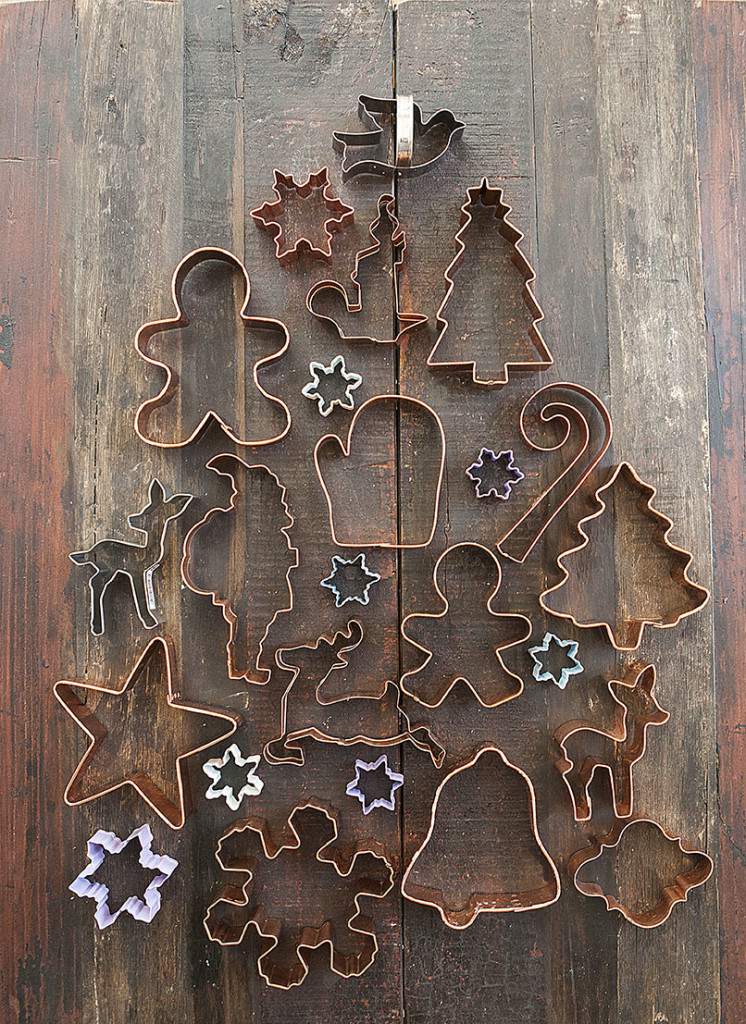
How cute is this little fawn sugar cookie? Could that little spotted rump be any more adorable? I don’t think so. This little guy is one of my favorite cookie cutters out of my growing holiday cookie cutter collection.
So many shapes and sizes and so many intricate corners too. While that makes for a great shape, it also means that sometimes that dough can get stuck in those tiny, detailed points and corners.
Well, I have the perfect solution and throughout this post, I’ll share my super simple tip for getting a perfect cookie cutter cut.
For years, I used to follow the traditional instructions about cookie dough by rolling it into a ball, cutting it in half and pressing both halves into an oval shape.
Then, it was off to the refrigerator for at least an hour before rolling the dough
Well, here’s what I do now for picture perfect cookie cuts.
Roll the dough between two pieces of parchment paper to the desired width of the cookies you plan to bake.
Make sure you roll out the dough so it fits flat inside a baking pan.
You may end up having to use more than one tray for the amount of dough you have but just double up if you need to.
Stack the baking trays and then refrigerate for about an hour so the dough is nice and firm.
When you take the dough out of the refrigerator the dough will be very firm and that’s exactly what you want.
Lightly dust your cutter edge with flour and then cut the shapes.
Since the dough is already rolled, you don’t end up over-softening it when rolling it out from a ball.
It’s that over-softened of the dough that ends up causing the dough to get stuck in tight cookie cutter corners.
When the dough is cold and rolled, the cookie cutter just slices through the dough.
Have a wooden skewer handy to help push out any pesky corners, if needed.
I’ve found this refrigerated rolled dough technique to be really helpful when using those cookie cutters with pointed corners or intricately designed cookie cutters with tight areas.
If you want to make sugar cookie ornaments, just use a straw to cut a small hole in the top of your dough before you pop the cookies in the oven.
Another favorite tip involves using small, Ziploc sandwich bags for your royal icing.
Just cut a small corner off of the bag and fit the bag with your piping elements.
The smaller bags makes navigating the icing much easier and when you’re done, remove the tips and toss the bags.
No messy piping bag cleanup required.
String a loop through the decorated cookie and tie a knot on the ends of the butcher’s twine.
Slide the knot down behind the cookie and you’ll have yourself an adorable, edible cookie ornament.
Happy Holidays!
Thanks for stopping by.
See you back here next time. ♥


How adorable!! I too have copper cookie cutters and I love them. What I find unfortunate is I didn’t cut out the picture from the catalog I ordered them from so I don’t have the painted finished cookie. It would be so nice to get an idea of what it looked like. I noticed your sweet red striped star ornament hanging from the tree. I was able to get some of that striped fabric but I haven’t done anything with it yet. I love your photos — they are beautiful. I want to wish you and your family a very Merry Christmas!! Hugs!
Thanks Marisa, that “ticking” fabric is oh-so versatile, I know you’ll find a great use for it. Instructions on how to make that star ornament are on the site too. Thanks for all your sweet support in 2015. I really appreciate it. All the best for a wonderful Christmas to you too!